In this homework, you will be creating a Flashcard web app that loads desks of flashcards for the user to review and score themselves. You will be practicing Object-oriented JavaScript, Mobile JavaScript and Animations.
We are providing several stub JavaScript classes to help you finish this assignment. We are not telling you what methods / fields / etc you need to add to your classes; that is for you to decide.
Note that we will not grade on having good OO design; you just need to get the app working without using global variables.
Due Date: Mon, May 8, 2017 at 11:59pm (late cutoff: Wed, May 10, 2017 at 11:59pm)
HW3 Turn-in: Submission Form
- 1. Getting started
- 2. Understanding the starter code
- 3. Implementation: Menu screen
- 4. Implementation: Flashcard screen and flashcard behavior
- 5. Implementation: Results screen
- Style requirements
- Submit
1. Getting started
1. Accept the HW3 assignment
- Follow this link, where HW3 is stored on GitHub Classroom.
- Accept the homework and download the starter code as you did in Homework 0.
2. Overall behavior
You will be implementing a simple Flashcard web app that loads flashcard desks defined in constants.js.
- The user clicks or taps the flashcard to toggle between the word and definition.
- If the user got the flashcard correct:
- The user drags and releases it to the right side of the screen.
- If the user got the flashcard wrong:
- The user drags and releases it to the left side of the screen.
Watch the videos below to see the behavior of a completed Flashcard app in desktop and mobile views:
Desktop:
Mobile:
2. Understanding the starter code
We have provided several starter code files to help you write this flashcard app. This section provides more information about the starter code and how to get started with it.
You will need to understand and modify all of the JavaScript starter files that we give you to complete this assignment.
We have also provided almost all of the CSS of this app. Unlike the JavaScript files, you should not have to modify style.css. The only CSS you should be adding is for animations and dragging effects, which you can add in flashcard-style.css.
1. Starter code description
Below is a brief description of all the files provided via starter code:
main.js: This is the script that starts off your app. It begins by creating anAppobject.app.js: TheAppobject encapsulates the entire state of the application. It creates three objects representing the three “screens” of the app:menu-screen.js: TheMenuScreenobject represents the menu screen of the application. From here, you can choose a flashcard deck to review.flashcard-screen.js: TheFlashcardScreenrepresents the main screen of the application, where you see and answer the flashcards from the deck you’ve selected.flashcard.js: TheFlashcardobject represents one flashcard. You can click on it to flip between the front and the back of the card.
results-screen.js: TheResultsScreenobject represents the results screen that appears after you’ve finished a flashcard deck. It gives you the options to continue with the cards you’ve gotten wrong or to go back to the menu.
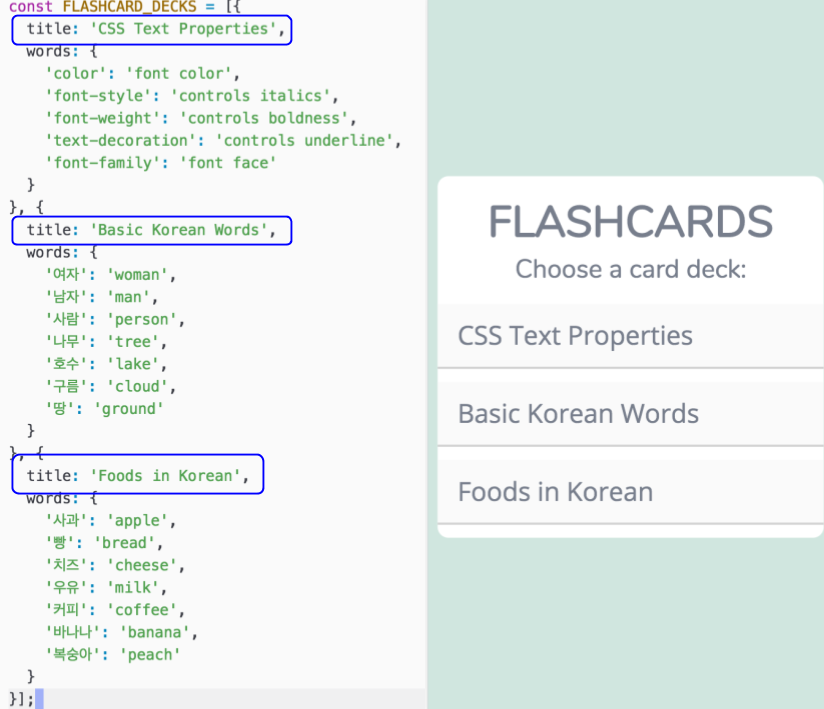
constants.js: This includes theFLASHCARD_DECKSglobal variable, which is an array of objects that represent a single flashcard deck. We aren’t expecting you to need to modify this file.
Note: We generally expect you to use and modify the provided classes to complete the assignment. However, if you feel strongly that you want to complete the assignment in a different way, e.g. you don’t want to use the MenuScreen object for some reason, you are free to delete any of the given starter code in favor of a class structure of your choosing.
-
index.html: Contains the HTML markup for all 3 screens of the flashcard app, contained in the followingdivs:#menu,#main, and#results. We aren’t expecting you to need to modify this file, though you can if you’d like. style.css: Contains the style rules for all screens and the flashcards. We aren’t expecting you to need to modify this file.flashcard-style.css: An empty CSS file for you to add any additional CSS rules you need to complete the assignment. You should only need to add CSS for animations and dragging effects.
2. Toggle between the screens
Every screen object contains a show() and a hide() method. Complete the following steps to see what we’ve provided.
Menu screen
- Open
index.htmlin a browser. It should look like the following: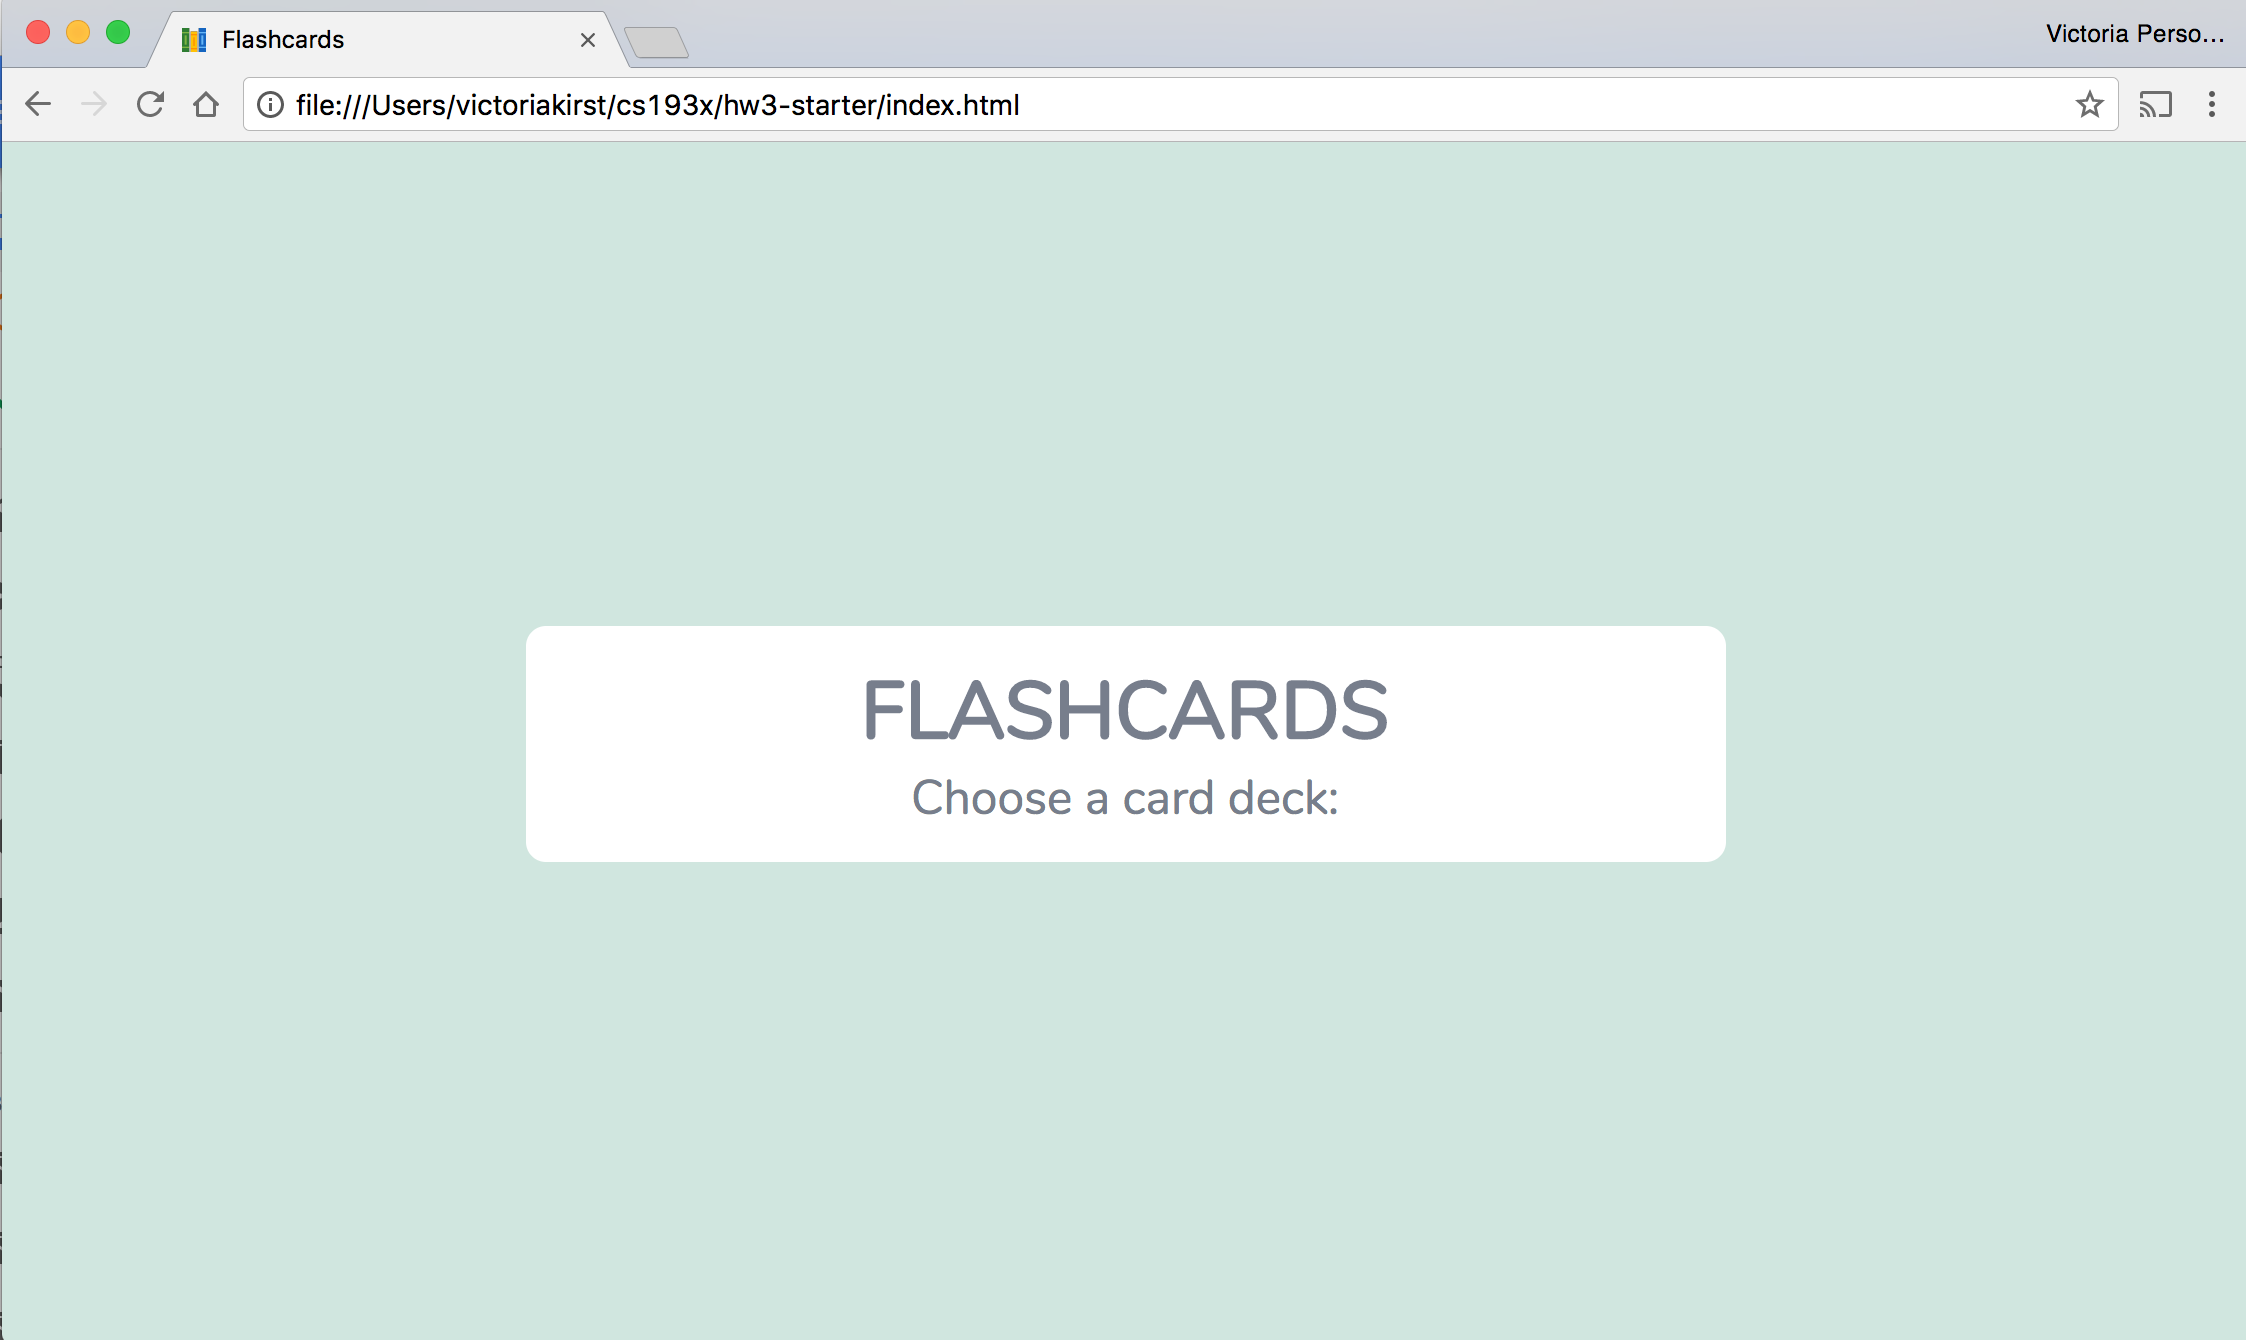
As you can see, the menu screen is not complete. You will need to write the JavaScript necessary to implement the menu as explained the later sections.
Main/Flashcard screen
- In
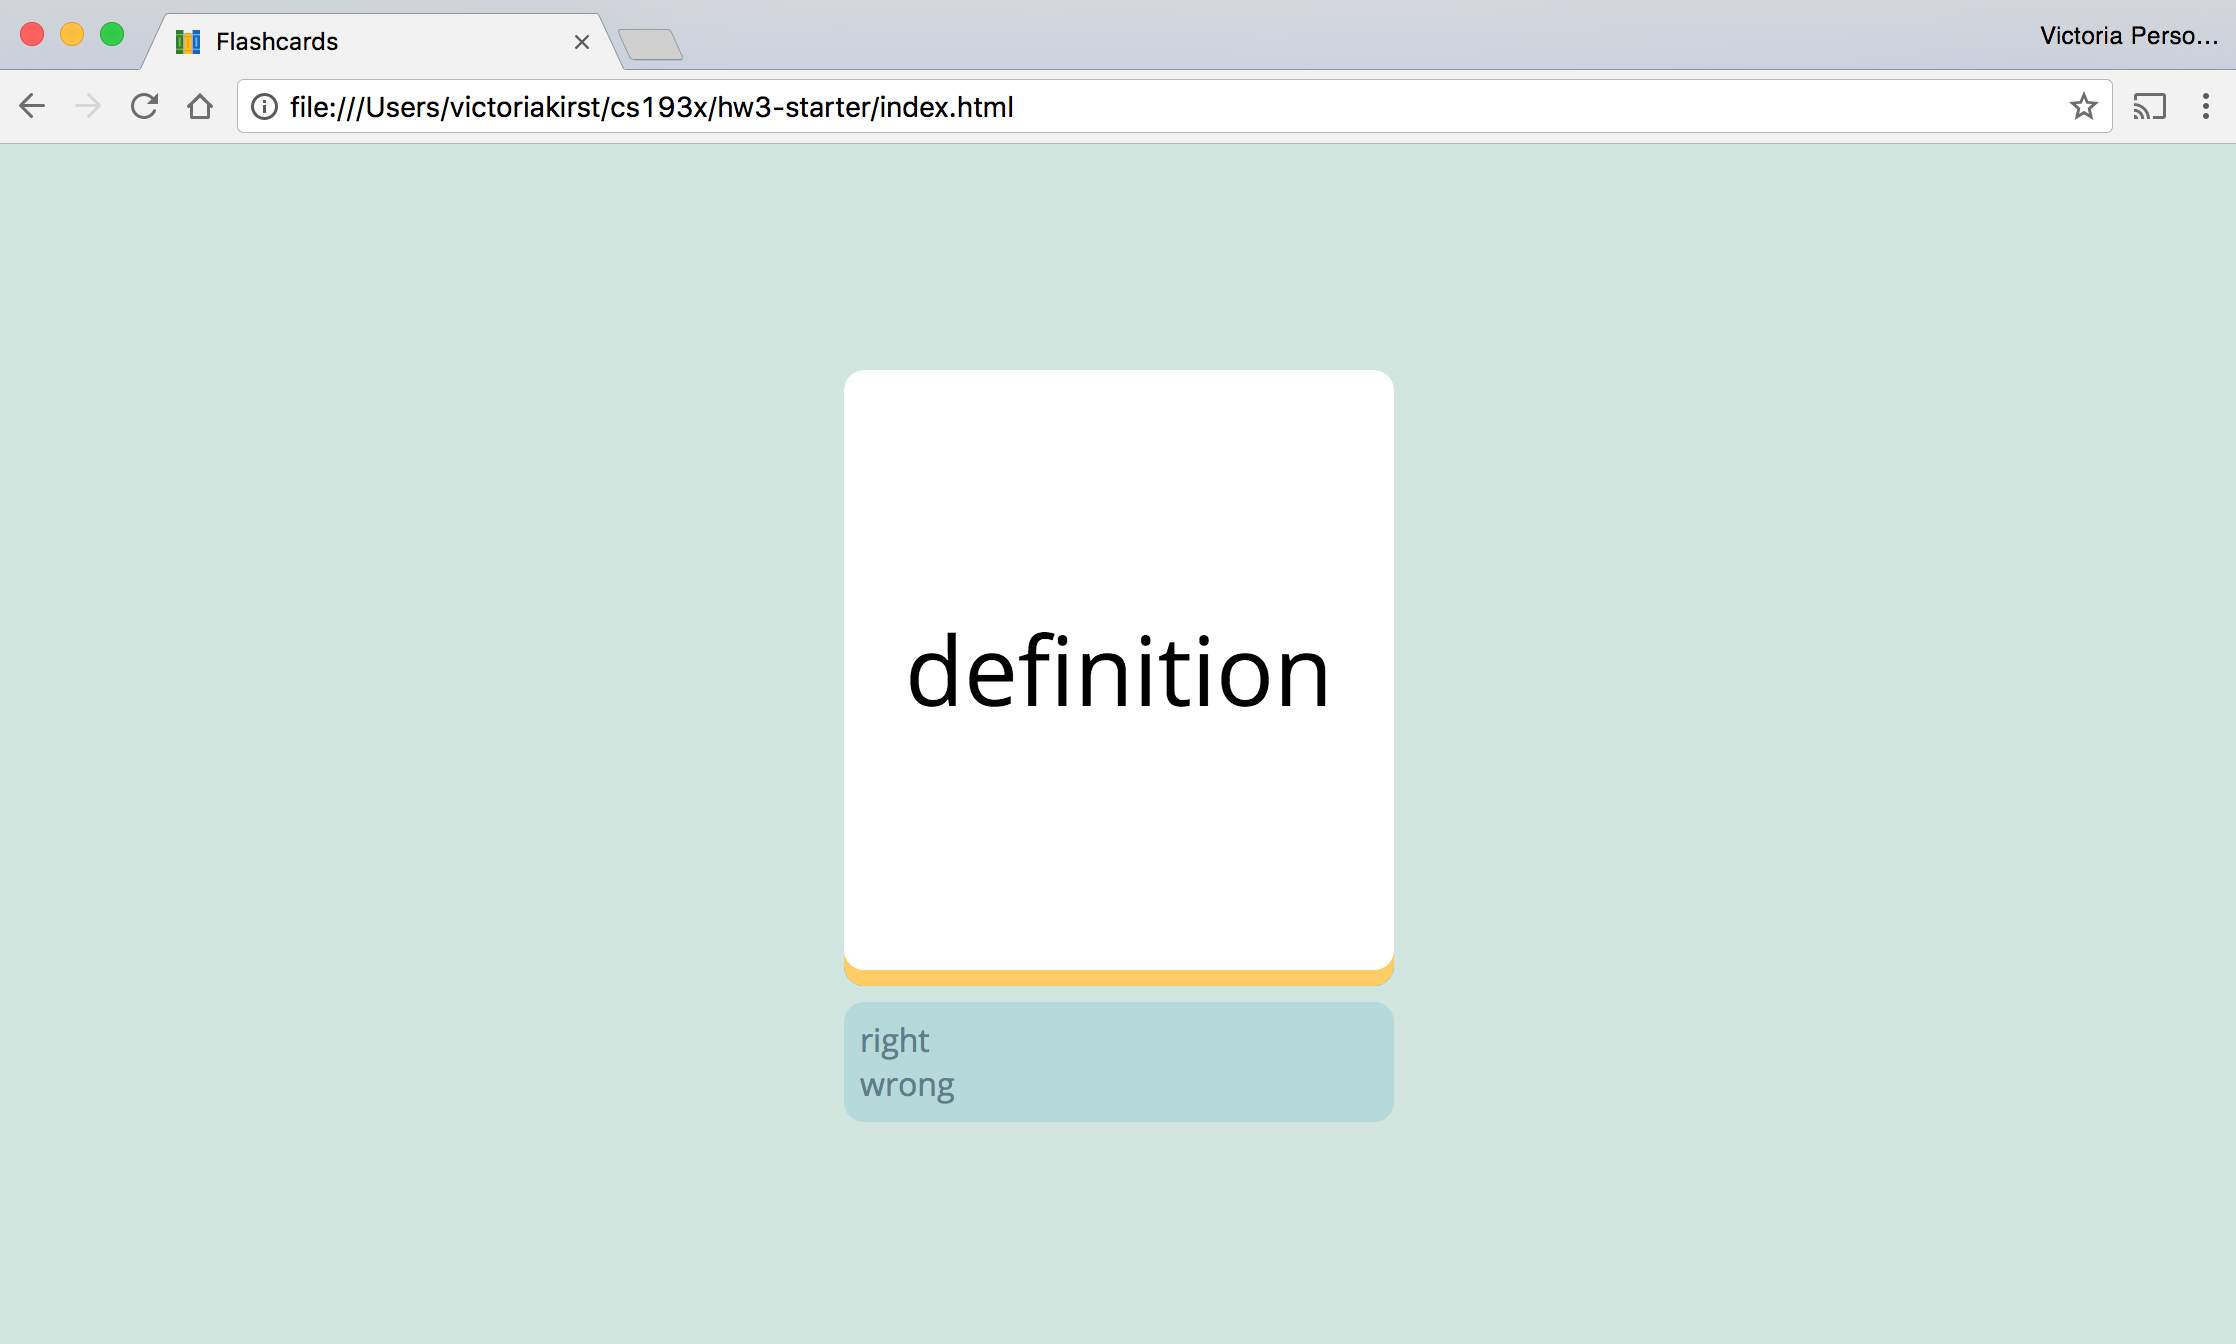
app.js, uncomment lines 21 and 22:this.menu.hide(); this.flashcards.show(); - Refresh `index.html. It should look like the following:

- Click on the card a couple times. This should make it flip from front to back:
- Open
flashcard-screen.js. Notice that the flashcard appears with “word” and “definition” because of the following line:const card = new Flashcard(flashcardContainer, 'word', 'definition');- This line of code was only included so that you can see the
Flashcardimplementation we’ve provided so far. Of course, you should modify or delete this line of code to complete the app.
- This line of code was only included so that you can see the
The flashcard screen is not complete, either. You will need to write the JavaScript necessary to implement the flashcard behavior as explained its dedicated section of the spec.
Results screen
- In
app.js, re-comment or delete lines 21 and 22 now:// this.menu.hide(); // this.flashcards.show(); - Uncomment lines 25 and 26:
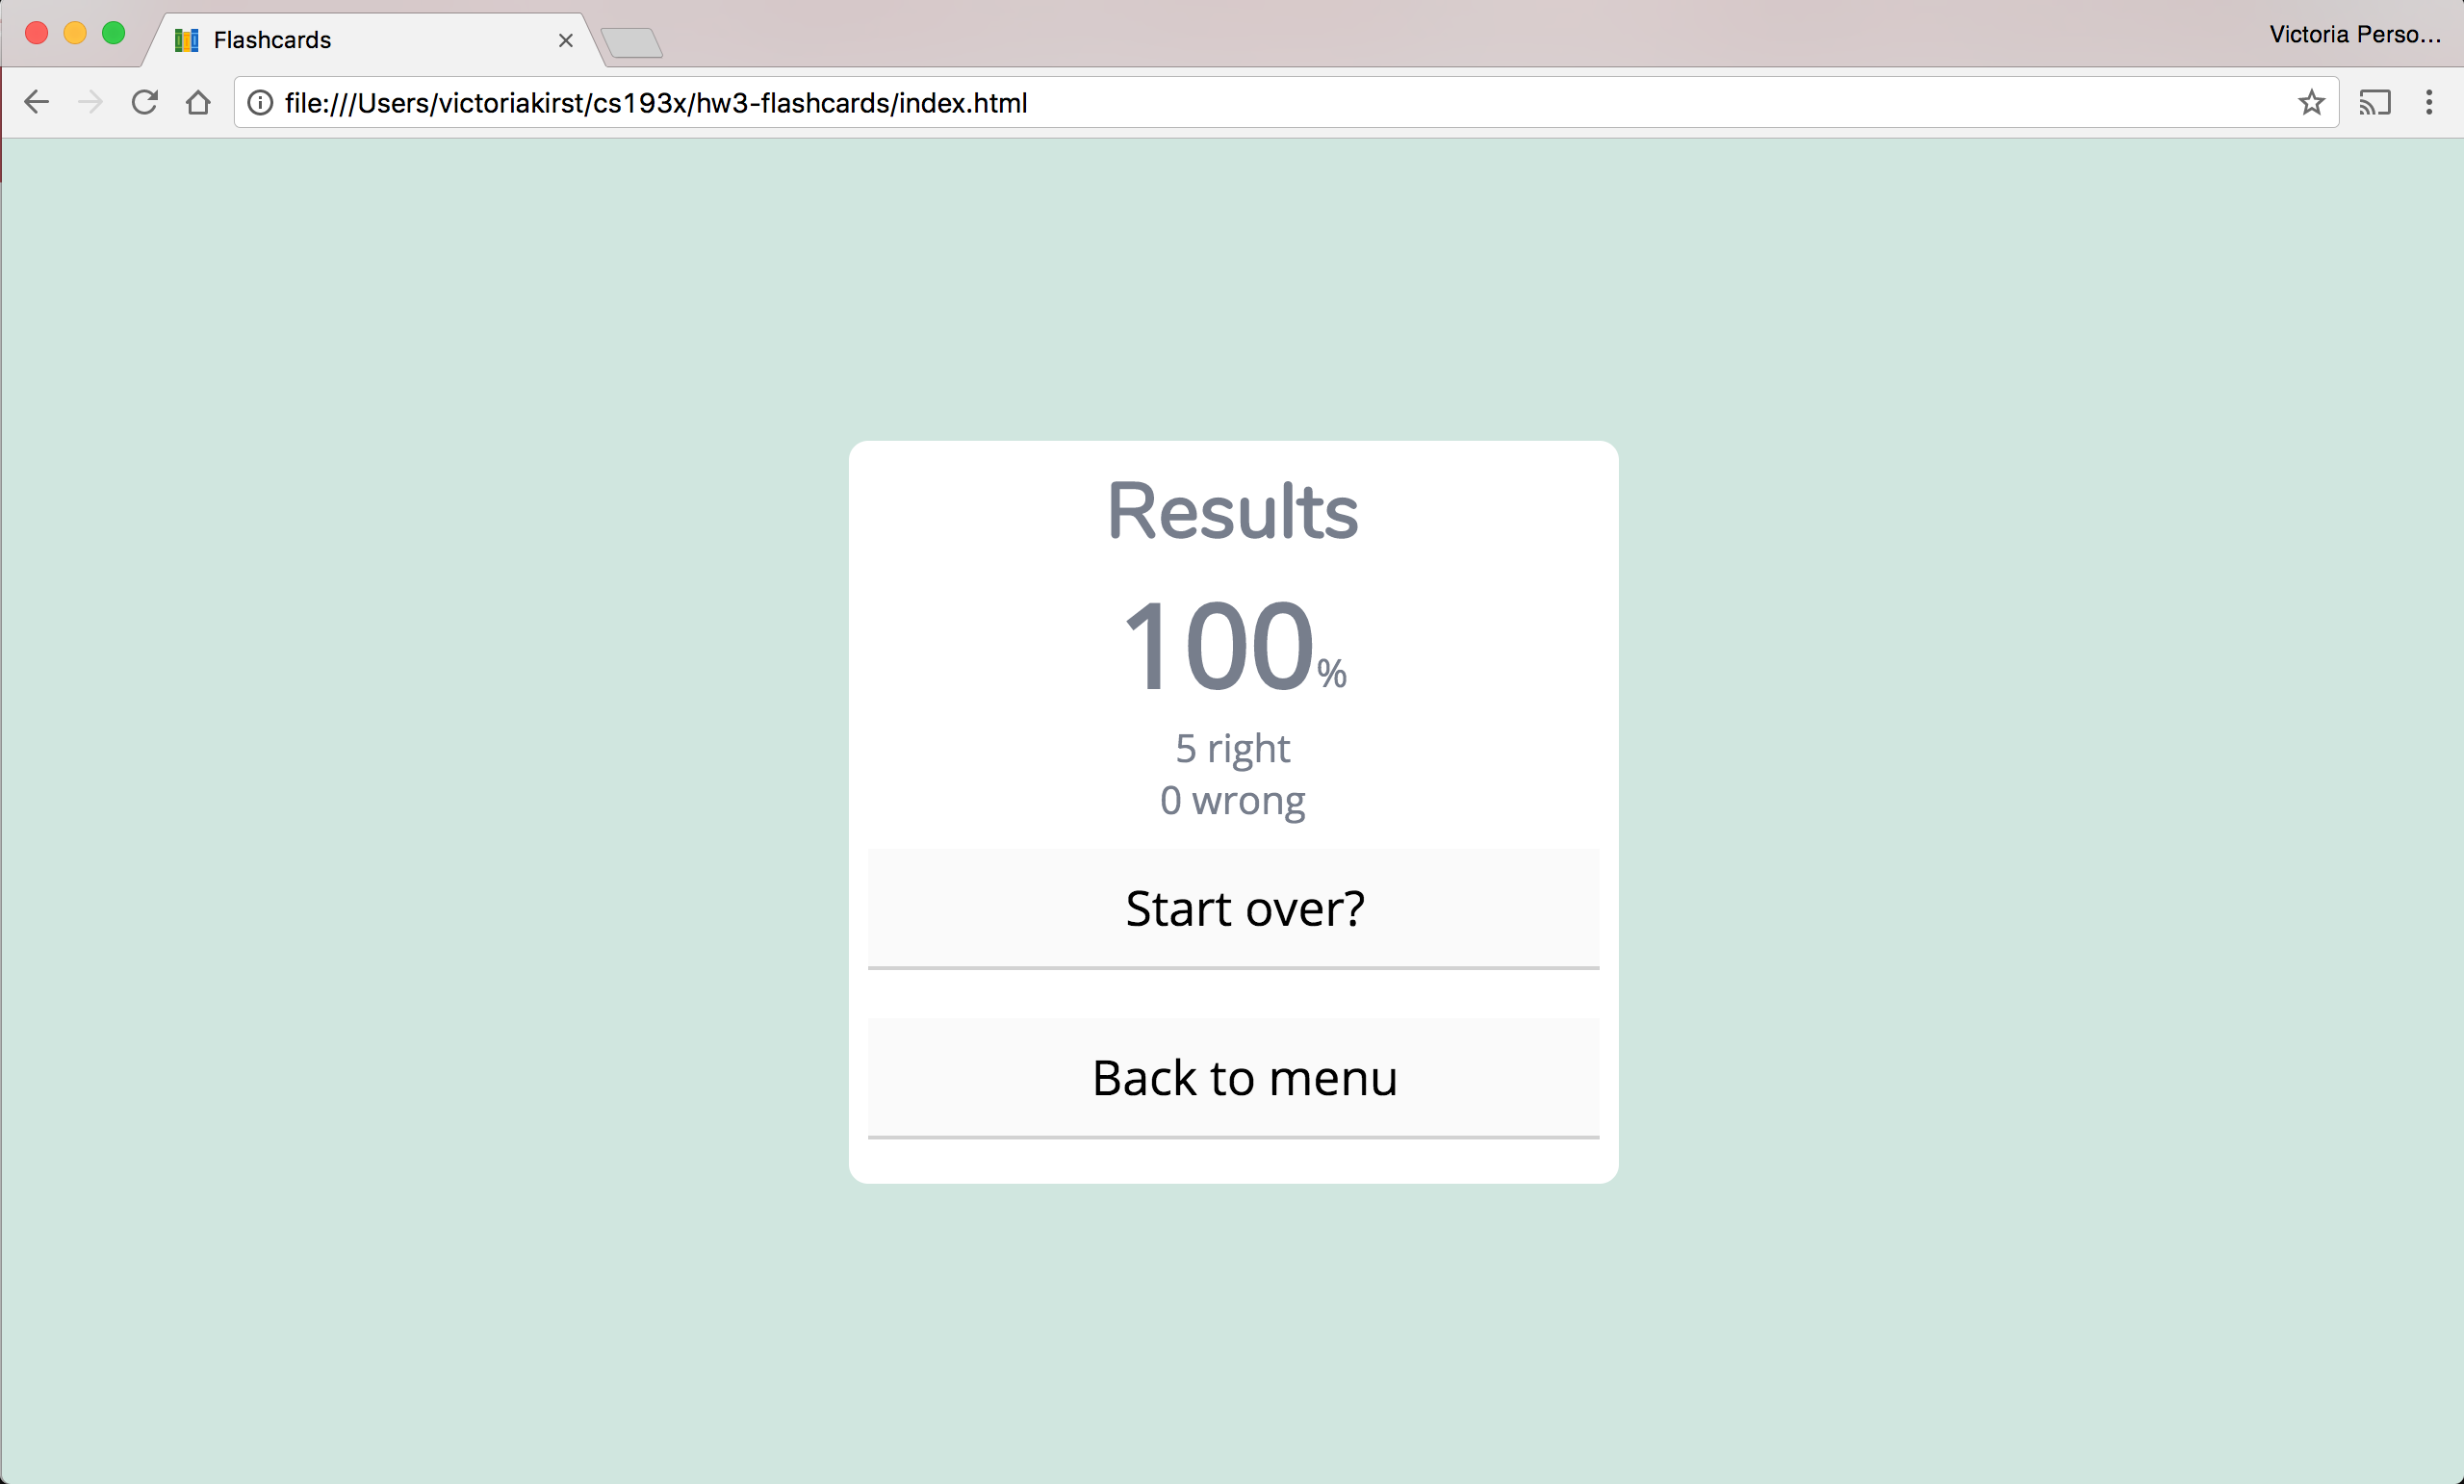
this.menu.hide(); this.results.show(); - Refresh
index.html. It should look like the following: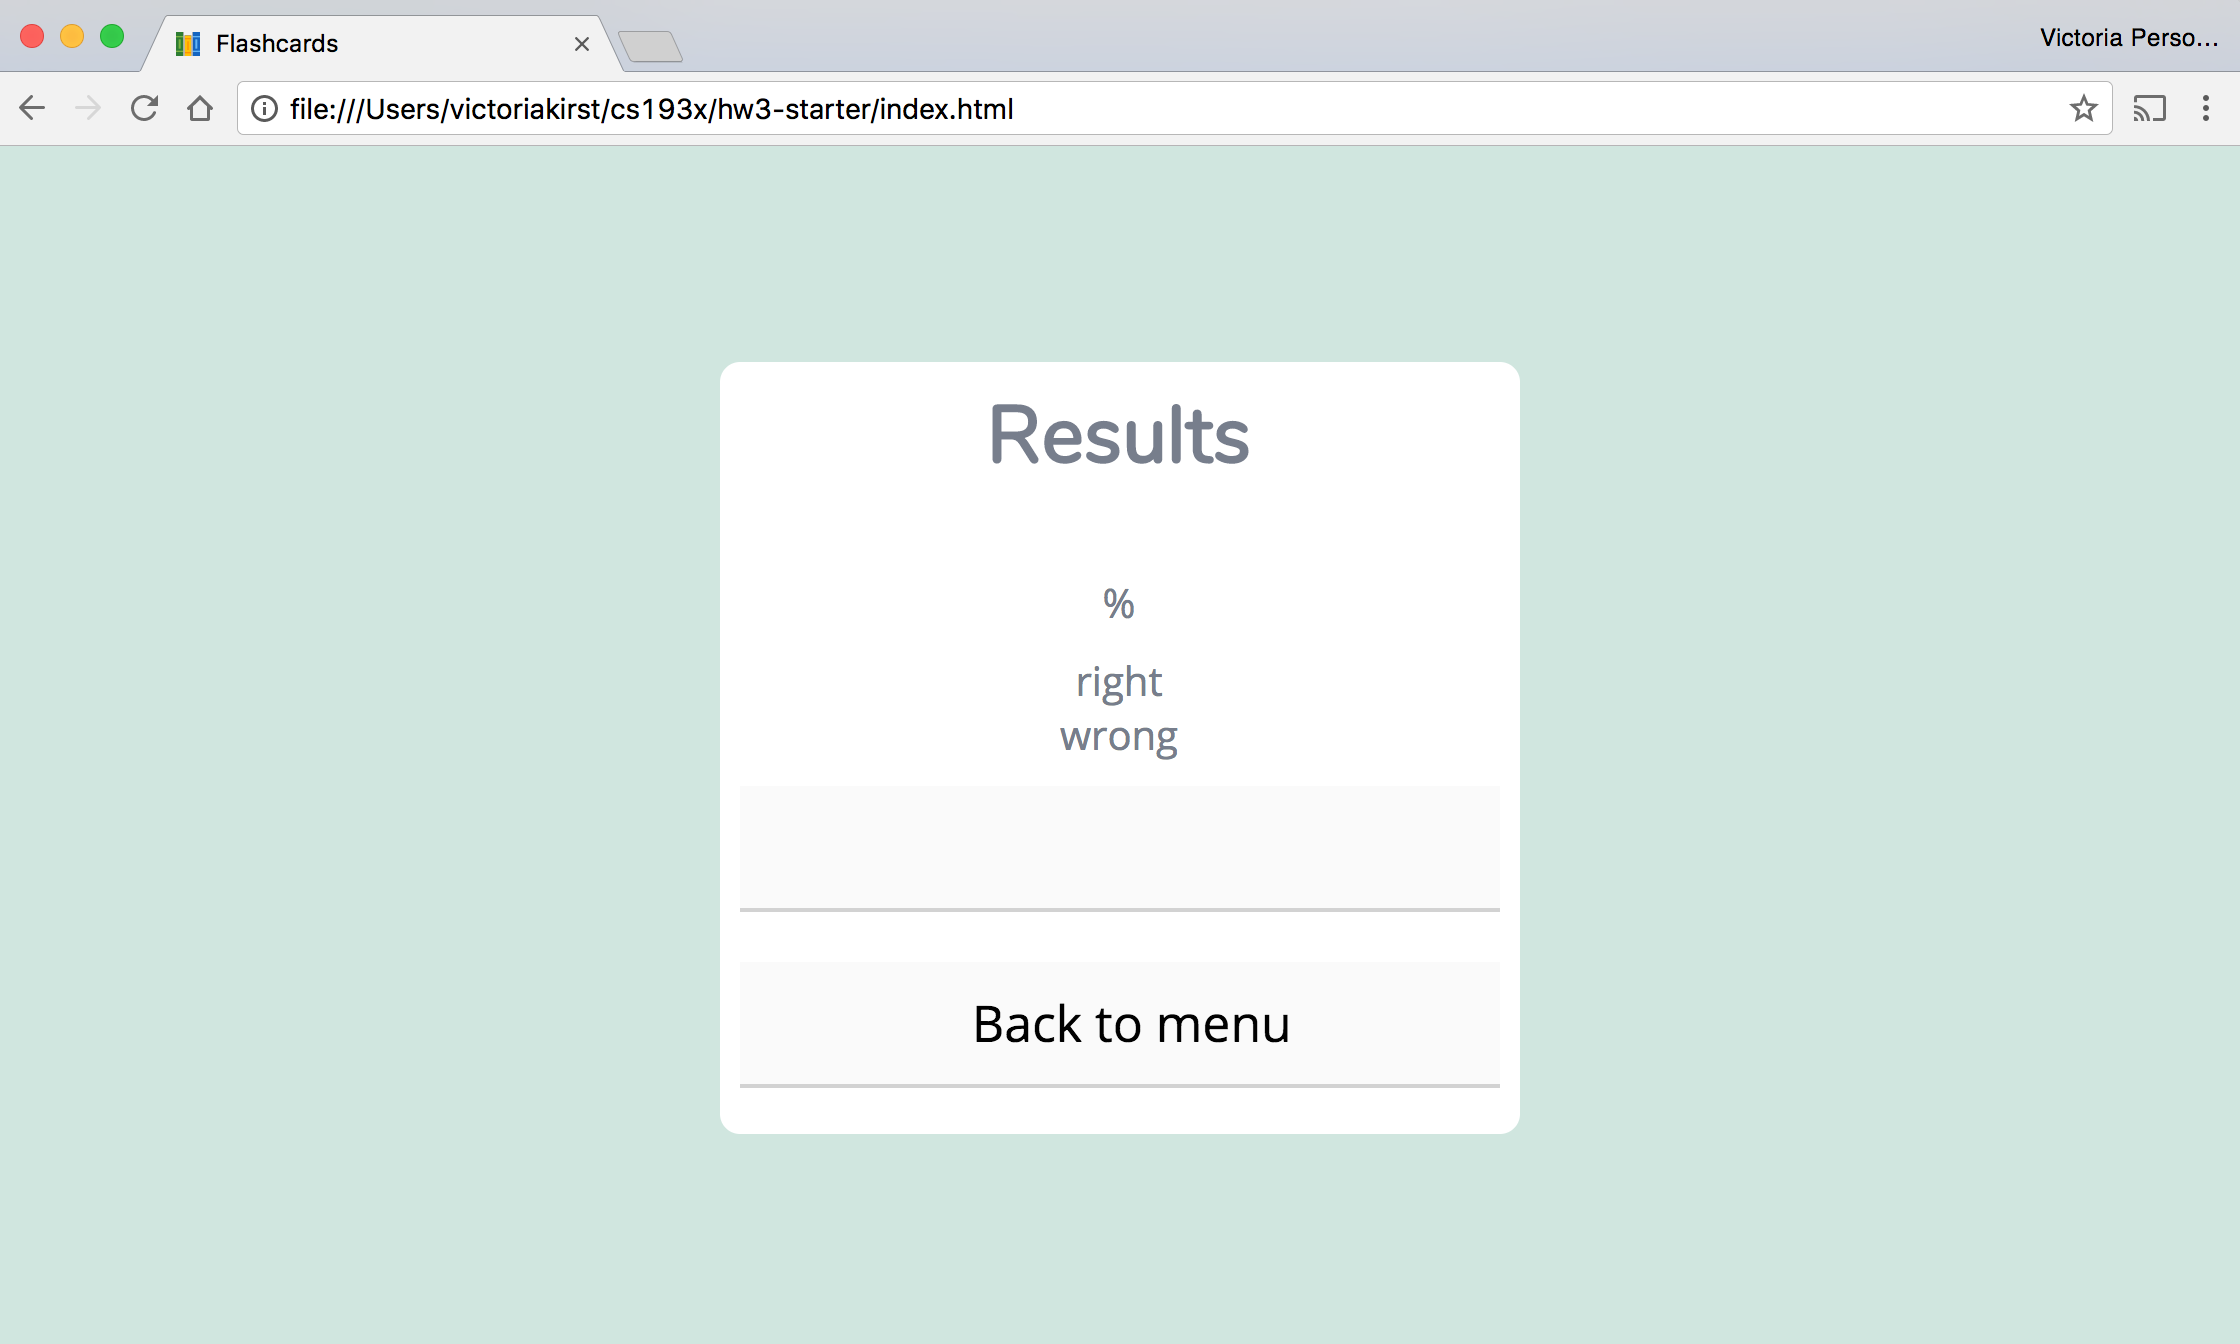
You will have to write the JavaScript necessary to fill out the results screen and implement its behavior, as explained later in the spec.
3. Implementation: Menu screen
This section describes the details on how the Menu screen should be implemented.
Behavior
- The flashcard menu items are taken from the
titles inconstants.js. - The menu items should appear in the order they appear in the
FLASHCARD_DECKSarray - When you click on a menu item, the menu screen should become hidden and the user should be taken to the Flashcard screen, loaded with the
wordsdeck associated with the selected menu item. - The menu should work even if you changed the values of
FLASHCARD_DECKS(while keeping the same general data format). For example, your menu should not be hardcoded to work for only three menu items.
Style
- All
<div>elements appended to the<div id="choices"></div>will receive the correct style as defined by the provided stylesheet. - Therefore you should create each menu item using a simple
<div>element with the title as its text content, and you should append these<div>elements to the<div id="choices"></div>container.
4. Implementation: Flashcard screen and flashcard behavior
This section describes the details on how the Flashcard / Main screen should be implemented, and the behavior of the flashcards themselves.
Initial animation
When a new card is shown, it animates in from the bottom.
- The animation should take around
0.5s. - HINTS:
- You should use the
@keyframesCSS animation styles we learned in class - You should apply the animation to
.flashcard-box .word
- You should use the
Click flashcard
This behavior is already implemented for you, but you may have to modify your code to keep this functionality working after you implement the drag behavior.
- When you click a card, it should toggle between showing the word and the definition.
- This is already implemented for you.
Drag flashcard
There are several aspects to dragging, broken down below.
Here are a few terms we will be using:
- origin: The initial point where the drag begins. This is the (x, y) coordinates of the mouse (specifically the
clientXandclientYvalues) when the user first clicks down or touches down on the flashcard to begin the drag. - positive direction: This indicates “positive” direction from the origin as defined above, meaning e.g. (currentX - originX) > 0.
- negative direction: This indicates “negative” direction from the origin as defined above, meaning e.g. (currentX - originX) < 0
General drag properties
- Dragging the flashcard should make it move along both the x- and y-axis, following the pointer as it moves around the screen.
- Dragging should only occur when the user is clicking down on desktop or touching the screen on mobile. When the user releases the click or stops touching the screen, the drag should end.
- The drag behavior is the same regardless of whether the word or definition side of the card is showing.
- Rotate
- The flashcard rotates as it moves away from the origin.
- The rotation is calculated by this formula, in degrees: 0.2 * (distanceFromOriginX).
- This rotation is based distance from the origin in the x-direction only.
- Examples:
- If the user drags the card (100px, 30px) from the origin of the drag, then the rotation should be 0.2 * 100 =
20deg. - If the user drags the card (100px, -25px) from origin: rotation is still
20deg, since you should only calculate based on the x-value. - If the user drags the card (-50px, -30px) from origin: rotation is
-10deg
- If the user drags the card (100px, 30px) from the origin of the drag, then the rotation should be 0.2 * 100 =
- HINT
Drag right (correct answer)
- If the user drags the card *150px or more in the positive x-direction, two things should happen:
- The background color of the app changes to
#97b7b7 - The number in the status box counting how many you got “right” should increase by 1
- The background color of the app changes to
- If the user drags the card back to the middle area (i.e. less than 150px from origin in the x-direction), then both of these changes should revert back:
- The background color should go back to
#d0e6df - The number in the status box counting how many you got “right” return to its original value
- The background color should go back to
Drag left (incorrect answer)
- If the user drags the card *150px or more in the negative x-direction, two things should happen:
- The background color of the app changes to
#97b7b7 - The number in the status box counting how many you got “wrong” should increase by 1
- The background color of the app changes to
- If the user drags the card back to the middle area (i.e. less than 150px from origin in the x-direction), then both of these changes should revert back:
- The background color should go back to
#d0e6df - The number in the status box counting how many you got “wrong” return to its original value
- The background color should go back to
Release flashcard
Release middle (no answer)
- If the user drags the card less than 150px in the positive or negative x-direction and releases, the card should return back to its original position.
- This transition should not be immediate: the card should move back to its original position in around
0.6s.
Release left or right
- If the user drags the card more than 150px in the positive x-direction and releases, this indicates that the user has gotten the answer correct:
- The number in the status box counting how many you got “right” should increase by 1
- The card you were dragging should immediately disappear.
- The next card in the deck should animate into view, or the user should be shown the Result screen if it is the last card in the deck.
- If the user drags the card more than 150px in the negative x-direction and releases, this indicates that the user has gotten the answer wrong:
- The number in the status box counting how many you got “wrong” should increase by 1
- The card you were dragging should immediately disappear.
- The next card in the deck should animate into view, or the user should be shown the Result screen if it is the last card in the deck.
5. Implementation: Results screen
This section describes the details on how the Results screen should be implemented.
Stats
Display the percentage correct, the number correct, and the number incorrect for this flashcard deck.

- The
index.htmlcontains emptyspans with classespercent,correct, andincorrect. Fill these in via JavaScript to get the desired output.- The stats are already styled for you via the provided CSS stylesheet so long as you fill in the correct
spanelements with the data.
- The stats are already styled for you via the provided CSS stylesheet so long as you fill in the correct
- The percentage should be rounded to the nearest whole number.
Buttons
There are two buttons displayed at the end of the flashcard session. The first button is different depending on whether the user got every flashcard in the deck correct.
Less than 100%
- If the user got less than a perfect score, the first button (with a class of
continue) should say “Continue” - Clicking “Continue” will then go back to the Flashcard screen, but with only the flashcards the user got wrong.
- The stats at the end of every round should still be out of the total number of flashcards in the deck. For example, if the first round you got 3/5 flashcards correct, and you continue, you will get presented with the 2 cards you got incorrect. If you get those 2 cards correct, the stats will show you’ve gotten “5” cards correct, since that is the total number of cards in the deck.
Perfect score: 100%
- If the user got a perfect score, the first button (with a class of
continue) should say “Start over?” - Clicking “Start over?” will then go back to the Flashcard screen with the same flashcard deck, starting over with 0 right and 0 wrong.
Back to menu
- Clicking the “Back to menu” button should make the app go back to the Menu screen.
Style requirements
You are allowed, encouraged, and required to make significant changes to the JavaScript files / code we’ve provided. You may want to or have to do things such as:
- Add constructor parameters
- Delete lines of code we wrote in the starter code
- Add your own fields and methods to the classes
- Add your own class(es)
You will not be graded on OO-design skills, so do not worry too much about having perfectly composed classes.
Here are some more details on what we are looking for in terms of style:
- No additional global variables: For full credit, you may not add any additional global variables to the Flashcard app, other than the existing
appvariable defined inmain.jsand theFLASHCARD_DECKSinconstants.js. - Use ES6 classes: To complete this assignment, you do not need to know about other ways of creating objects, such as via
prototype. You should practice usingclasses as described in lecture. - OO-design: We are not going to grade on object-oriented design. We may award bonus points for particularly well-composed apps, but your main concern should be to get the functionality working.
- Comments, variable names, etc.: We are also not grading on general good coding style, such as having comments or using good variable names. However, we encourage you to practice good coding style for your TAs’ sake! We will only dock style points if someone’s code is so extremely difficult to read that it impedes your TA’s ability to grade your assignment.
Submit
Upload your completed homework to your GitHub repository and publish them, in the same way that you did with Homework 0.
Turn in the link to your GitHub repository and the link to your completed flashcard web page via this form: