Jupyter
From FarmShare
Contents |
Introduction
Project Jupyter evolved out of the IPython project (specifically the IPython notebook). The primary goal of Project Jupyter is to provide an interactive, web-browser driven, language-independent programming environment. Jupyter can be deployed on the farmshare servers to enable an accessible, powerful, and persistent computational platform.
At the end of this guide, the resulting jupyter notebook will support:
- an encrypted, token protected, web-browser enabled programming environment
- persistence of the environment for seven days (the maximum duration of Stanford Kerberos tickets)
- file/data storage on the Stanford AFS servers with 5GB user quota and automatic backups
- shared file/data storage to Class Disk AFS Space
- simple switching to any of the Stanford FarmShare systems
- python3 default programming language
Installation
Jupyter setup is best performed via the Linux console. This guide will be mostly step-by-step, but general familiarity with Linux is helpful. Useful tutorials are available as a free book, online tutorial, or video series.
SSH is a protocol that enables an encrypted remote shell into another system. SSH is the primary way that Jupyter will be installed and accessed. SSH into one of the farmshare computers. The corn cluster (corn.stanford.edu) is a good choice. Windows does not come with an SSH client, but putty is a a free and lightweight SSH client for Windows. Mac and Linux have ssh clients accessible via the terminal.
Bind to Jupyter virtual environment
corn01:~> bash
jane@corn01:~$ source /afs/ir.stanford.edu/group/bil/jupyter/bin/activate
(jupyter)jane@corn01:~$
These two commands switch the shell to bash and then update the environment to use a pre-built Jupyter installation. The prompt should have the (jupyter) prefix if the environment change is successful.
This Jupyter environment has the following packages installed:
bokeh ipython jupyter jupyter_contrib_nbextensions matplotlib numpy pandas scipy seaborn statsmodels sympy
Alternative: Create personal Jupyter virtual environment
If the pre-built Jupyter environment is not sufficient (e.g., additional packages or different versions are needed), then a personal virtual environment can also be setup:
corn01:~> bash
jane@corn01:~$ virtualenv -p python3 jupyter_env
jane@corn01:~$ source jupyter_env/bin/activate
(jupyter_env)jane@corn01:~$ pip3 install jupyter <other desired packages>
Setup encryption and default configuration
(jupyter)jane@corn01:~$ /afs/ir.stanford.edu/group/bil/jupyter/scripts/jupyter_config_wrapper
This command calls a script that will create encryption keys for the Jupyter notebook and configure the jupyter config file to use these newly created keys. Note, this will modify existing Jupyter notebook config files (if they exist), but will not overwrite any parameters that have changed from their default values.
Installation is complete after this step is successful. Log out of FarmShare.
Execution
Jupyter will be run within a persistent virtual terminal leveraging the keeptokens script so it can stay running even after the user has logged out of FarmShare.
Creation of virtual terminal
corn01:~> pagsh
sh-4.3$ kinit -r 7d
Password for jane@stanford.edu:
corn01:~> aklog
corn01:~> bash
jane@corn01:~$ source /afs/ir.stanford.edu/group/bil/env/jupyter/bin/activate
(jupyter)jane@corn01:~$ screen
Use Ctrl+a then d to exit screen.
Ipython
Ipython provides both a command line and browser based (notebook) interfaces. The development is quite fast, so the distribution provided packages tend to lag behind enough it makes sense to setup a python environment which incorporates the latest updates.
building an Ipython notebook environment
Login to a corn and make yourself an Ipython environment in the non-AFS space
mkdir -p /farmshare/user_data/$USER/ipythontest
cd /farmshare/user_data/$USER/ipythontest
virtualenv --system-site-packages devbranch
devbranch/bin/pip install --upgrade ipython
devbranch/bin/pip install --upgrade tornado
devbranch/bin/pip install jsonschema
cp -p /farmshare/software/examples/ipython/audio.ipynb .
To run Ipython notebook environment, first start it up:
devbranch/bin/ipython notebook `%pylab inline` --no-browser
You should see output similar to following:
2013-12-03 21:39:50.435 [NotebookApp] Created profile dir: u'/afs/ir.stanford.edu/users/b/i/bishopj/.config/ipython/profile_default'
2013-12-03 21:39:50.465 [NotebookApp] Using MathJax from CDN: http://cdn.mathjax.org/mathjax/latest/MathJax.js
2013-12-03 21:39:50.599 [NotebookApp] Serving notebooks from local directory: /srv/zfs01/user_data/bishopj/ipyhtontest
2013-12-03 21:39:50.599 [NotebookApp] The IPython Notebook is running at: http://127.0.0.1:8888/
2013-12-03 21:39:50.599 [NotebookApp] Use Control-C to stop this server and shut down all kernels (twice to skip confirmation).
Setup an ssh tunnel from your desktop system to the same corn system you ran the notebook on in previous step. In my case port 8888 and corn02.
ssh -L 8888:localhost:8888 corn02
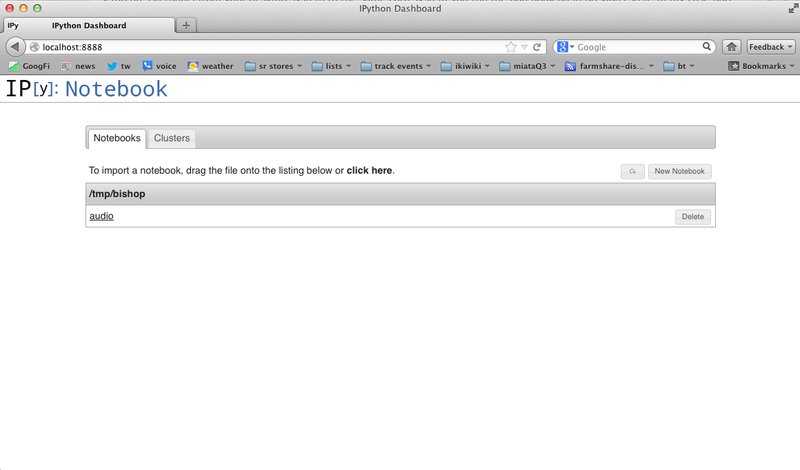
Now again from your desktop system open a web browser and navigate to 'localhost:8888'
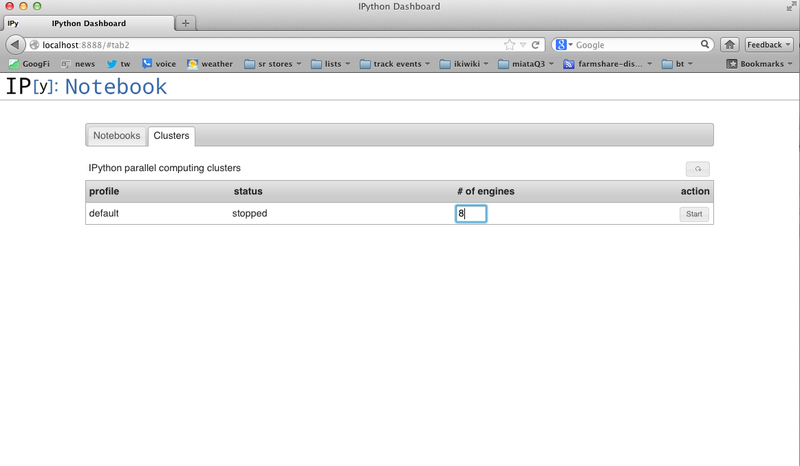
Now click on Cluster and startup your cluster 
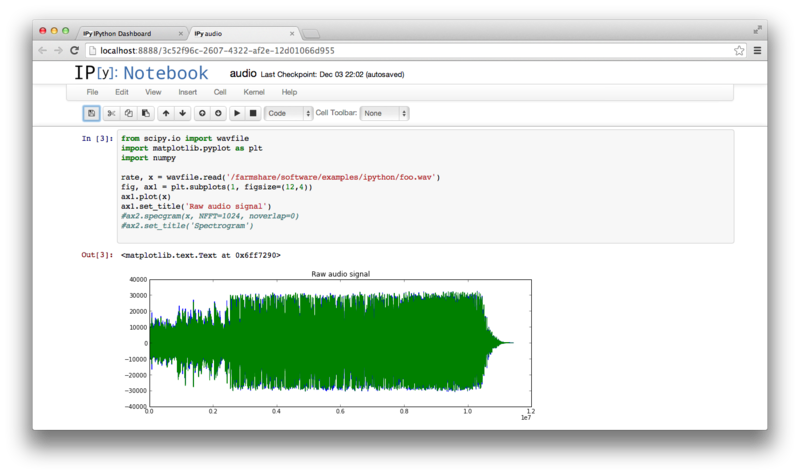
Click back on the Notebook tab and you should see an audio notebook. click on this.

Now you can load up a notebook and "play" 
