|
None of these jigs are required to build a taiko. However, they make the process considerably easier, faster, and more consistent. Thanks to the ingenious parents of Zenshin Daiko who seemed to have a jig for every job.
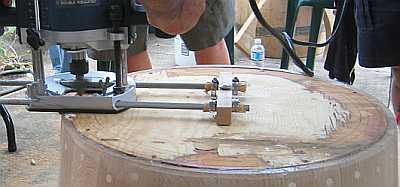
- Circle Cutting Jig for Router
Click for different view
This jig is essential: it makes cutting a perfect circle fast and precise.
To make it, use a small piece of wood to join the two sliding shafts and drill a bolt down the middle. The bolt is the pivot point. The version shown here uses a 3/8" diameter bolt, because the hole for the bolt can easily be plugged with the same 3/8" diameter dowels that are used in the rim reinforcement.
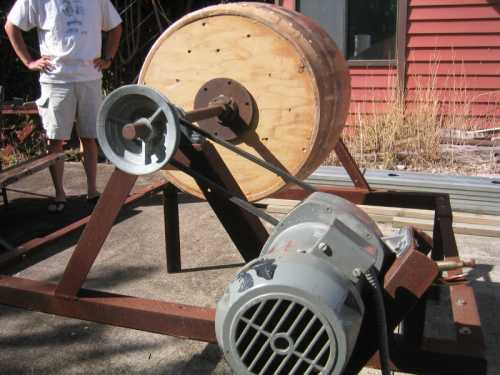
- Barrel Rotisserie for Sanding
Click for different view
This jig really impressed us: it cut our sanding time down from a few days to about 2 hours.
It is basically a big metal rotisserie with a motor that slowly rotates the drum (at about 9 RPM). This is a pretty heavy-duty jig, and it is certainly beyond what our group is capable of building, but we loved working with it. It would be possible to make a simpler version without the motor, and have two people rotate the drum by hand while the third does the sanding.
- Skinning/Stretching Stand

Click to learn how to build skinning stand
- "Upsidedown Cart"

This is like a smaller version of the sanding jig. There are four rubber wheels mounted on a wooden frame, and the barrel is placed on top. Zenshin uses this when working on the inside of the barrel.
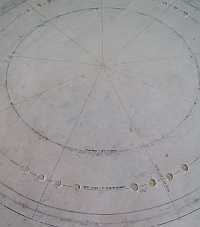
- Drum Head Blueprint
Click to expand
This is a great idea for getting a skin quickly marked and cut: Just lay it out over the skin and mark the size of the head and the position of the mimi.
It is printed on thick wax paper (engineering paper). The Zenshin Daiko pattern uses circular holes for the mimi rather than slits. It has 9 sets of mimi for an 18.5" diameter head; each hole is 1 3/8" apart, center to center. The mimi are 3" from the drum head, and 3" from the mimi is the cut line. The center and drum head are also marked.
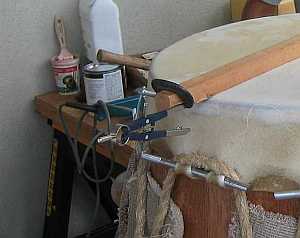
- Tack Line Marking Tool
Click to expand
Simple tool, but the tacks come out straight every time.
It's just a compass C-clamped to one end of a beam. It can be easily adjusted, and the pencil marks wipe off.
- Vertical Drill Guide
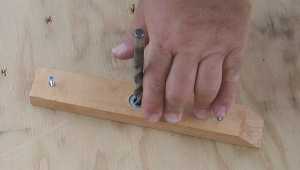
Click to expand
Another simple jig. This one helps guide the drill bit so that the hole will be perpendicular to the surface.
|

 Introduction
 History
 Process
 Thank Yous

 Introduction
 History
 Process
 Thank Yous