Install CS106 specific components
After installing Qt, you must install the CS106-specific components and do a complete build and run cycle to confirm all is working properly.
Download CS106 project and extract
- Download this archive file: 📦 CS106.zip
- Un-zip the download contents (on a Windows computer, click "Extract all") to a location of your choice. You should have a folder named
CS106with several files and folders inside.
Open and configure CS106 project
A Qt Creator project includes a file named with a .pro extension. Double-clicking the .pro file opens the project in Qt Creator.
-
Find the
CS106.profile and open it now. - When opening a project for the first time, Qt Creator brings up a "Configure Project" panel for you to select the appropriate build kit (see screenshot below). The default kit should already be selected; it will match the component you selected when installing Qt Creator. Accept the default by clicking the "Configure Project" button.
- If no kits are shown as available, review the Qt install instructions. You can repeat the steps to re-install if you missed selecting the required components.

Build the program
C++ code must be compiled or built before it is run; this means converting the source code into executable binary code.
- Click the Build icon
 in the lower-left of the Qt Creator window.
 - Watch the build progress meter
 in the lower-right. The first time you build a project, it can take a minute or more to compile the library code. When the bar turns green, it indicates the program successfully built.
Run the program
Now that the program is built, you are ready to run it.
- Click the Play/Run icon
 in lower-left of window.
 -
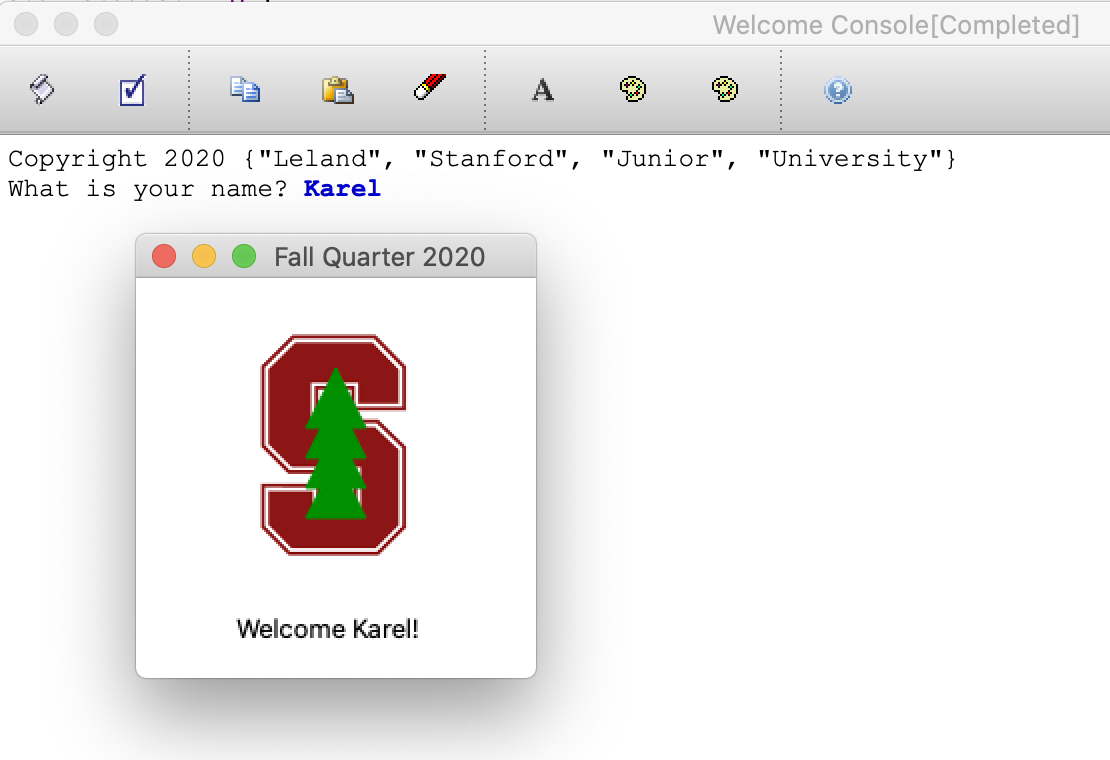
As shown in the screenshot below, the welcome program prints a message to the console window and draws the Stanford logo on graphics window.
✔️ Congratulations, your installation is good to go! You may now discard the CS106 project, you will not need it again.