
Sentaurus Workbench
4. Building Multiple Experiments
4.1 Adding Parameters
4.2 Setting Up Multiple Experiments
4.3 Creating Scenarios
4.4 Pruning Project Trees
Objectives
- To add parameters and variables.
- To create multiple experiments and scenarios.
4.1 Adding Parameters
In Sentaurus Workbench, parameters can be defined and multiple values can be assigned to them to create splits in experiments (simulations). Each value of a parameter creates an additional experiment; therefore, for N values of a parameter, there are N experiments. For two parameters, P1 and P2, with M and N values, respectively, there are M x N possible experiments.
You will now introduce parameters to the simple example created in Section 3. Creating Projects:
- Right-click the gray box immediately below the Sentaurus Process icon in the main window of Sentaurus Workbench, and select Add.
- In the Add Parameter dialog box, enter the fields as shown in Figure 1.
- Click OK.
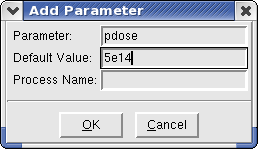
Figure 1. Add Parameter dialog box.
Repeat the above procedure to create another parameter called penergy with the default value of 40. The main window of Sentaurus Workbench should now look like Figure 2. Note that Sentaurus Workbench added virtual nodes (light blue) to represent a possible future split.
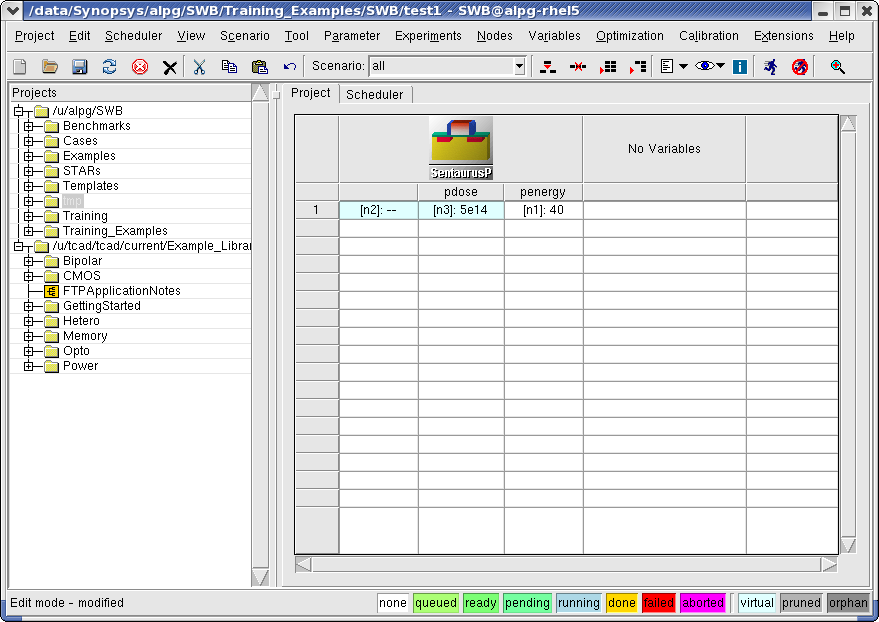
Figure 2. Main window of Sentaurus Workbench showing new parameters. (Click image for full-size view.)
The parameter penergy is now defined but not yet used. To use the parameter, open the Sentaurus Process input file with a text editor, and replace the line:
implant phosphorus dose=5e14 energy=40
with:
implant phosphorus dose=@pdose@ energy=@penergy@
The constructs @pdose@ and @penergy@ are placeholders for the parameters in the input file. Sentaurus Workbench replaces them with the actual value of the parameters during the preprocessing stage.
To preprocess the project: Project > Preprocess (Ctrl+P). Sentaurus Workbench will first want to save the project.

Figure 3. Preprocessor Log dialog box. (Click image for full-size view.)
You can use the Node Explorer to view the input file for node 1 (pp1_fps.cmd) and see that the parameters have indeed been replaced by their respective values for node 1.
Note that Sentaurus Workbench automatically preprocesses a project when you click the Run button. Therefore, manual preprocessing is not necessary most of the time.
4.2 Setting Up Multiple Experiments
To set up multiple experiments:
- Experiments > Add New Experiment.
- Enter the values as shown in Figure 4.
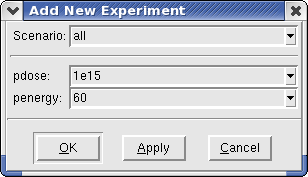
Figure 4. Add New Experiment dialog box.
To add multiple values for a parameter, right-click the parameter name and select Add Values. For the parameter penergy, enter the values as shown in Figure 5.

Figure 5. Add Parameter Values dialog box.
After you have finished adding parameters, it is recommended to clean up the project: Project > Clean Up (Ctrl+L), and select the required options (see Figure 6).

Figure 6. Cleanup Options dialog box.
The main window of Sentaurus Workbench should look like Figure 7.
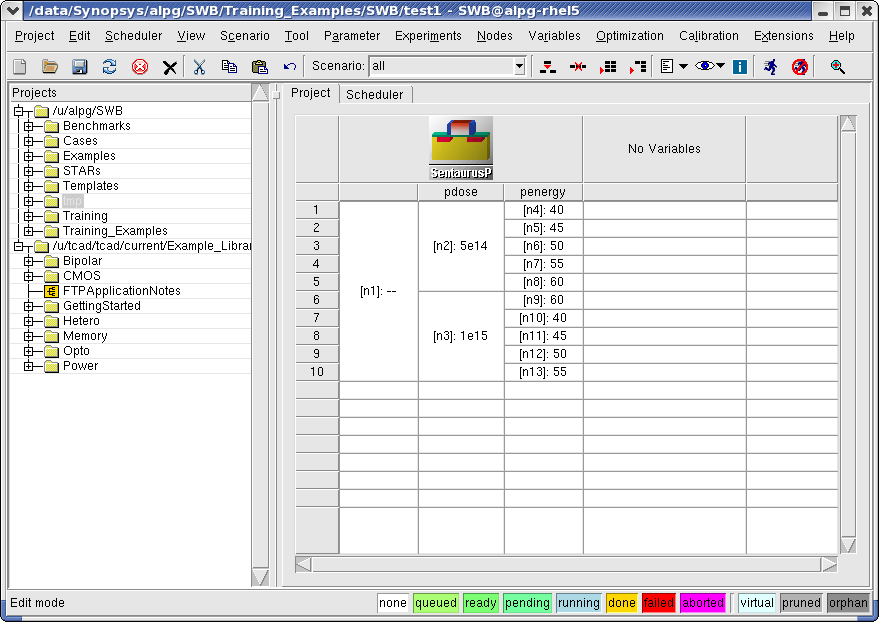
Figure 7. Main window with experiments. (Click image for full-size view.)
When the project modifications are finished, you can save them by selecting Project > Save As (Ctrl+S).
4.3 Creating Scenarios
With several values for the project parameters, the total number of experiments (the possible simulations for each combination of the parameter values) can become very high. You can run all of them or make subsets of the experiments called scenarios. The entire set of experiments constitutes the scenario all.
In addition, you can copy sets of experiments to create several scenarios and run them individually. To illustrate this, you will create a scenario called New1 consisting of experiments 3, 7, and 9.
To create a scenario:
- Scenario > Add.
- In the Add Scenario dialog box, type New1.
- Click Add (see Figure 8).
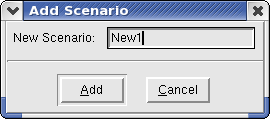
Figure 8. Add Scenario dialog box.
This creates a scenario called New1 with zero experiments. You can choose which scenario to display in the main window of Sentaurus Workbench by using the Scenario box (black border) in the toolbar (see Figure 9).

Figure 9. Scenario box in toolbar. (Click image for full-size view.)
Now you will copy experiments to the scenario New1:
- In the Scenario box, select all.
- Click experiment 3 to highlight it.
- Hold the Ctrl key and click experiment 7 and then experiment 9. All three projects should be highlighted.
- Edit > Copy.
- In the Scenario box, select New1.
- Click a cell in the table.
- Edit > Paste.
The three experiments are copied to this scenario (see Figure 10), which can be run in the usual way.

Figure 10. Selected experiments after being copied to New1 scenario. (Click image for full-size view.)
The creation of different scenarios is particularly helpful when many parameters are used. The resulting experiments can be classified into separate scenarios to represent different physical situations.
4.4 Pruning Project Trees
Often, when many parameters are used in a project, certain combinations of parameters are not required to be simulated. In such cases, the project tree can be pruned by terminating such experiments.
To prune particular nodes:
- Select nodes.
- Node > Prune.
All pruned nodes then appear gray and will not be executed (see Figure 11).
If a parent node is pruned, all subsequent nodes in the project tree branch are pruned automatically.

Figure 11. Some project tree nodes are pruned and will not be executed.
To disable pruned node visualization: View > Tree Options > Show Pruned (or press the F8 key).
Section 4 of 6 | back to top | << previous section | next section >>
Copyright © 2011 Synopsys, Inc. All rights reserved.