Install Qt Creator on Mac
1) Ensure system is up-to-date
Before installation, ensure your macOS operating system is current. Select menu -> "System Preferences" -> "Software Update" and check whether any OS updates are available. If so, install them first and only then proceed with the rest of this installation guide.
2) Install Xcode tools
Apple's developer tools are bundled as a part of Xcode. Installing Xcode provides the C++ compiler that is used by Qt Creator.
To identify the correct version of Xcode to install, you need to know which OS you are running. Go to the menu -> "About This Mac" and read the macOS version number.
- If you are running the macOS Catalina >= 10.15, you can install Xcode directly from App Store using the instructions below.
- If your macOS is 10.14 or older, you need an older version of Xcode, e.g. MacOS 10.14 is compatible with Xcode version 11.3. You can find older versions of Xcode at Apple Developer Downloads.
To install from App Store:
- Select menu - > "App Store…".
- Search for Xcode. Download and install.
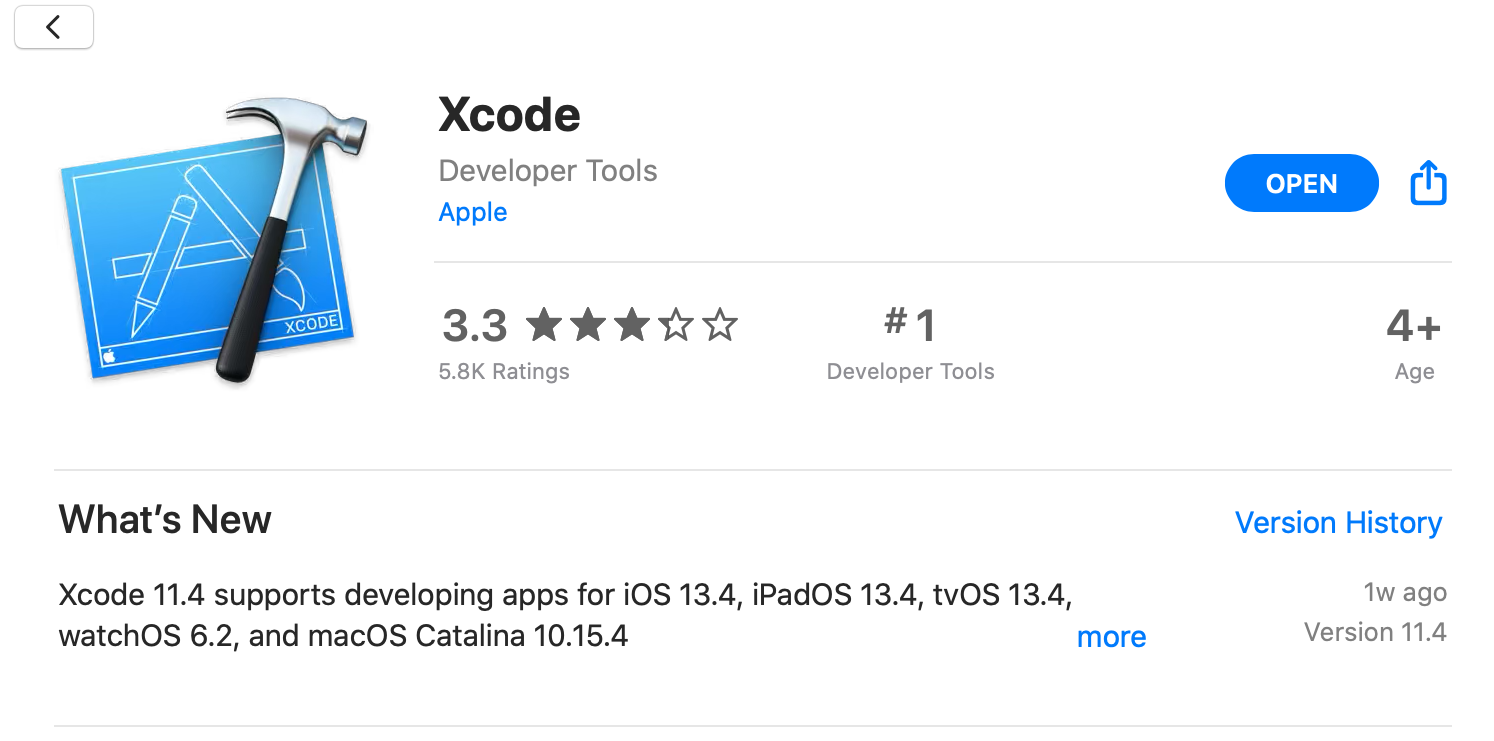
Xcode is a very large app, so the download will take some time, 1-3 hours depending on your network connection speed.
3) Run Xcode once
After downloading Xcode, you have to actually launch the Xcode application one time to install its components. You can open Xcode using Spotlight (the magnifying glass at the top right of your screen) and typing in "Xcode". Click "Agree" to accept the License Agreement and enter your password if prompted. Watch the progress bar "Installing components…". When it finishes, you may exit Xcode and do not need to launch it ever again for this course.
4) Download the Qt Creator installer
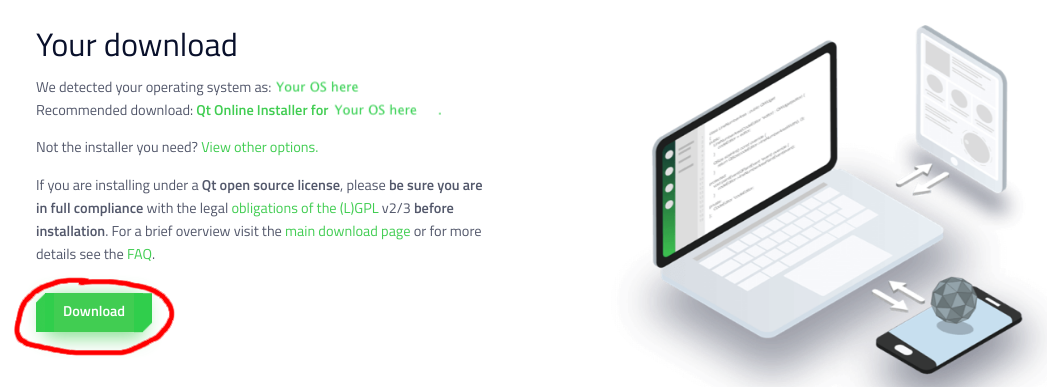
The Qt Creator official download site is https://www.qt.io/download-qt-installer. When you go to this site, it should detect that your computer is running MacOS and recommend the installer "Qt Online Installer for Mac OS". Click the green "Download" button to download the installer.
5) Run the Qt Creator installer
The downloaded installer is named something like qt-unified-mac-version.dmg. Double-click to mount the disk image and launch the installer..
The graphical installer launches and walks you through a set of steps. For most steps, you can use the default settings and simply click "Next" or "Agree" to move on, with the following exceptions:
- At the Qt Account step, you will have to create your own Qt Account.
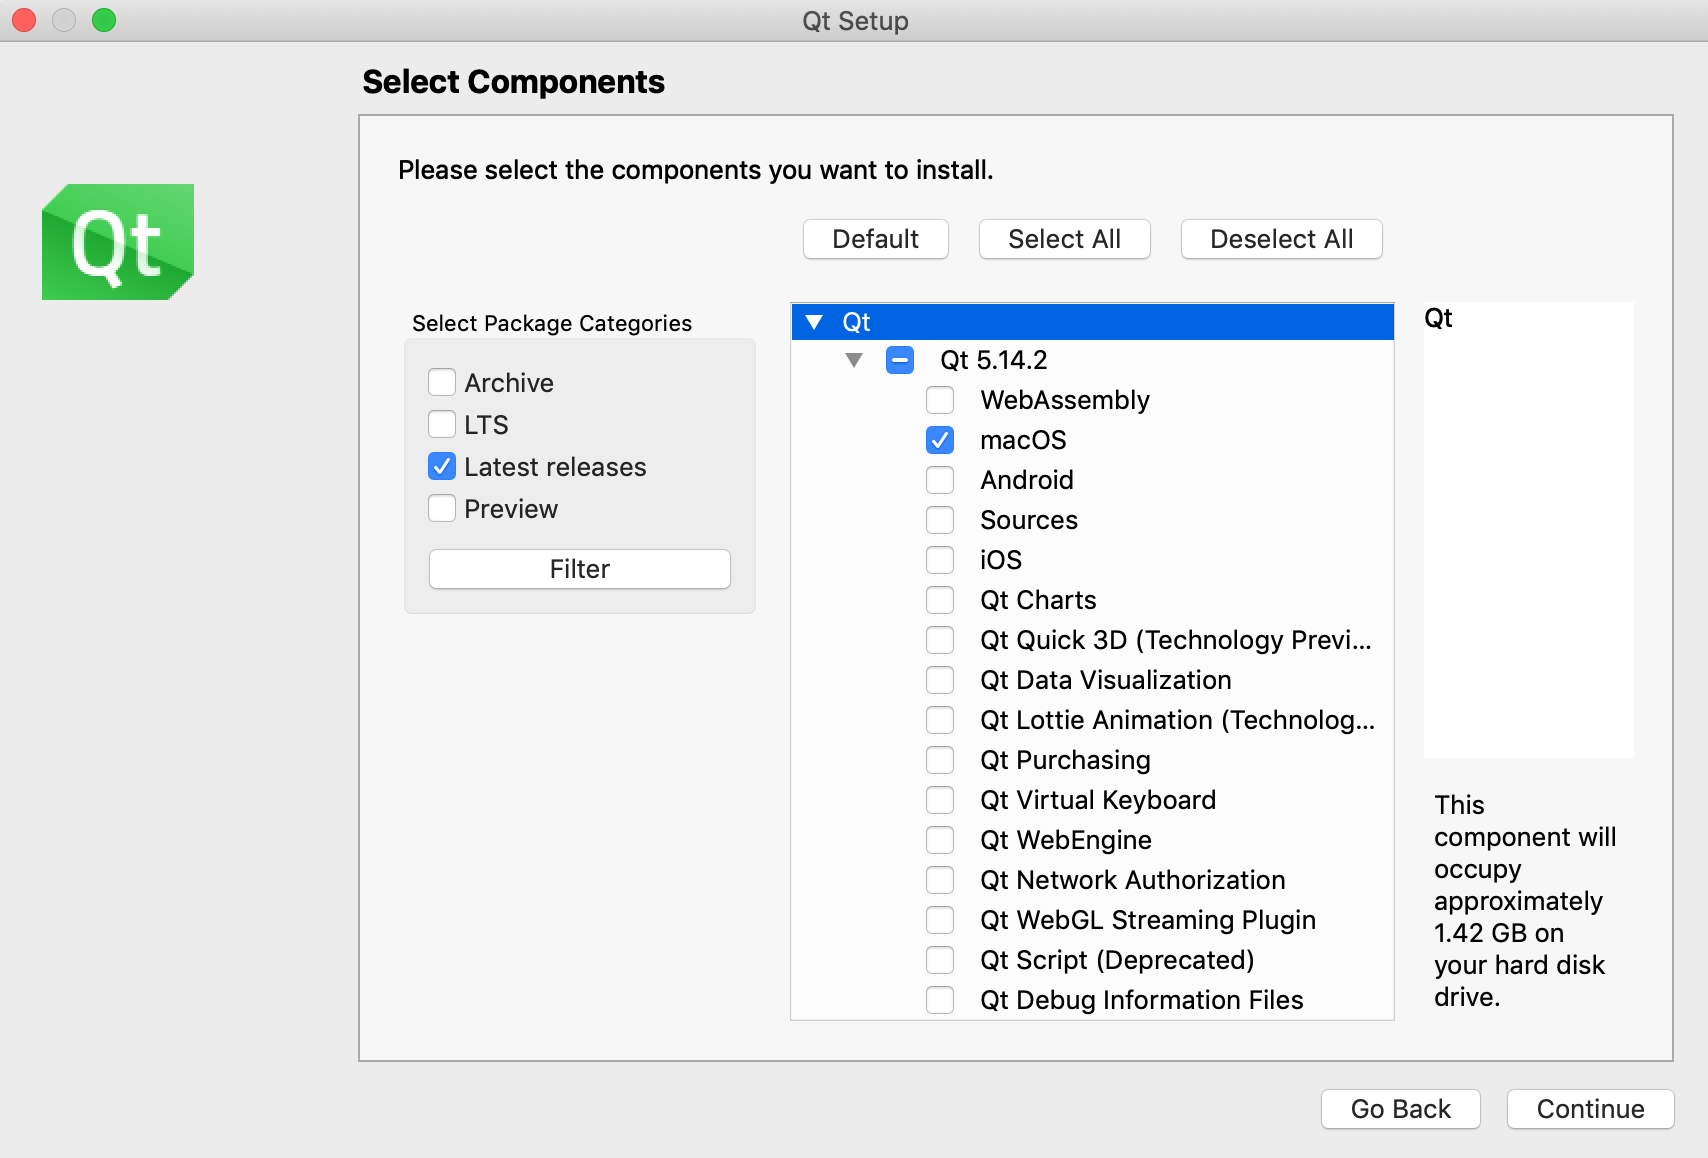
- At the Select Components step:
- Select the highest-numbered Qt version. As of April 3, the latest release is Qt 5.14.2. Do not select any version labeled "Preview" or "Alpha" or "Beta".
- IMPORTANT: You must also select the macOS kit component. Expand the "Qt" triangle, then expand the triangle with Qt version number, then click the checkbox labeled "macOS". If you are tight on disk space, you can un-check every other checkbox except for "macOS", as shown in the screenshot below.
6) Confirm installation
IMPORTANT: Follow the check step instructions to build and run our sample project that confirm your Qt Creator is installed properly and works correctly.
7) Configure settings (optional)
For a better experience, we suggest changing some of the default settings, see our recommended configuration settings.