Install Qt Creator on Windows
1) Download installer
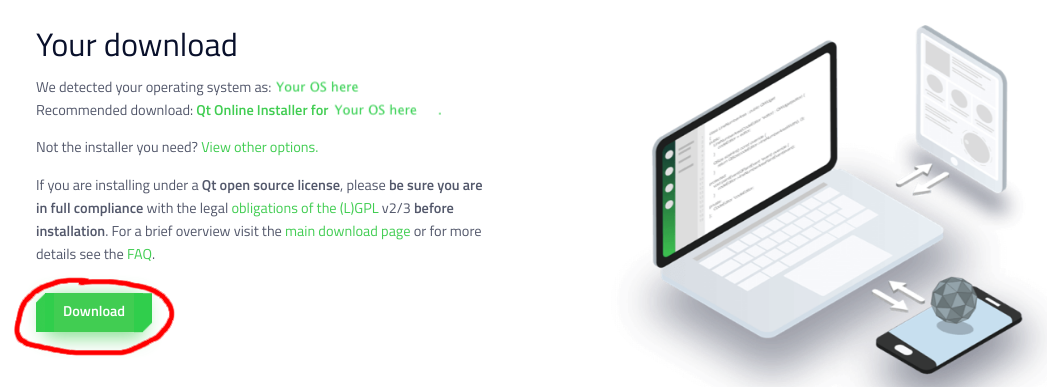
The Qt Creator official download site is https://www.qt.io/download-qt-installer. When you go to this site, it should detect that your computer is running Windows and recommend the installer "Qt Online Installer for Windows". Click the green "Download" button to download the installer.
2) Run installer
The downloaded installer is named something like qt-unified-windows-version.exe. Double-click to run it.
The graphical installer launches and walks you through a set of steps. For most steps, you can use the default settings and simply click "Next" or "Agree" to move on, with the following exceptions:
- At the Qt Account step, you will have to create your own Qt Account.
- At the Select Components step:
- Select the highest-numbered Qt version. As of April 3, the latest release is Qt 5.14.2. Do not select any version labeled "Preview" or "Alpha" or "Beta".
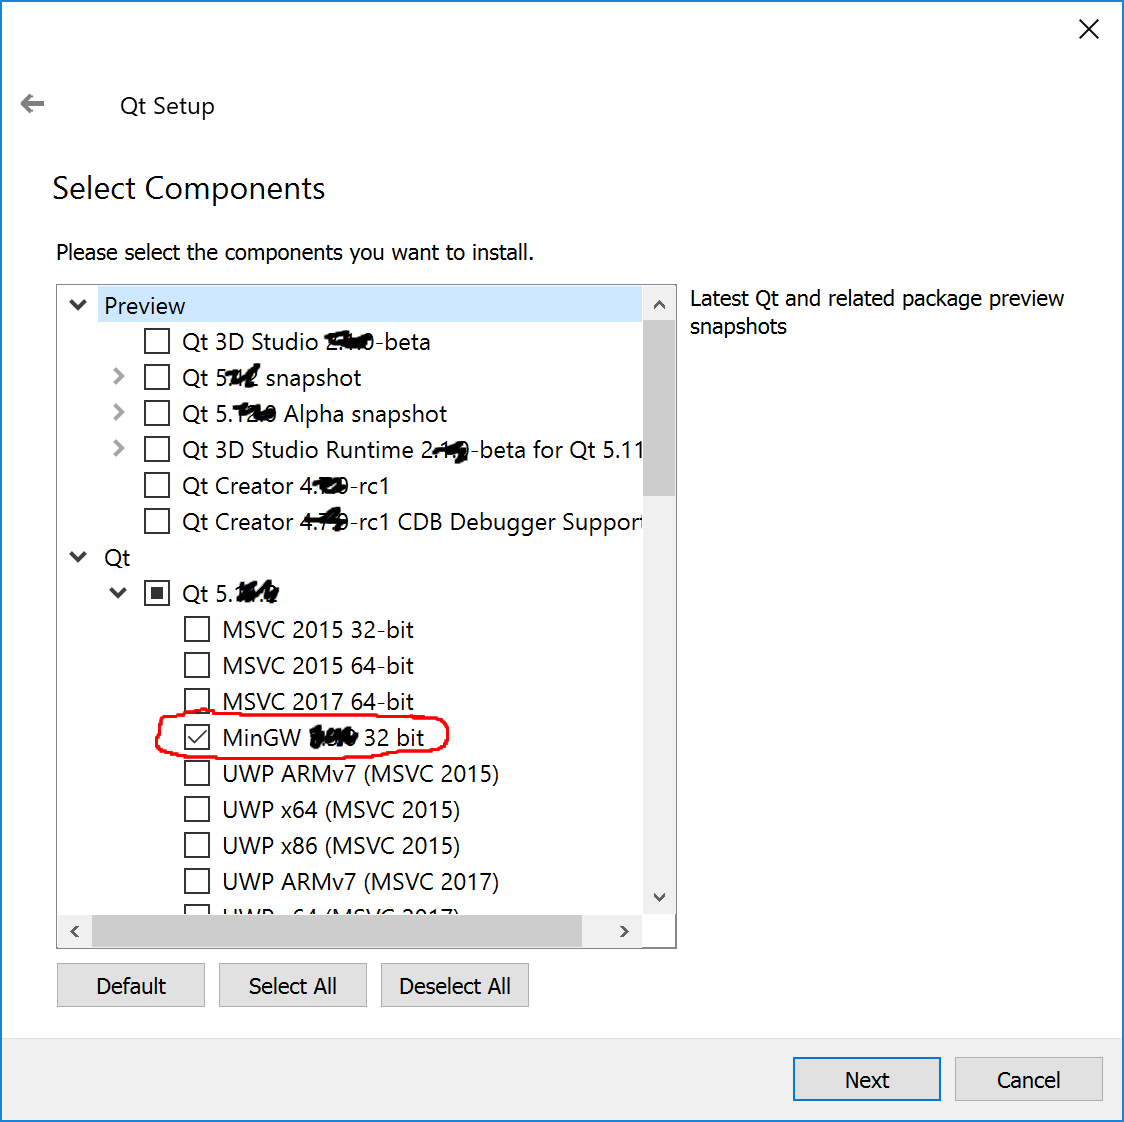
- IMPORTANT: You must also select the MinGW 32-bit kit component. Expand the "Qt" triangle, then expand the triangle with Qt version number, then click the checkbox labeled "MinGW 7.x.x 32 bit". See the screenshot below. If you are tight on disk space, you can un-check every other checkbox except for "MinGW 32 bit", as shown in the screenshot below.
This screenshot shows the general UI for selecting the proper component. Note that we scribbled out the version numbers to avoid confusion since the versions change so frequently.
3) Confirm installation
IMPORTANT: Follow the check step instructions to build and run our sample project that confirm your Qt Creator is installed properly and works correctly.
4) Configure settings (optional)
For a better experience, we suggest changing some of the default settings, see our recommended configuration settings.