1) Prerequisites
Before installation, ensure your macOS operating system is current. Select menu -> "System Preferences" -> "Software Update" and check whether any OS updates are available. If so, install them first and only then proceed with the rest of this installation guide. In order to install QtCreator, you need to have a version of MacOS that is >= 10.13. If this is not possible for you, please reach out to the course staff ASAP.
2) Install Xcode tools
Apple's developer tools are bundled as a part of Xcode. Installing Xcode provides the C++ compiler that is used by Qt Creator.
To choose the correct Xcode installation, you need to know your macOS version. Select menu -> "About This Mac" and read the macOS version number.
If your macoS version is Catalina >= 10.15, you can install the latest Xcode directly from the App Store by following these steps:
-
Select menu - > "App Store…" and search for Xcode. Download and install the app.

If your macOS version is 10.14 or older, you need to install an older Xcode. Older versions of Xcode are available at Apple Developer Downloads by following these steps
- Visit https://developer.apple.com/downloads/ and sign in with your Apple ID.
- Search for Xcode and select the version that is compatible with your macOS version:
- For macOS 10.14, use Xcode version 11.3
- For macOS 10.13, use Xcode version 10.1
- Do not chose any version labeled "beta" or "preview"
- If the Apple developer site disallows you from accessing downloads, create a new Apple ID and try again. (This can happen if your Apple ID was created when your age was too young for some features?)
- Download the appropriate version, open the archive, launch the Xcode installer, and follow through the installer steps.
- After the installer finishes, drag the XCode application into your Applications folder.
Xcode is a very large app, so the download and installation will take some time, and can be anywhere from 1-4 hours depending on your network connection speed. If your computer does not have enough space for Xcode, or if the download will take prohibitively long (more than 24 hours) due to the quality of your internet connection, reach out to the Head TA for alternate installation instructions.
3) Run Xcode once
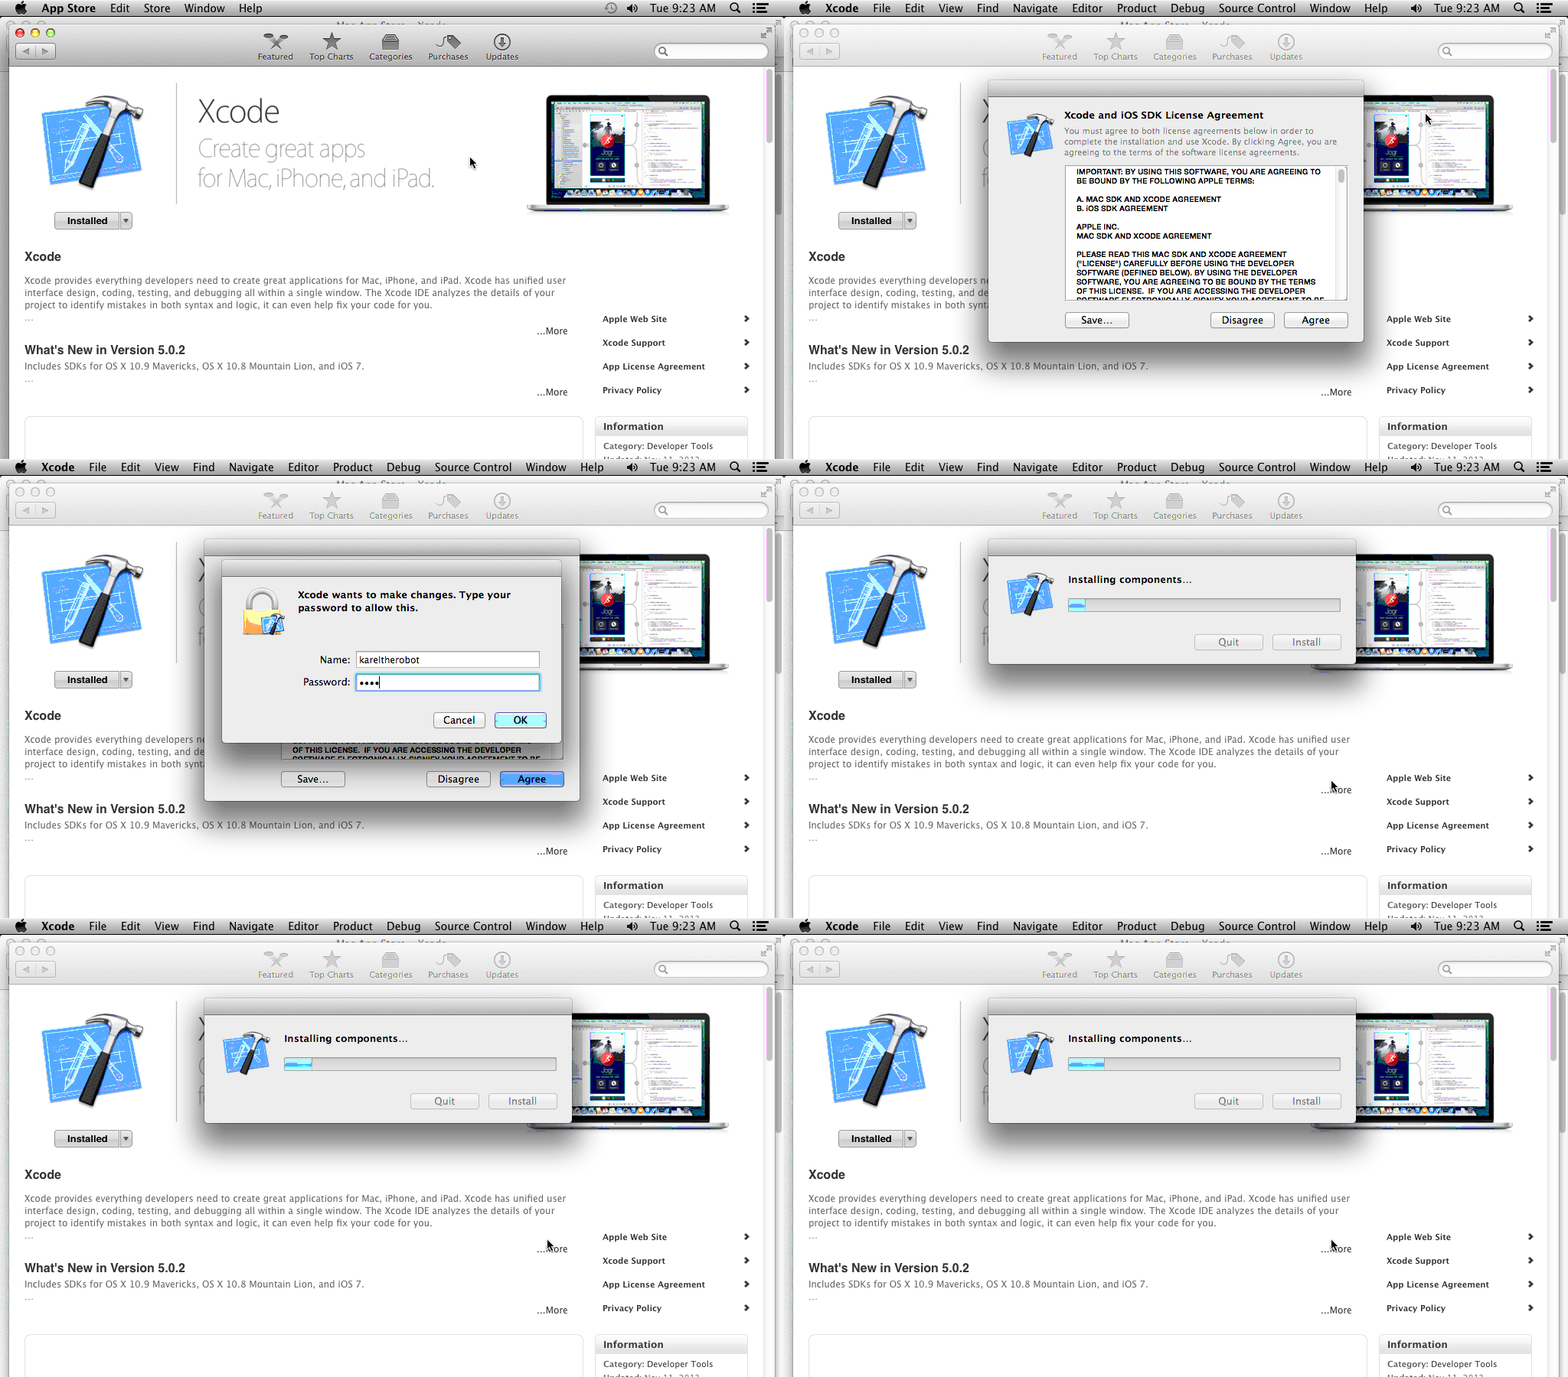
After downloading Xcode, you have to launch the Xcode application one time to install its components. You can open Xcode using Spotlight (the magnifying glass at the top right of your screen) and typing in "Xcode". Click "Agree" to accept the License Agreement and enter your password if prompted. Watch the progress bar "Installing components…". When it finishes, quit Xcode. You will not need to launch Xcode again for this course.
4) Download the Qt Creator installer
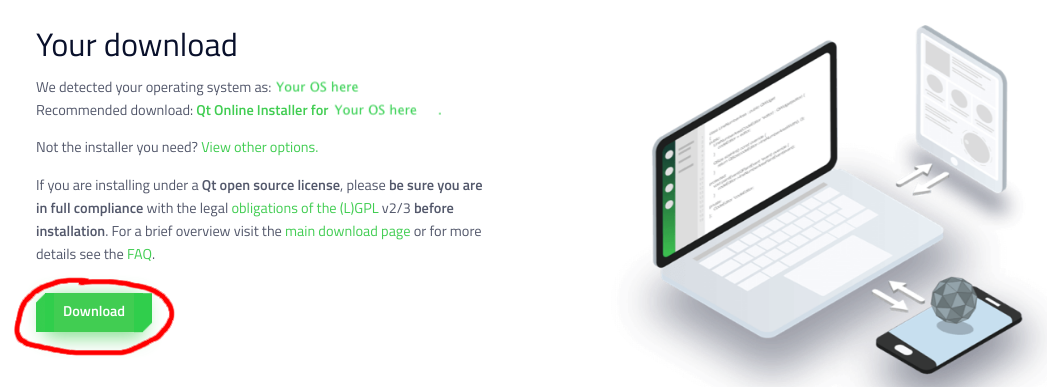
The Qt Creator official download site is https://www.qt.io/download-qt-installer. When you go to this site, it should detect that your computer is running MacOS and recommend the installer "Qt Online Installer for Mac OS". Click the green "Download" button to download the installer.
5) Run the Qt Creator installer
The downloaded installer is named something like qt-unified-mac-version.dmg. Double-click to mount the disk image and launch the installer.
The graphical installer launches and walks you through a set of steps. For most steps, you can use the default settings and simply click "Next" or "Agree" to move on, with the following exceptions:
- At the Qt Account step, you will have to create your own Qt Account.
- At the Select Components step:
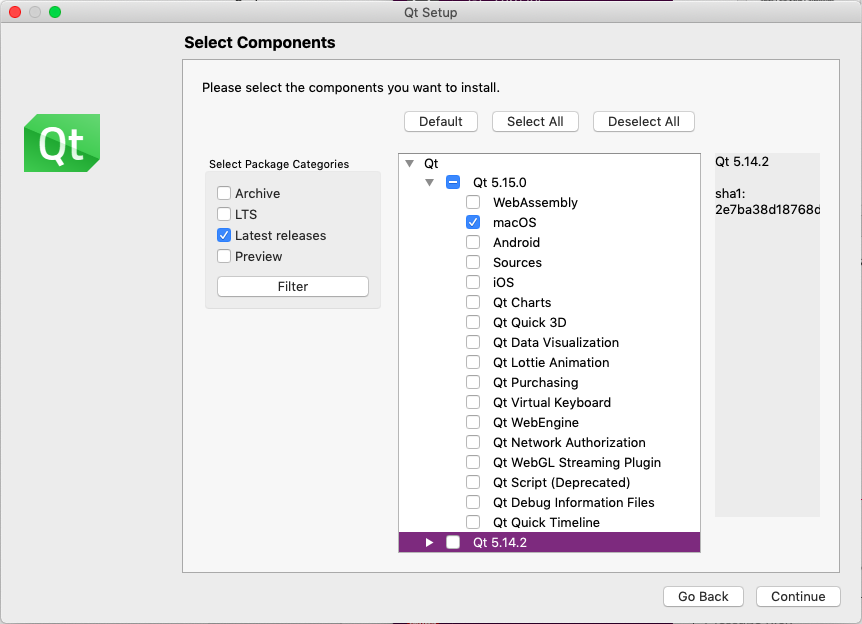
- Select the highest-numbered Qt version. For Fall Quarter 2020, the version number must be at least Qt 5.15.0. Do not select any version labeled "Preview" or "Alpha" or "Beta".
- IMPORTANT: You must also select the macOS kit component. Expand the "Qt" triangle, then expand the triangle with Qt version number, then click the checkbox labeled "macOS". You can un-check every other checkbox except for "macOS", as shown in the screenshot below.
6) Install CS106 specific components
After installing Qt, you must install the CS106-specific components and do a complete build and run cycle to confirm all is working properly.
Download CS106 project and extract
- Download this archive file: 📦 CS106.zip
- Un-zip the download contents (on a Windows computer, click "Extract all") to a location of your choice. You should have a folder named
CS106with several files and folders inside.
Open and configure CS106 project
A Qt Creator project includes a file named with a .pro extension. Double-clicking the .pro file opens the project in Qt Creator.
-
Find the
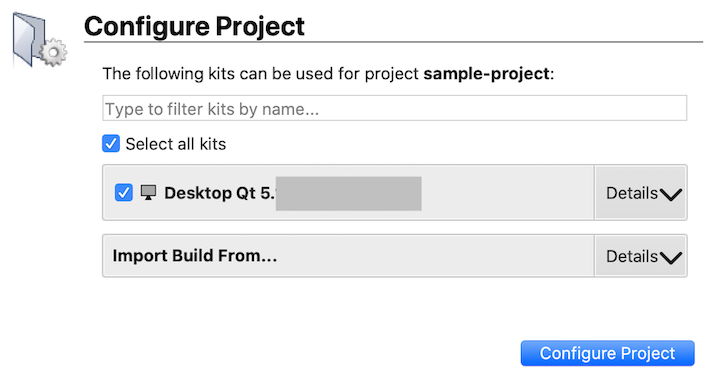
CS106.profile and open it now. - When opening a project for the first time, Qt Creator brings up a "Configure Project" panel for you to select the appropriate build kit (see screenshot below). The default kit should already be selected; it will match the component you selected when installing Qt Creator. Accept the default by clicking the "Configure Project" button.
- If no kits are shown as available, review the Qt install instructions. You can repeat the steps to re-install if you missed selecting the required components.
Build the program
C++ code must be compiled or built before it is run; this means converting the source code into executable binary code.
- Click the Build icon
 in the lower-left of the Qt Creator window.
 - Watch the build progress meter
 in the lower-right. The first time you build a project, it can take a minute or more to compile the library code. When the bar turns green, it indicates the program successfully built.
Run the program
Now that the program is built, you are ready to run it.
- Click the Play/Run icon
 in lower-left of window.
 -
As shown in the screenshot below, the welcome program prints a message to the console window and draws the Stanford logo on graphics window.
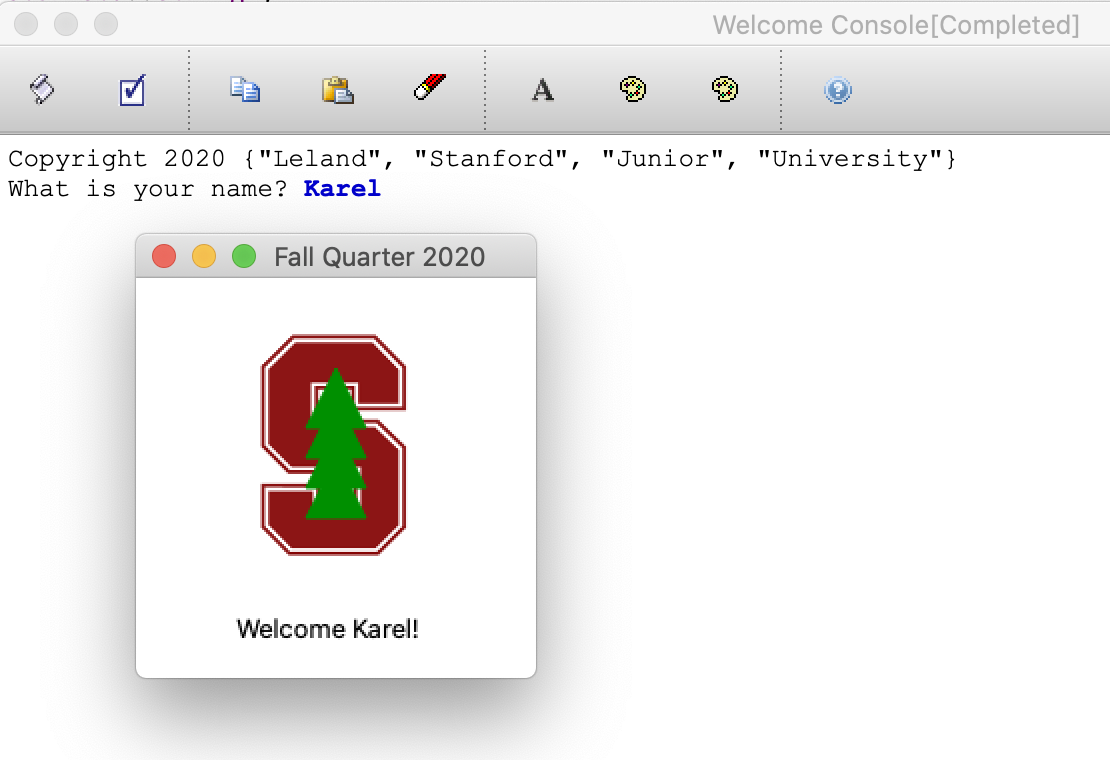
✔️ Congratulations, your installation is good to go! You may now discard the CS106 project, you will not need it again.
7) Configure settings (optional)
For a better experience, we suggest changing some of the default settings, see our recommended configuration settings.