Installing PyCharm
Running into issues? Post on Ed or come to Elyse's office hours.
In CS 106A, you will be writing your code on your computer using an application called PyCharm. PyCharm is what is known as an IDE, or Integrated Development Environment, which means that it allows us to edit our code, browse our files, run our programs and debug them, all in the same place. It's one of the most popular Python IDEs in the world, and used extremely commonly in industry. This handout is intended to take you through installing PyCharm on your own computer.
Installing Python
In order to be able to run Python programs on your computer, you need
to install a Python Interpreter. An interpreter is a program
that is capable of reading a .py file that you have
written, and translating the Python code in that file to instructions
that your computer can easily execute. Begin by downloading Python. Select the link corresponding to
your operating system and download the latest version of Python 3:
- Mac OS Downloads
- Windows Downloads (If you're using a relatively new Windows computer, use this link)
- Windows 32-bit installer (If you're using an older Windows computer, download this file)
Installing Python on a Mac
Macs come with a version of Python installed, but this is an older version of Python. CS 106A requires the use of the newest version of Python, so make sure to follow these instructions even if you think you already have Python installed. To install Python, simply open the downloaded installer file and follow the default instructions.
Installing Python on Windows
Open the downloaded file. Before installing, there should be an option that says "Add Python VERSION_NUMBER in PATH". Make sure to check this box. Then, continue installing normally.
Installing and Testing PyCharm
Installation
To get started, download and install the community version of PyCharm. You may have to scroll down on the download page to see the community version.
-
Mac Download Page
Click the black download circle. Open the downloaded
.dmgfile and drag PyCharm into your Applications folder. -
Windows Download Page
Click the black download circle. Open the downloaded
.exefile and install PyCharm, using all the default options.
At the end of the PyCharm installation process, open PyCharm, and you'll see a welcome screen:
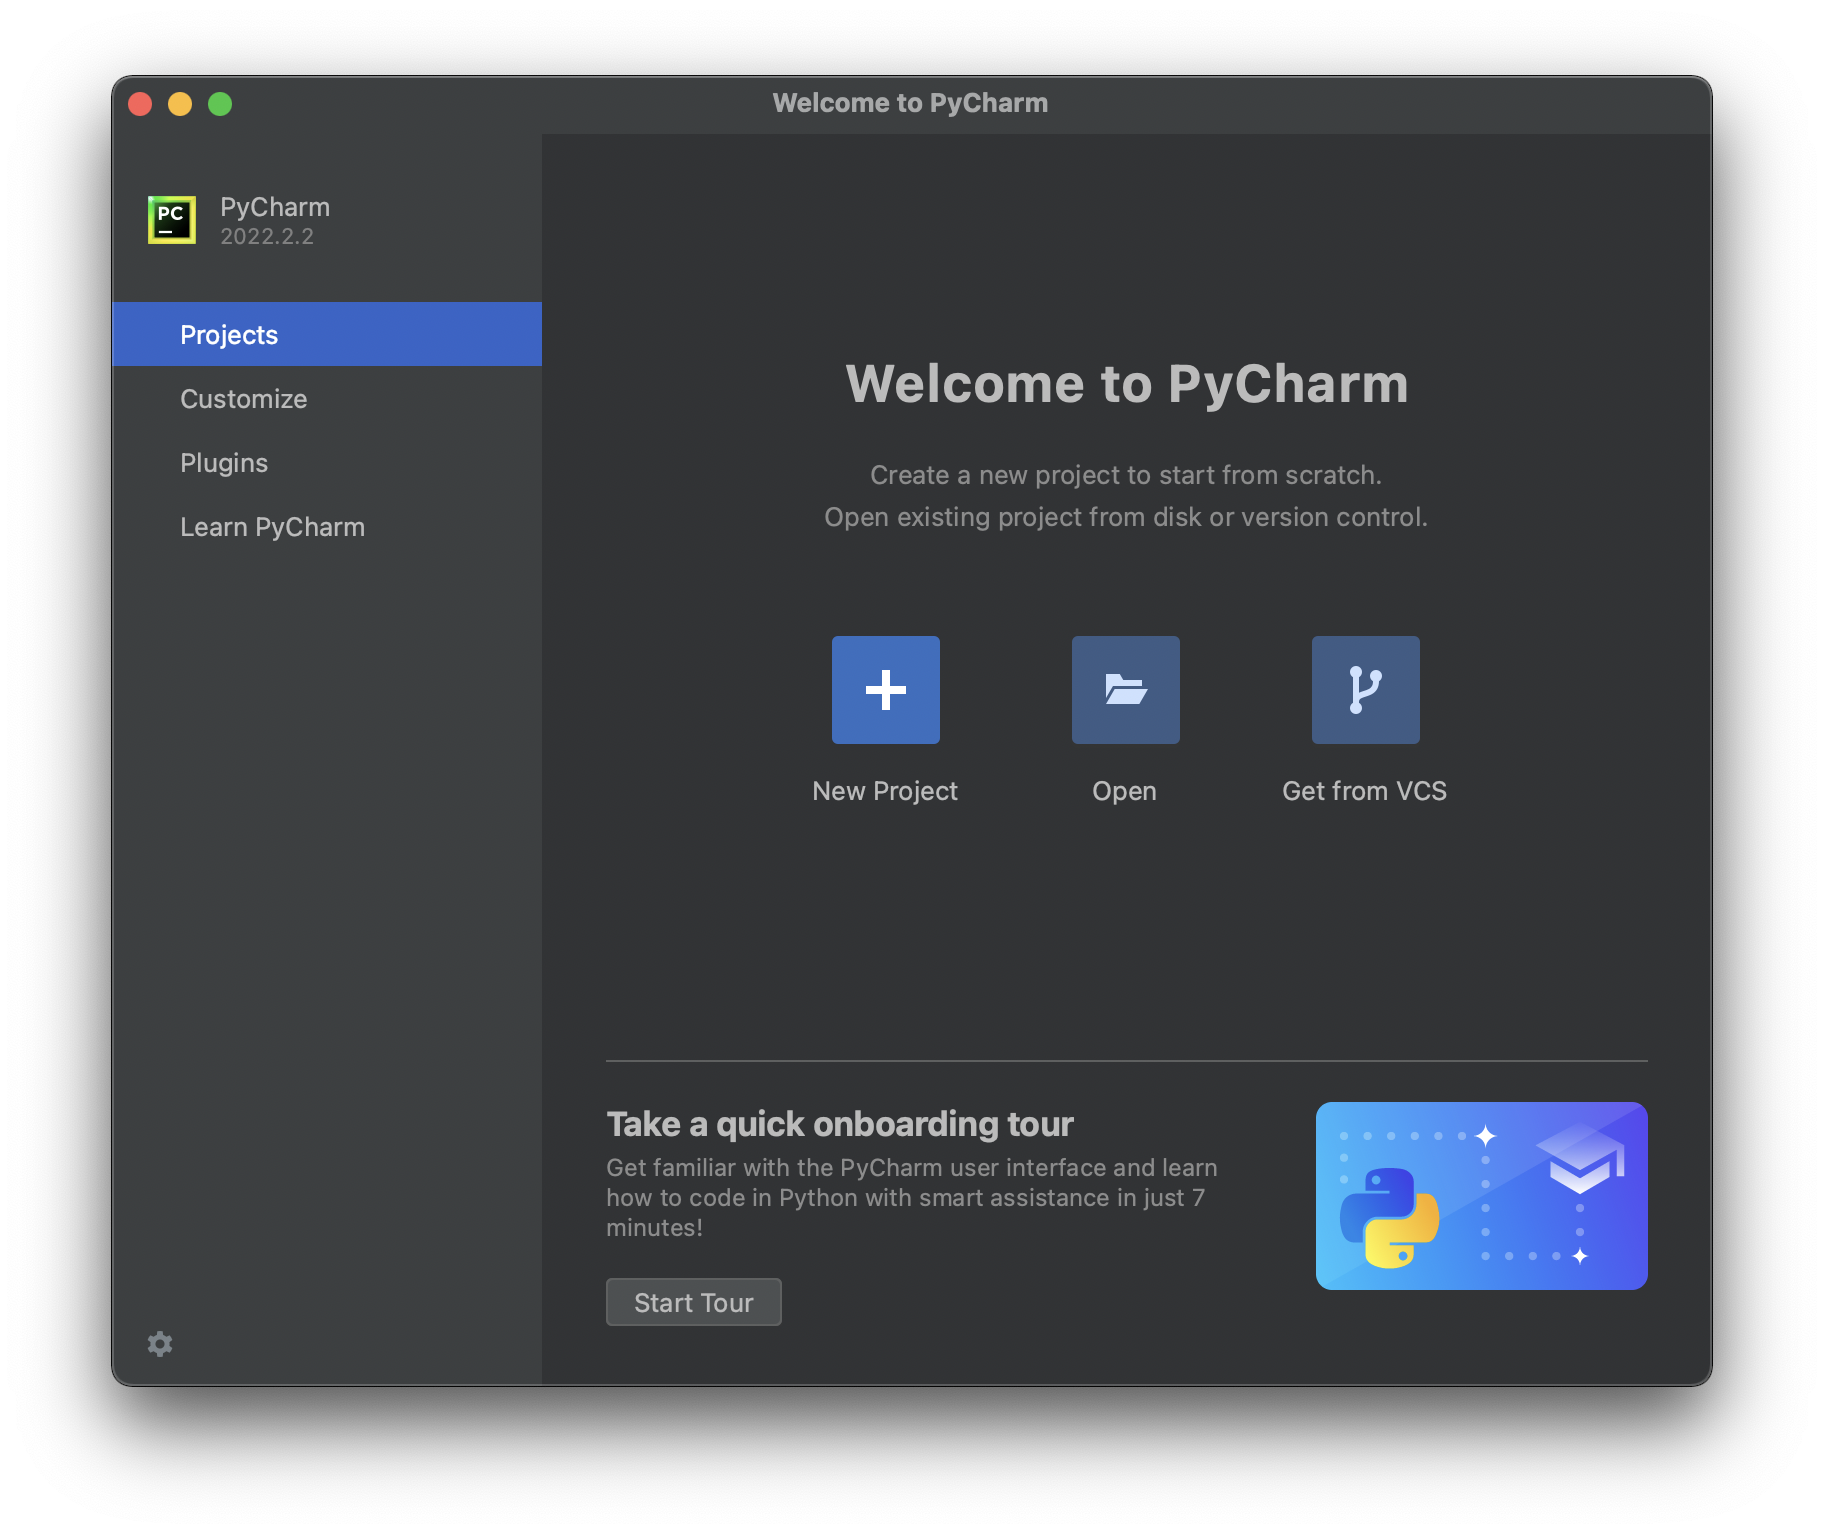
Click the 'Customize' tab on the left and then click 'All Settings...' at the bottom:
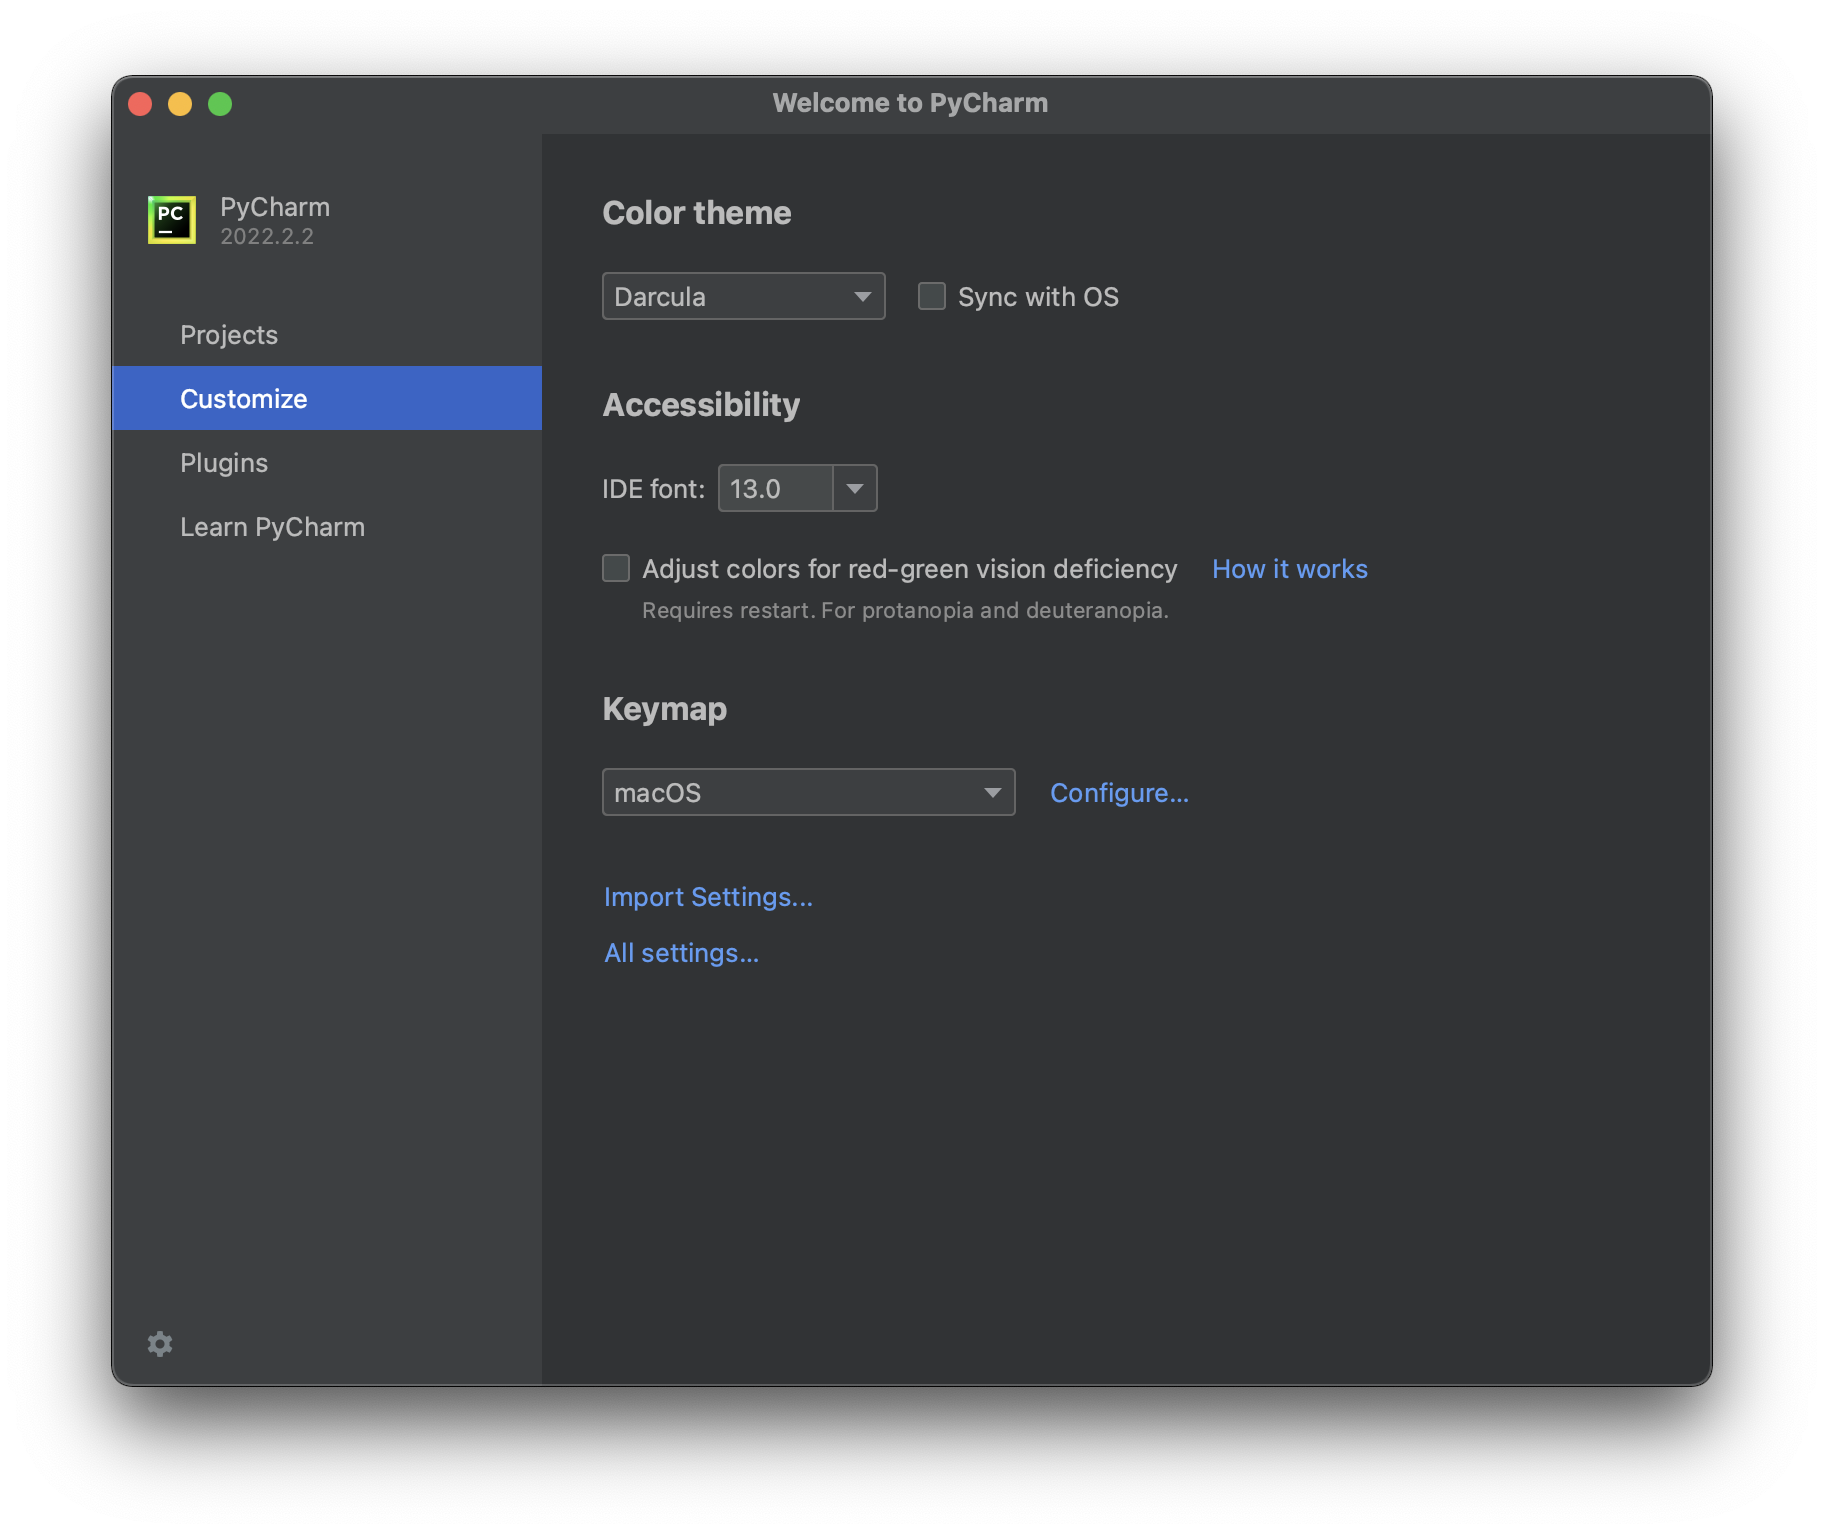
In the Preferences window, click the 'Python Interpreter' tab, and you should see a screen like this:
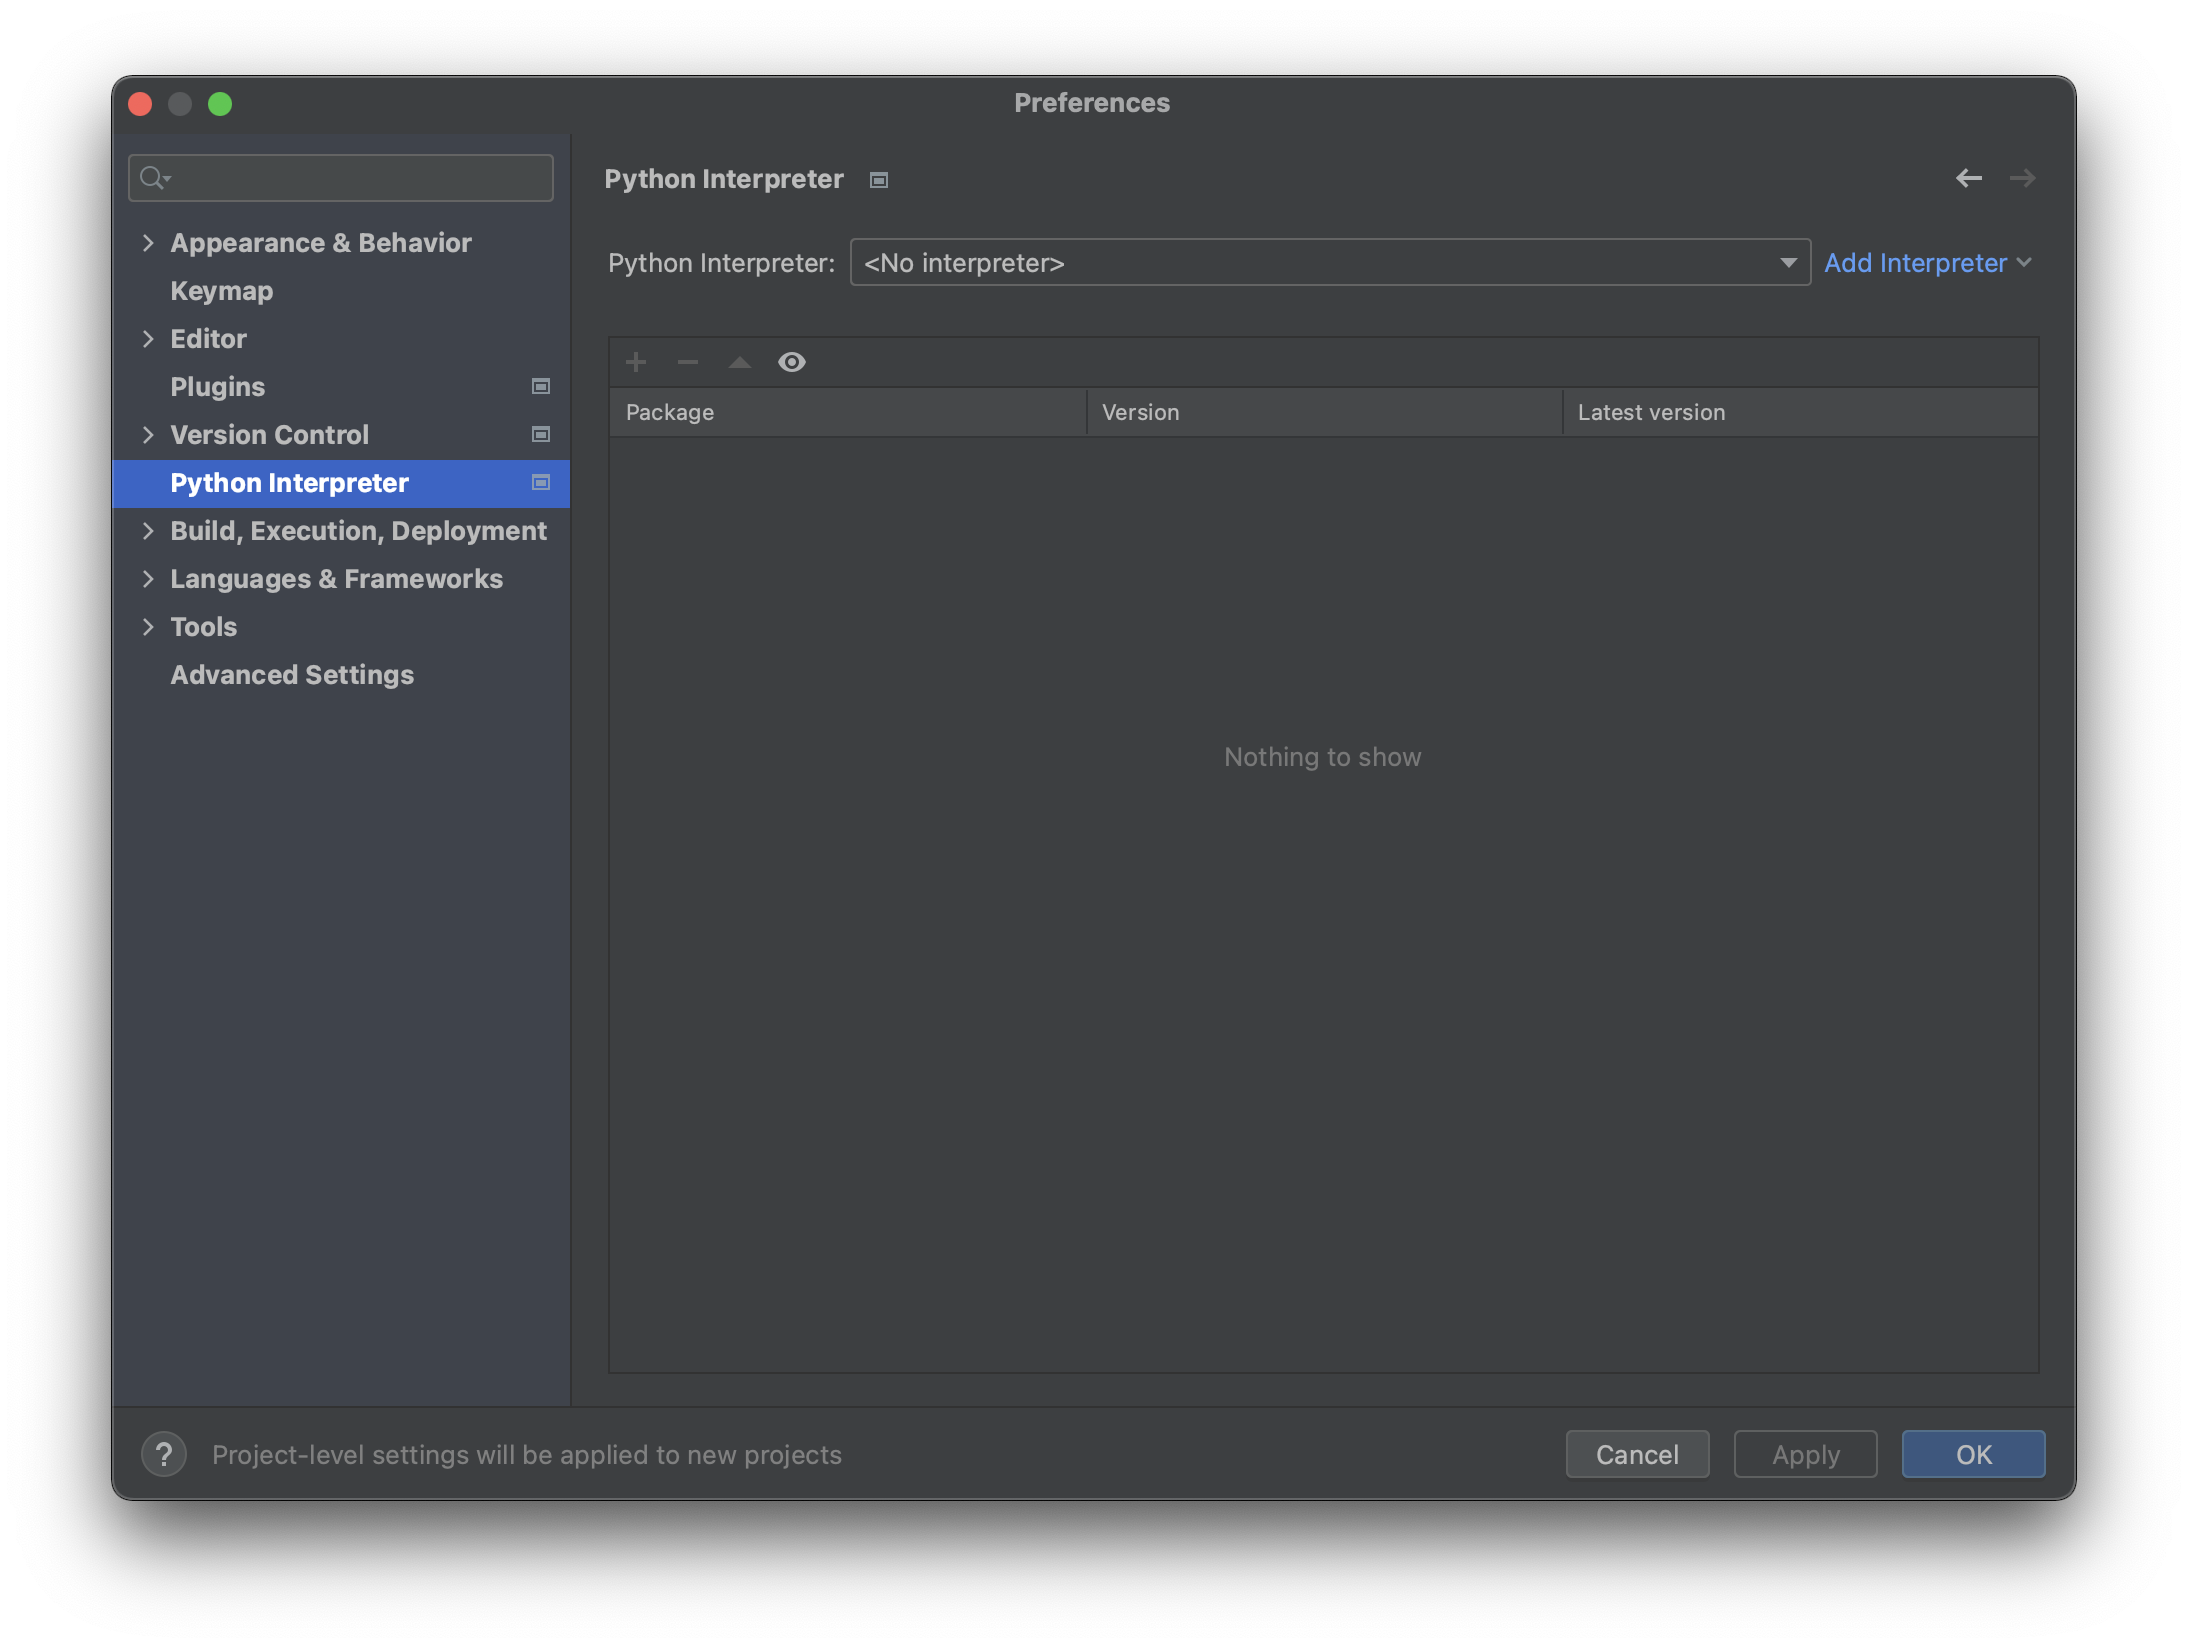
If you have no interpreter selected, or the interpreter is not the newest version of Python you just downloaded, click the drop-down and select 'Show All...'. You should then see a screen like this:
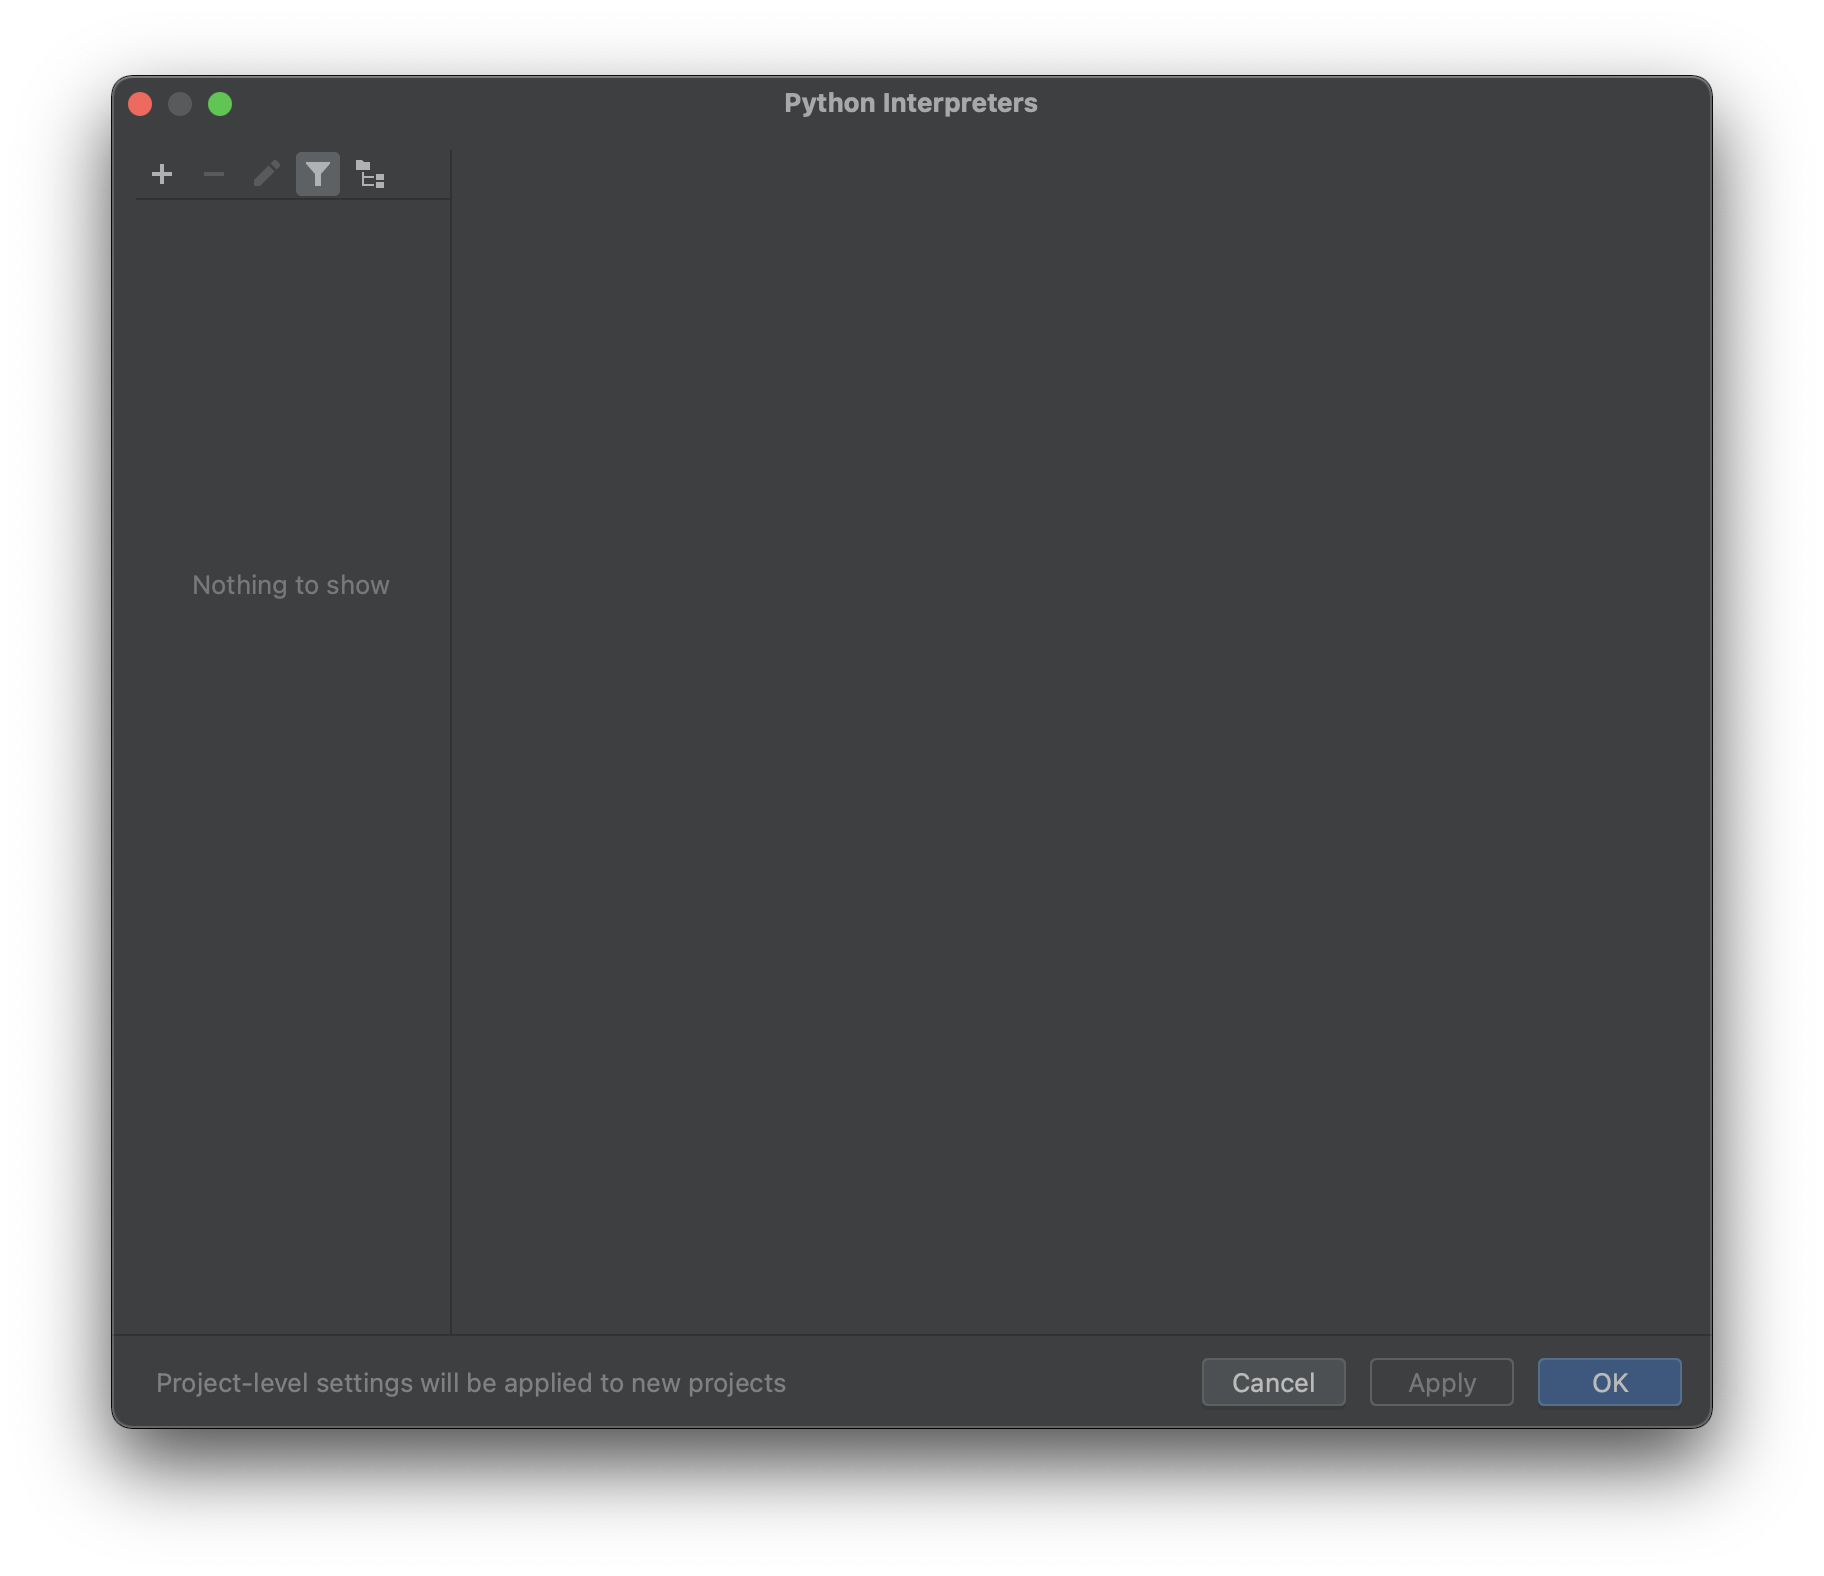
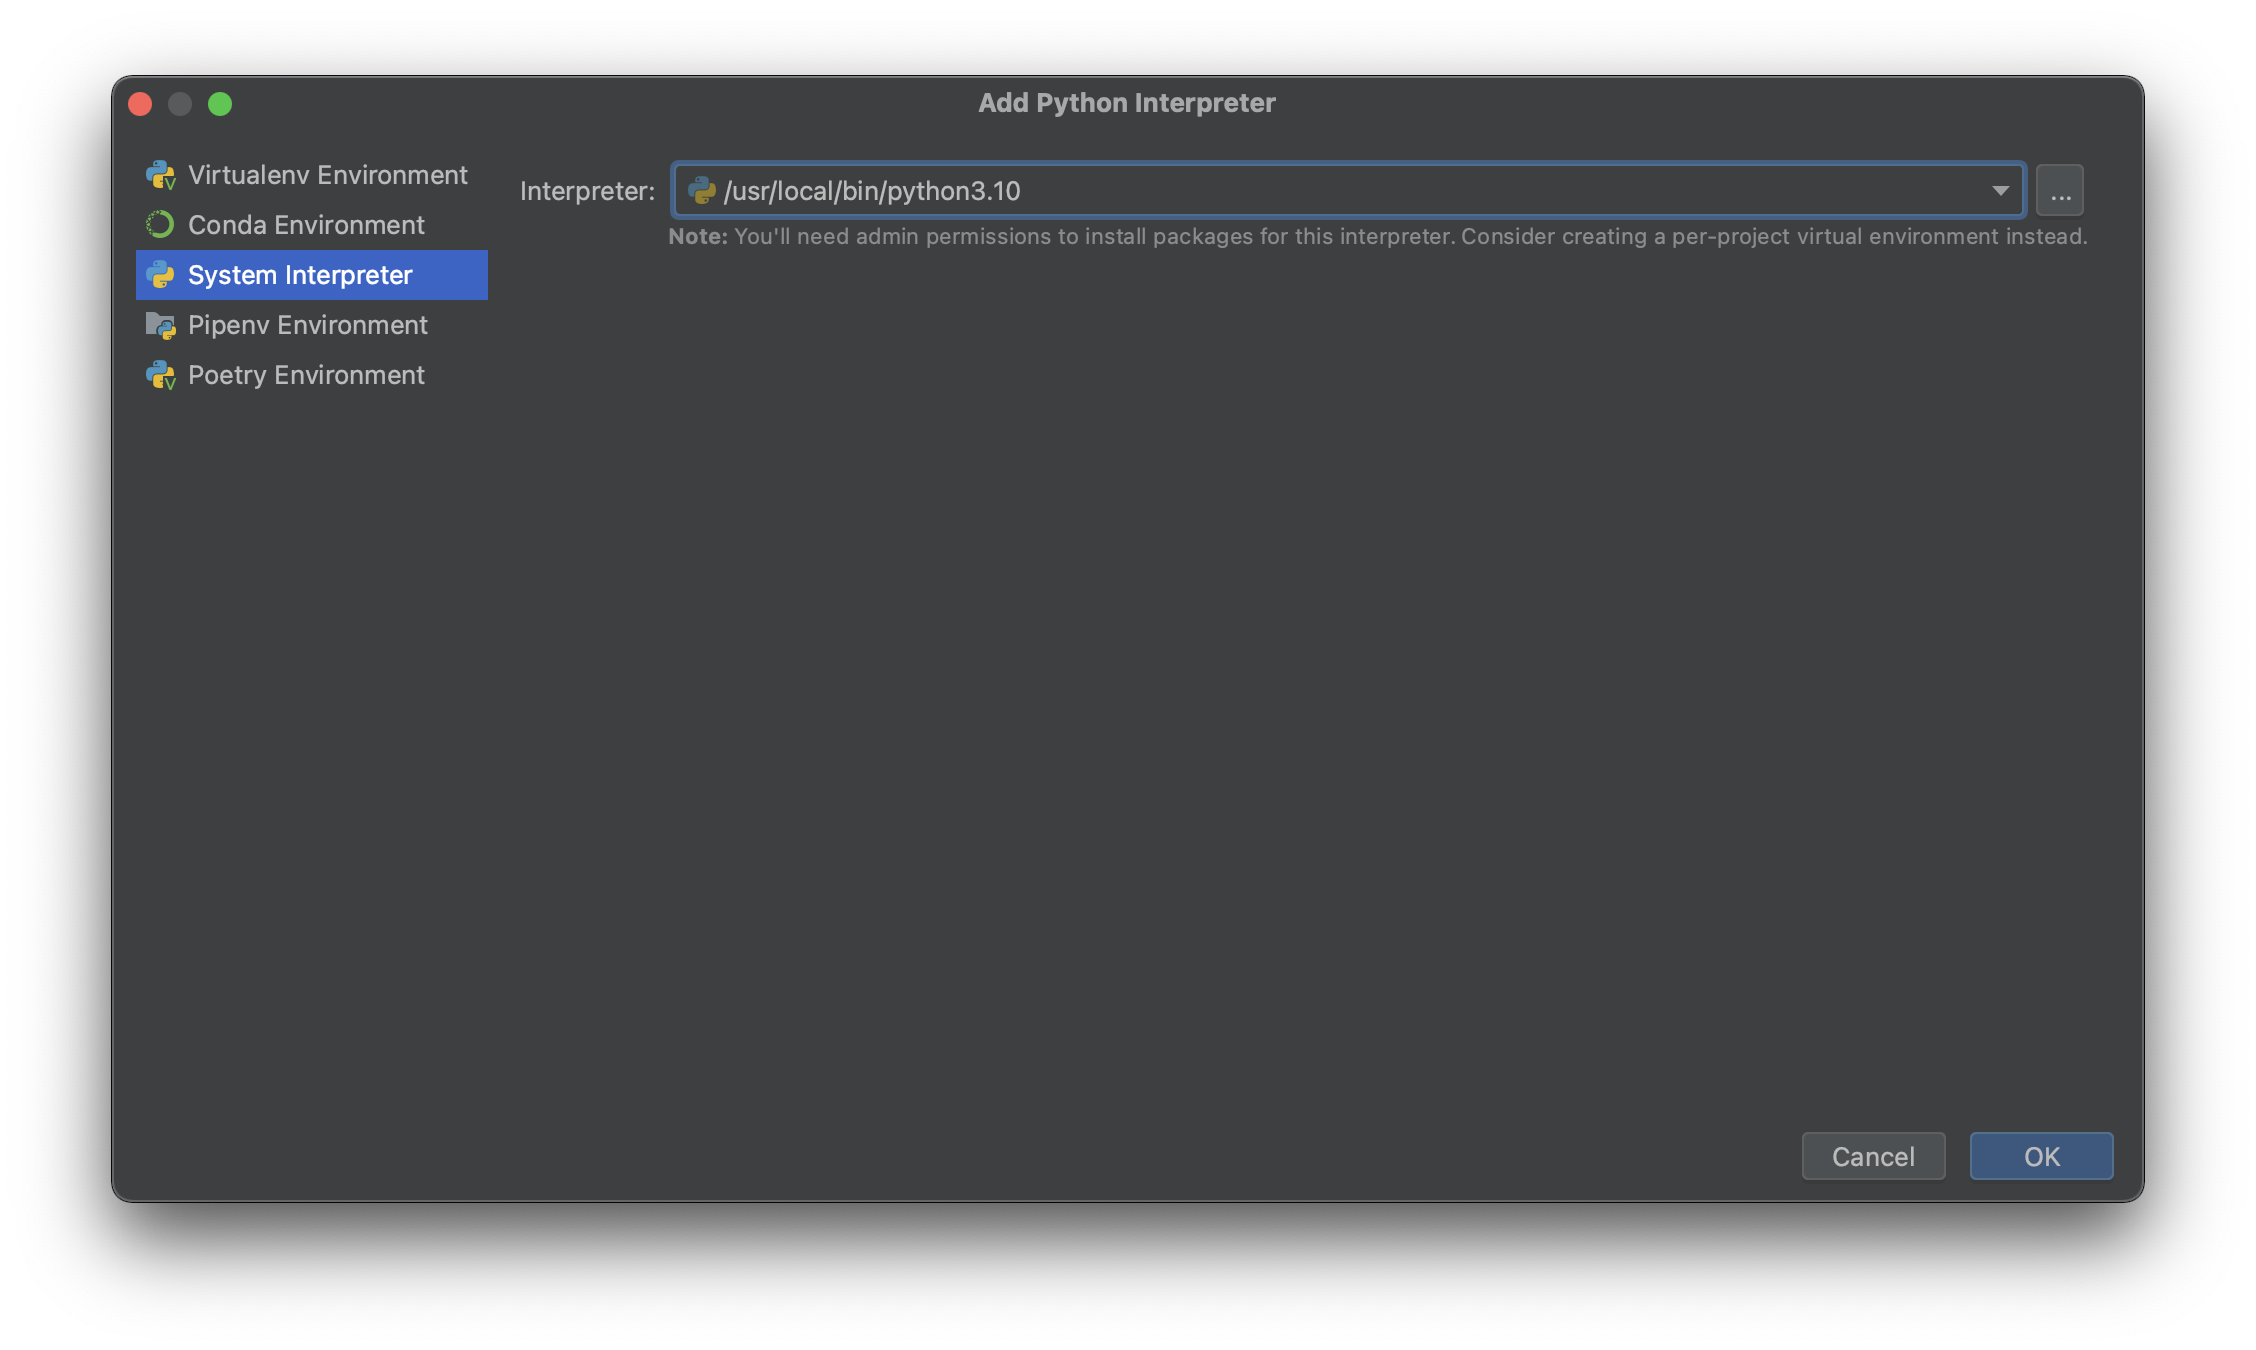
Click the + button on the upper left, then click 'System Interpreter' in the sidebar. Depending on whether you've installed other versions of Python before, the latest version of Python may already be selected in the dropdown menu. If not, select the latest version Python that you downloaded and then click 'OK' and 'OK' again. I know this picture says python 3.10, but yours should say whatever the latest version is in the dropdown menu. Please select that version:
You should now be on a window that looks like this (although the contents of your list might look different if you have a later version of Python instead of 3.10):
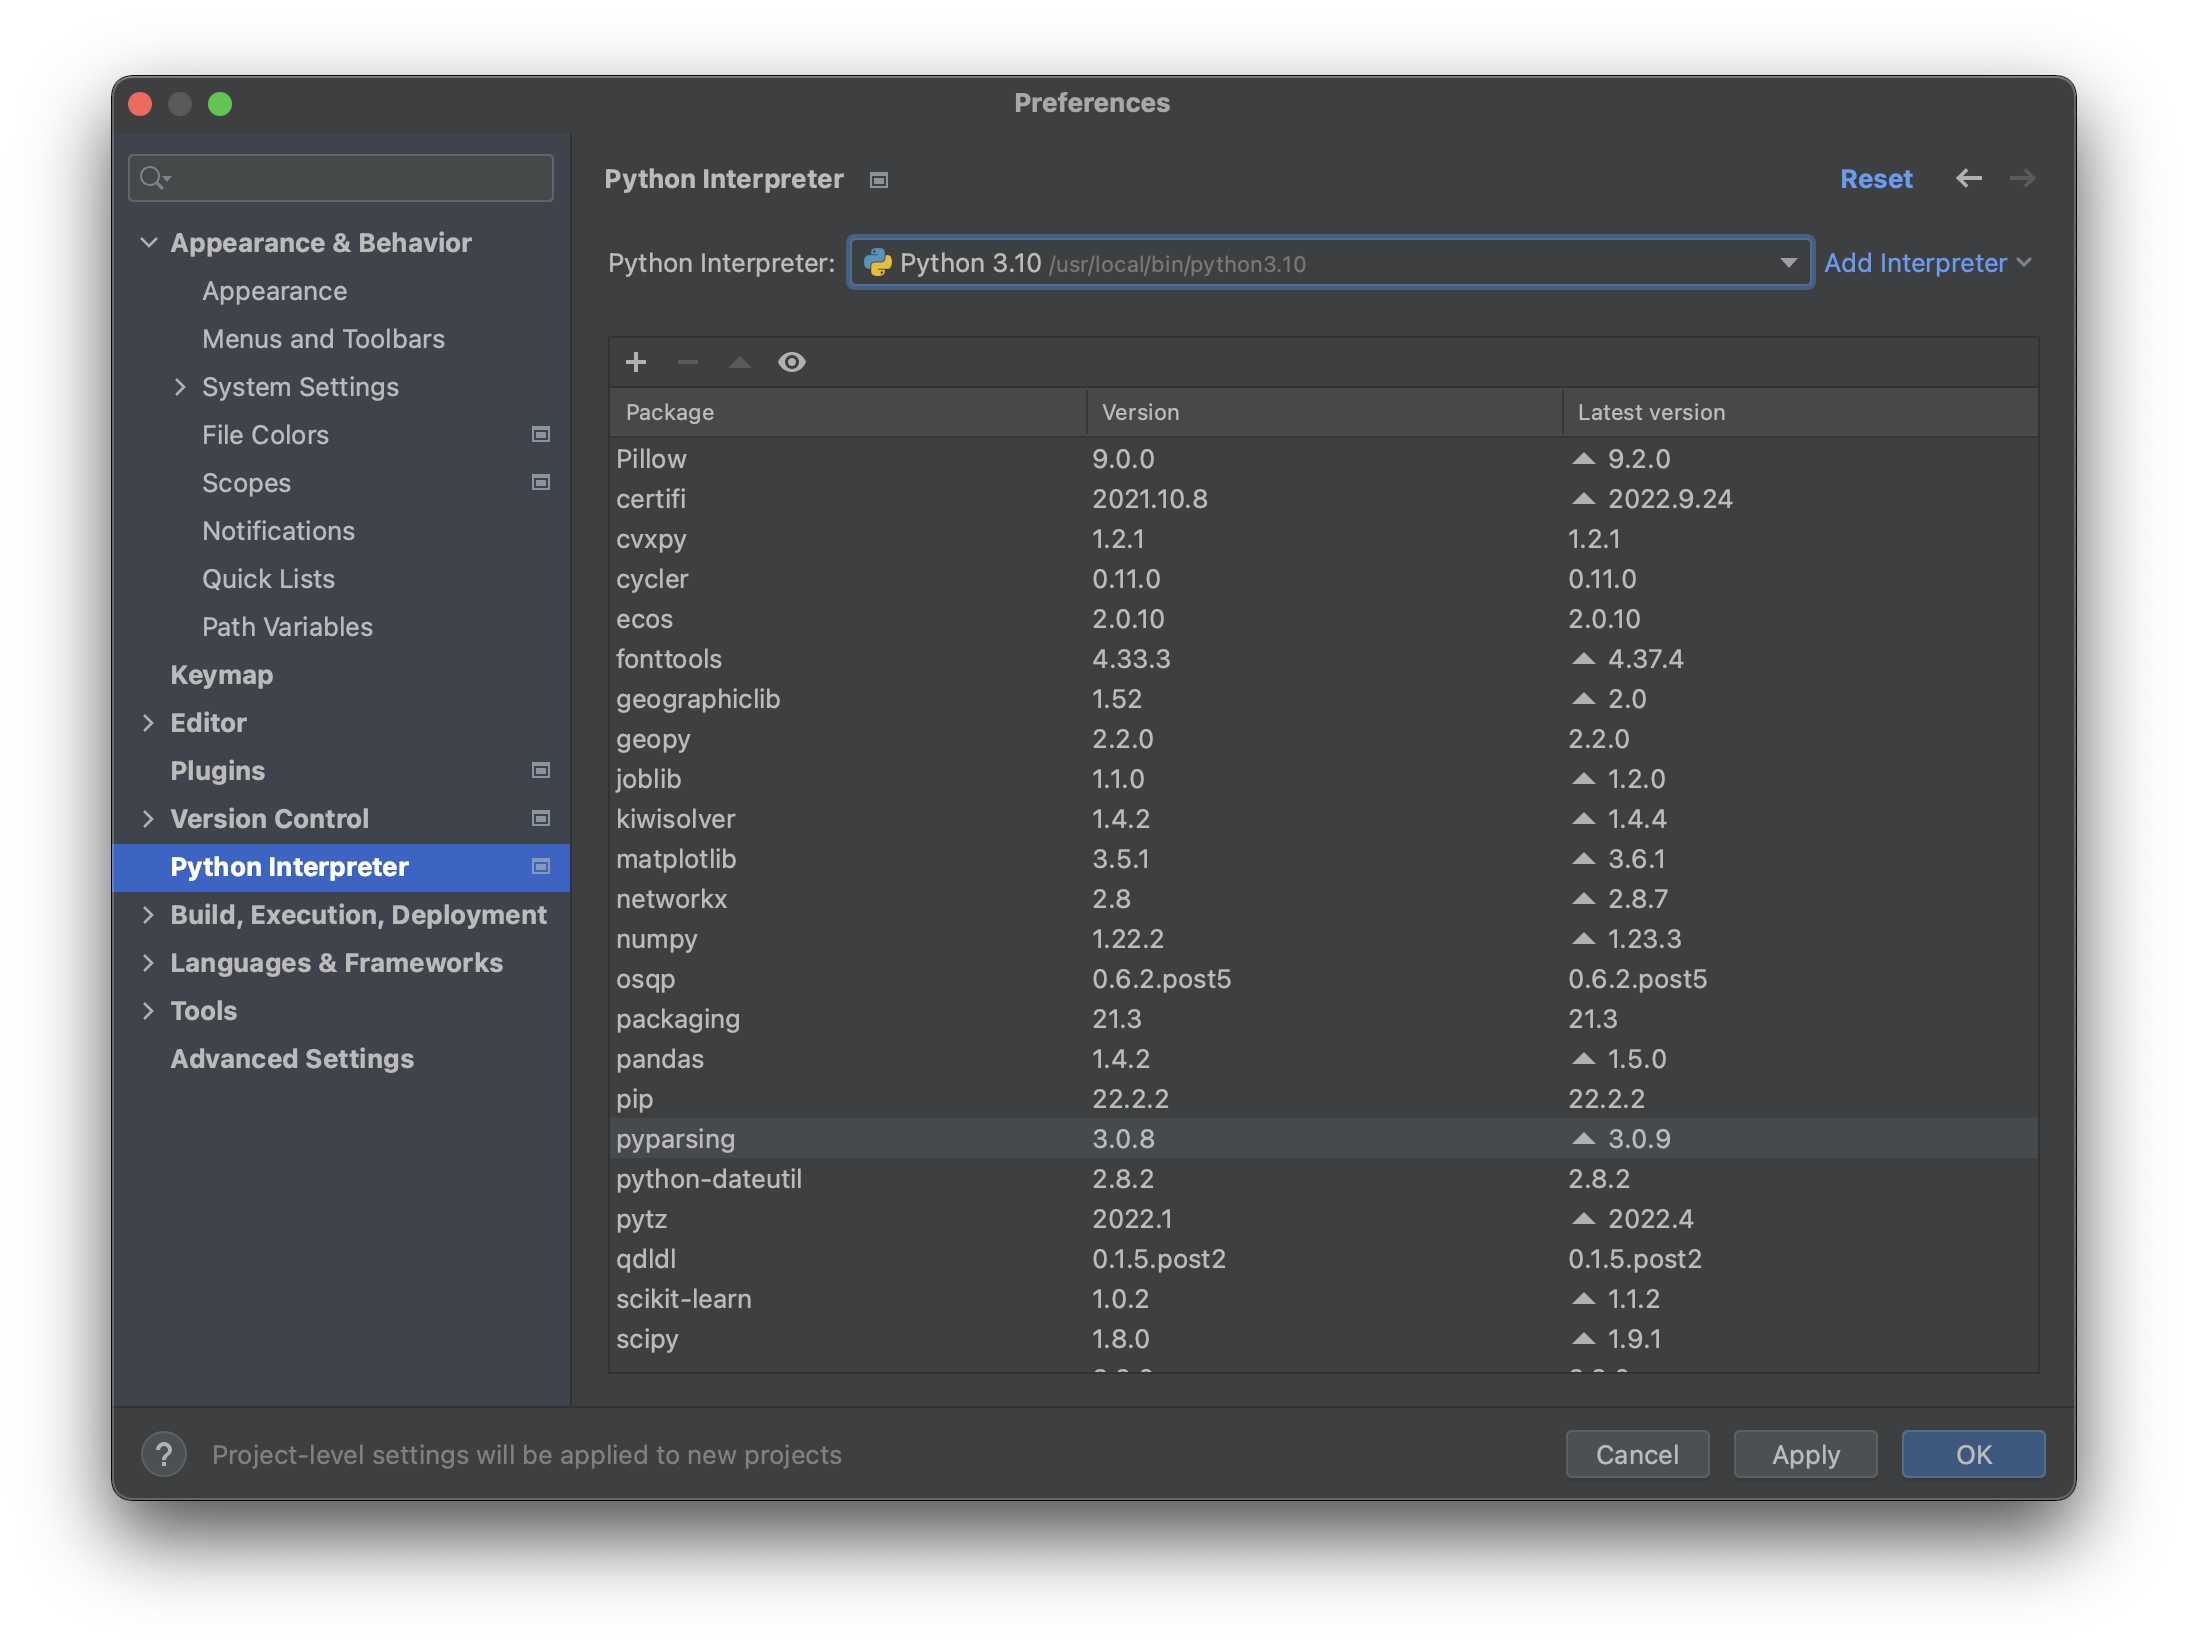
Click 'Apply' and then 'OK' again to be taken back to the welcome page. You're now ready to test PyCharm!
Testing PyCharm
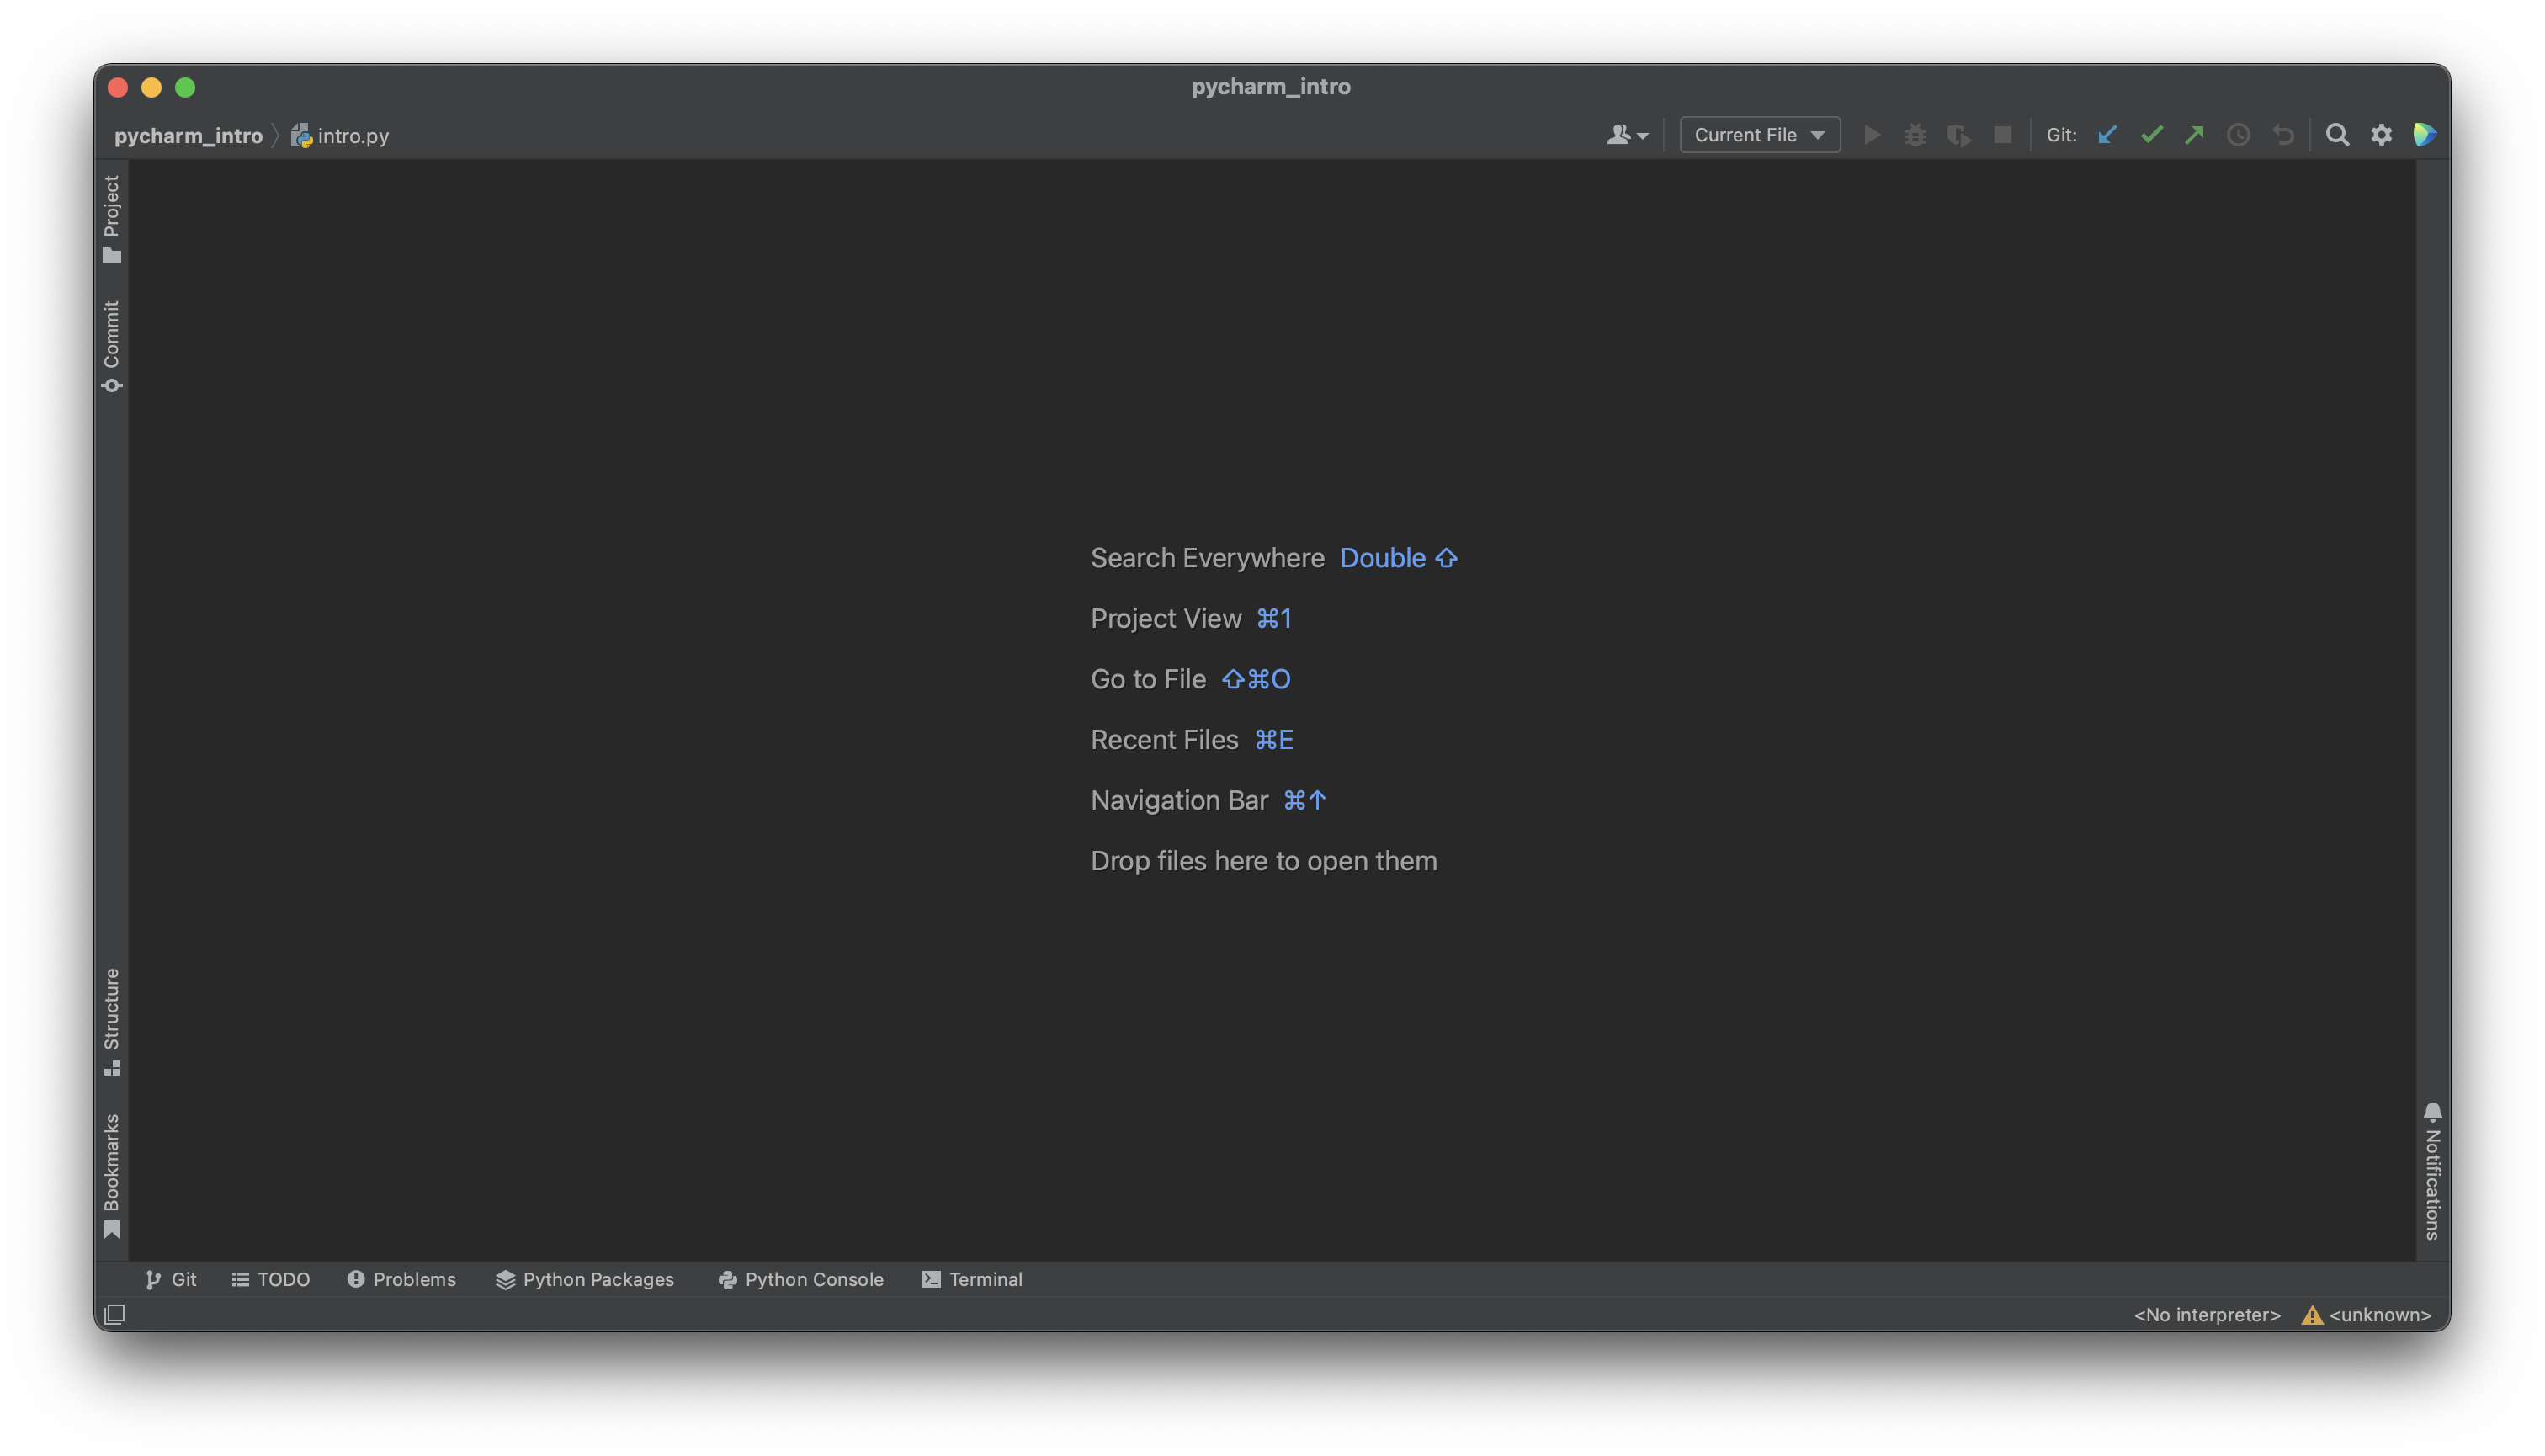
PyCharm models a program as a 'project', which consists of one or more Python files, as well as any additional resources like images or text files. To get you familiar with working with and running progams in PyCharm, we've provided a sample project, which you can download here. To test out this project, and to gain familiarity with the PyCharm environment, download the sample project (on Windows, you'll need to manually unzip it by opening it in Windows Explorer and selecting 'Extract All') and open it in PyCharm (using the 'open' option on the first screen). Whenever you open projects in PyCharm, open the folder directly containing the files you want to edit as opposed to just the files themselves. Upon opening the project, you should be greeted by a window that looks like this:
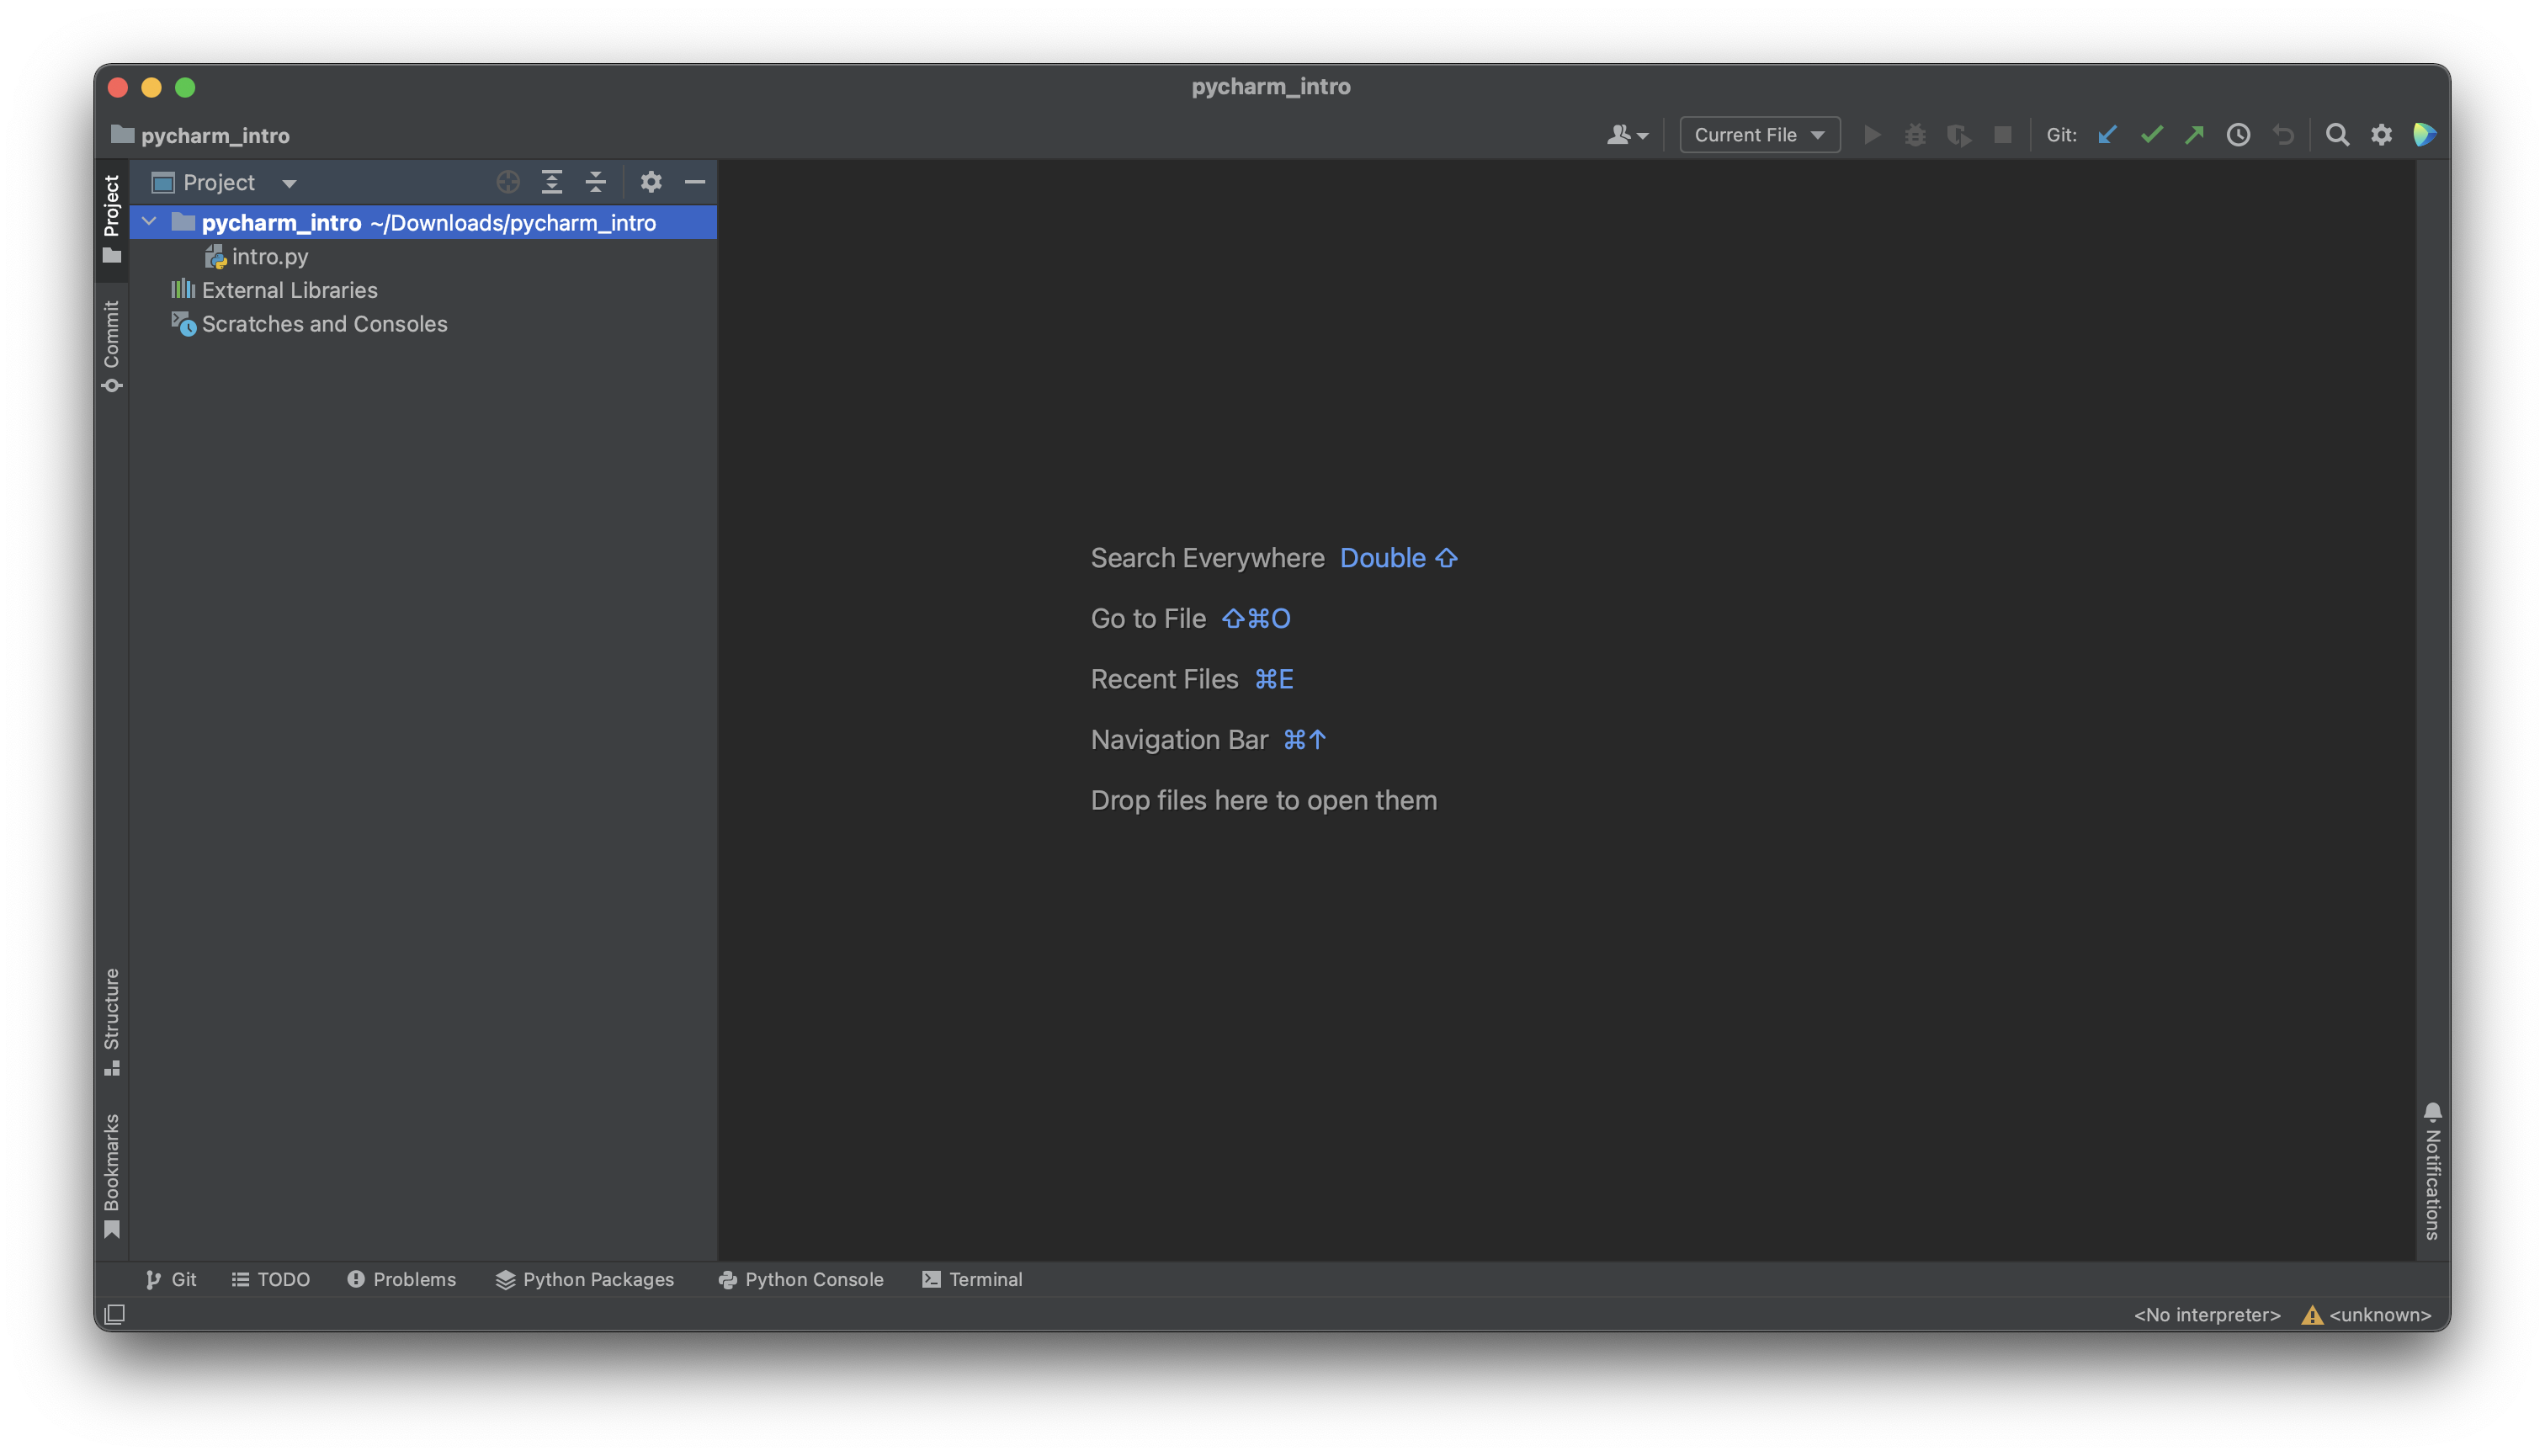
Click 'Project' in the top left or use the Command + 1
shortcut
to open the file explorer, and open intro.py to pull up the editor:
You aren't required to read or understand this code (although you will be able to by the end of the quarter!) but note that this editor is where you'll be writing all your code this quarter. Now, to run your program, click 'Terminal' in the bottom left corner, which will pull up a new terminal pane in your PyCharm window:
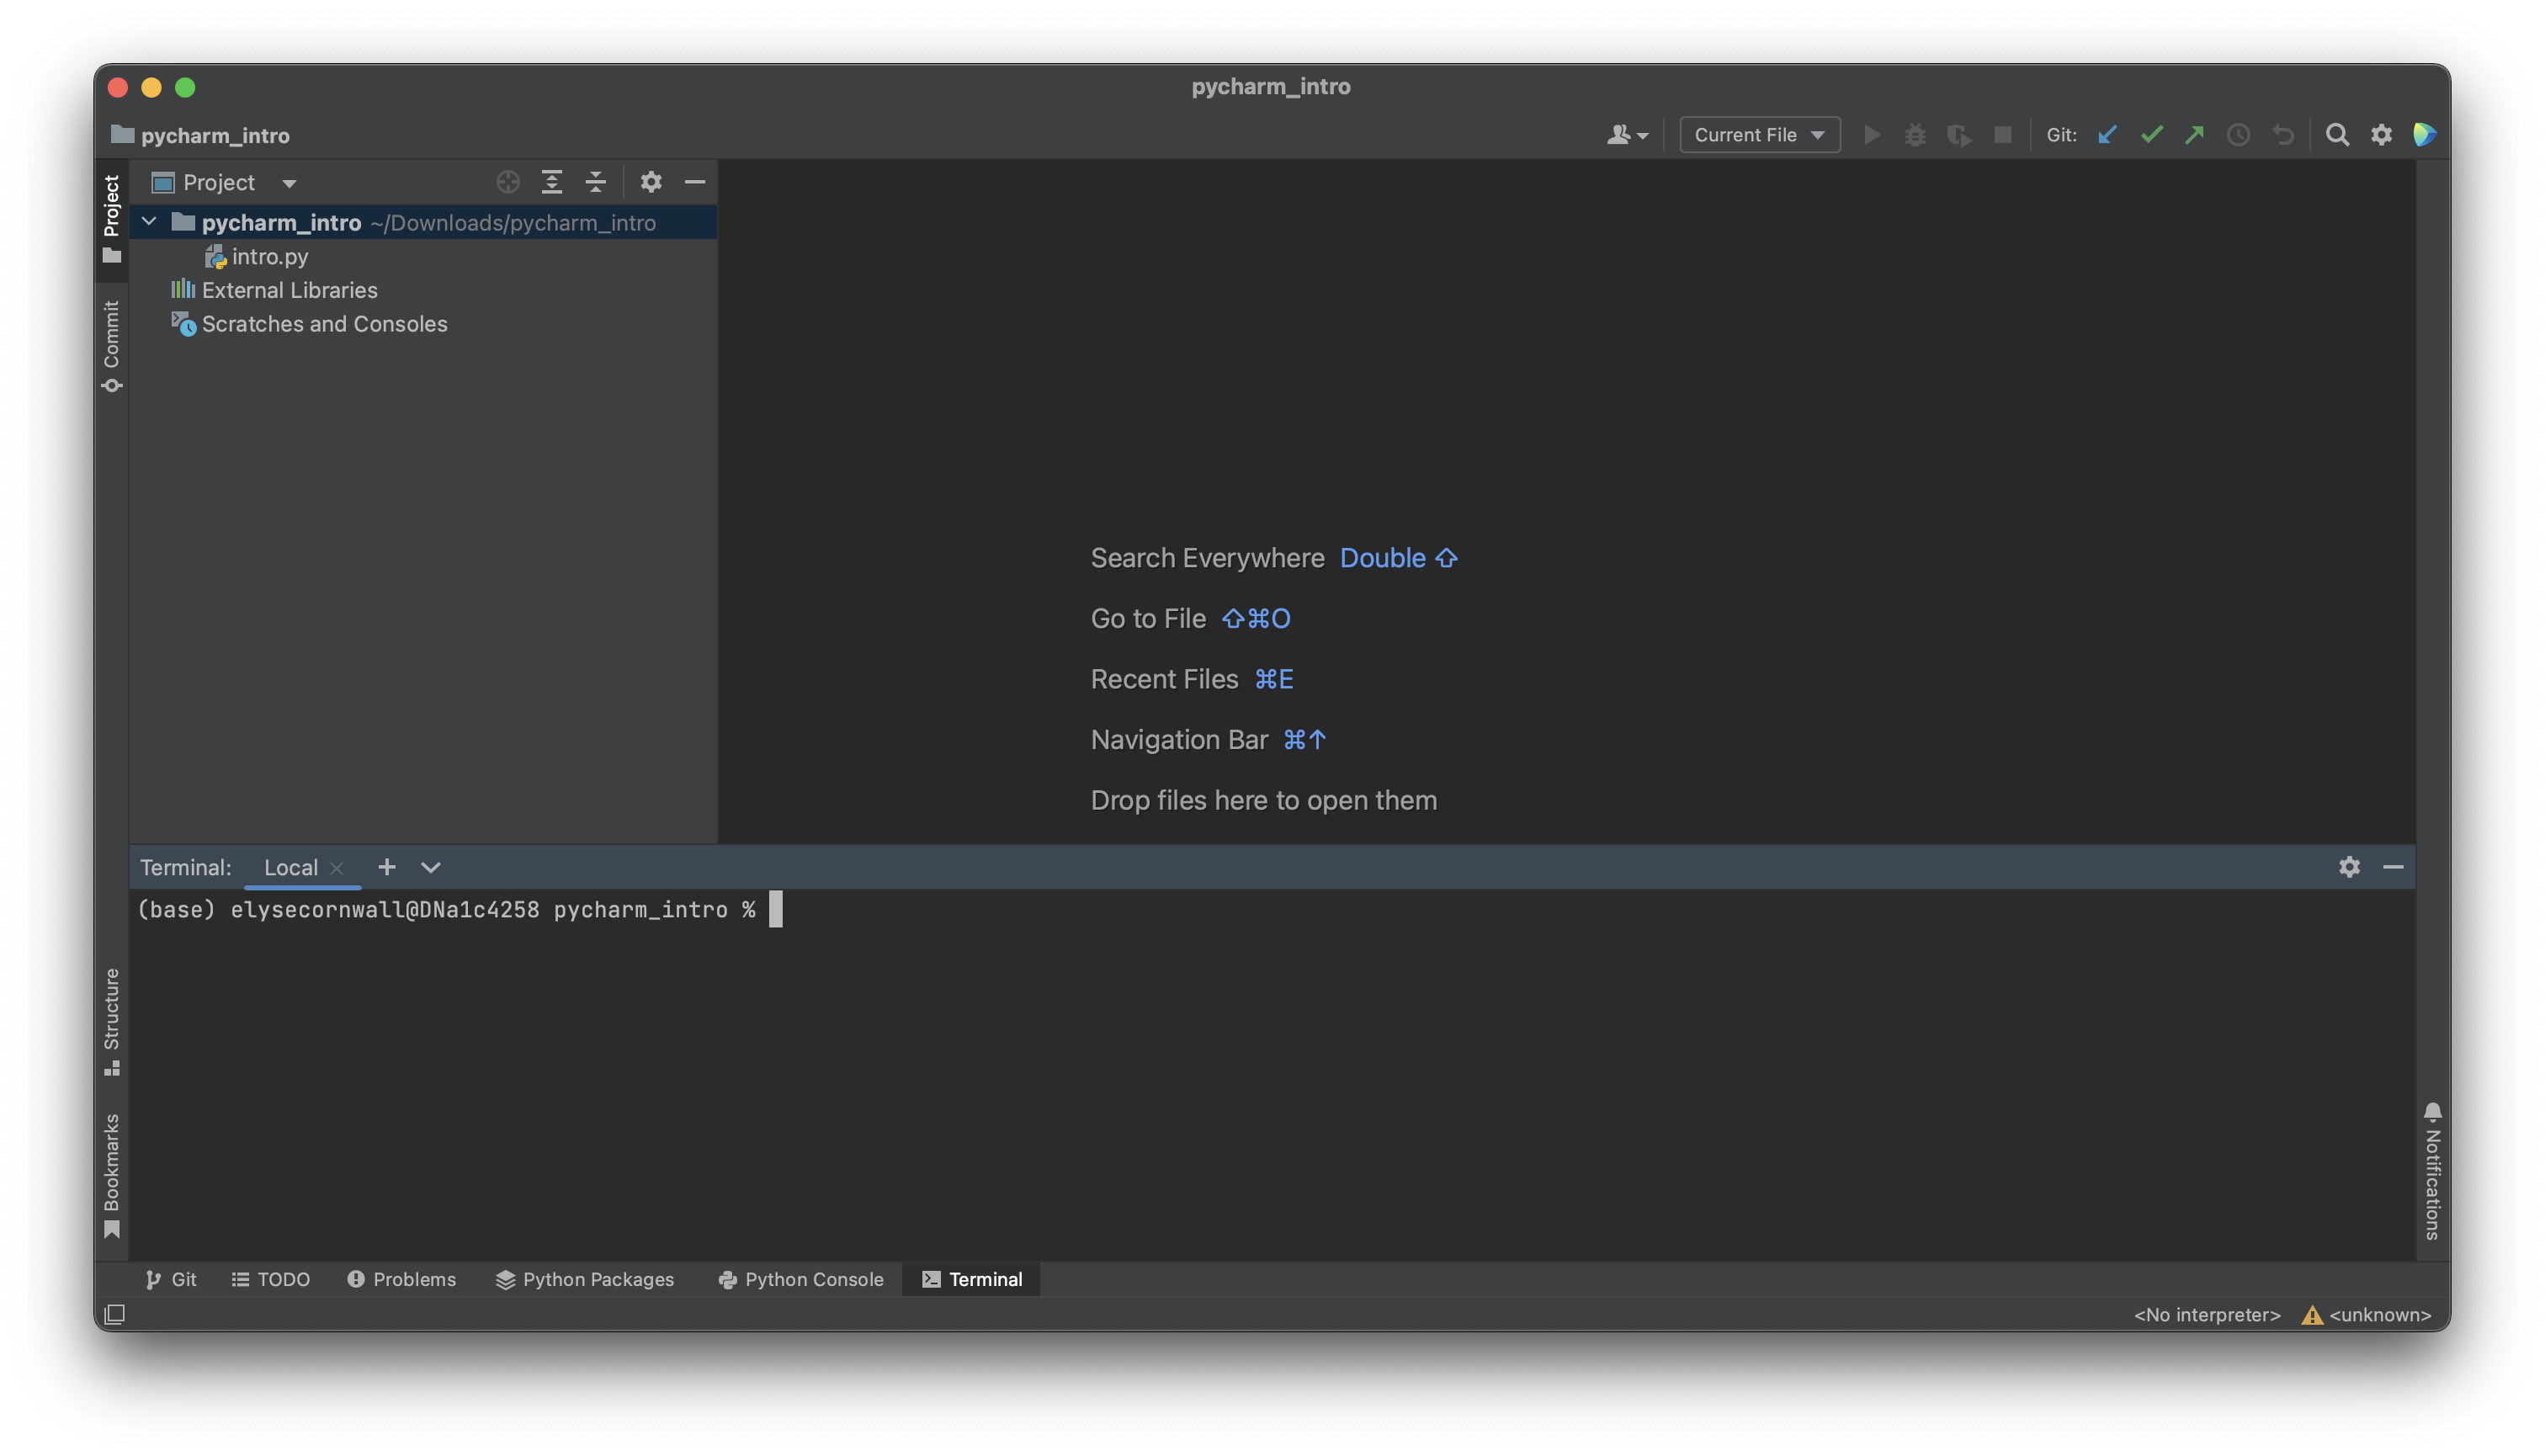
We'll talk more about the terminal later in the quarter, but for now, know that the terminal is how you'll be running your Python programs throughout the quarter. To run your first Python program, type this into the terminal and press enter:
python3 intro.py
You should see output that looks like this:
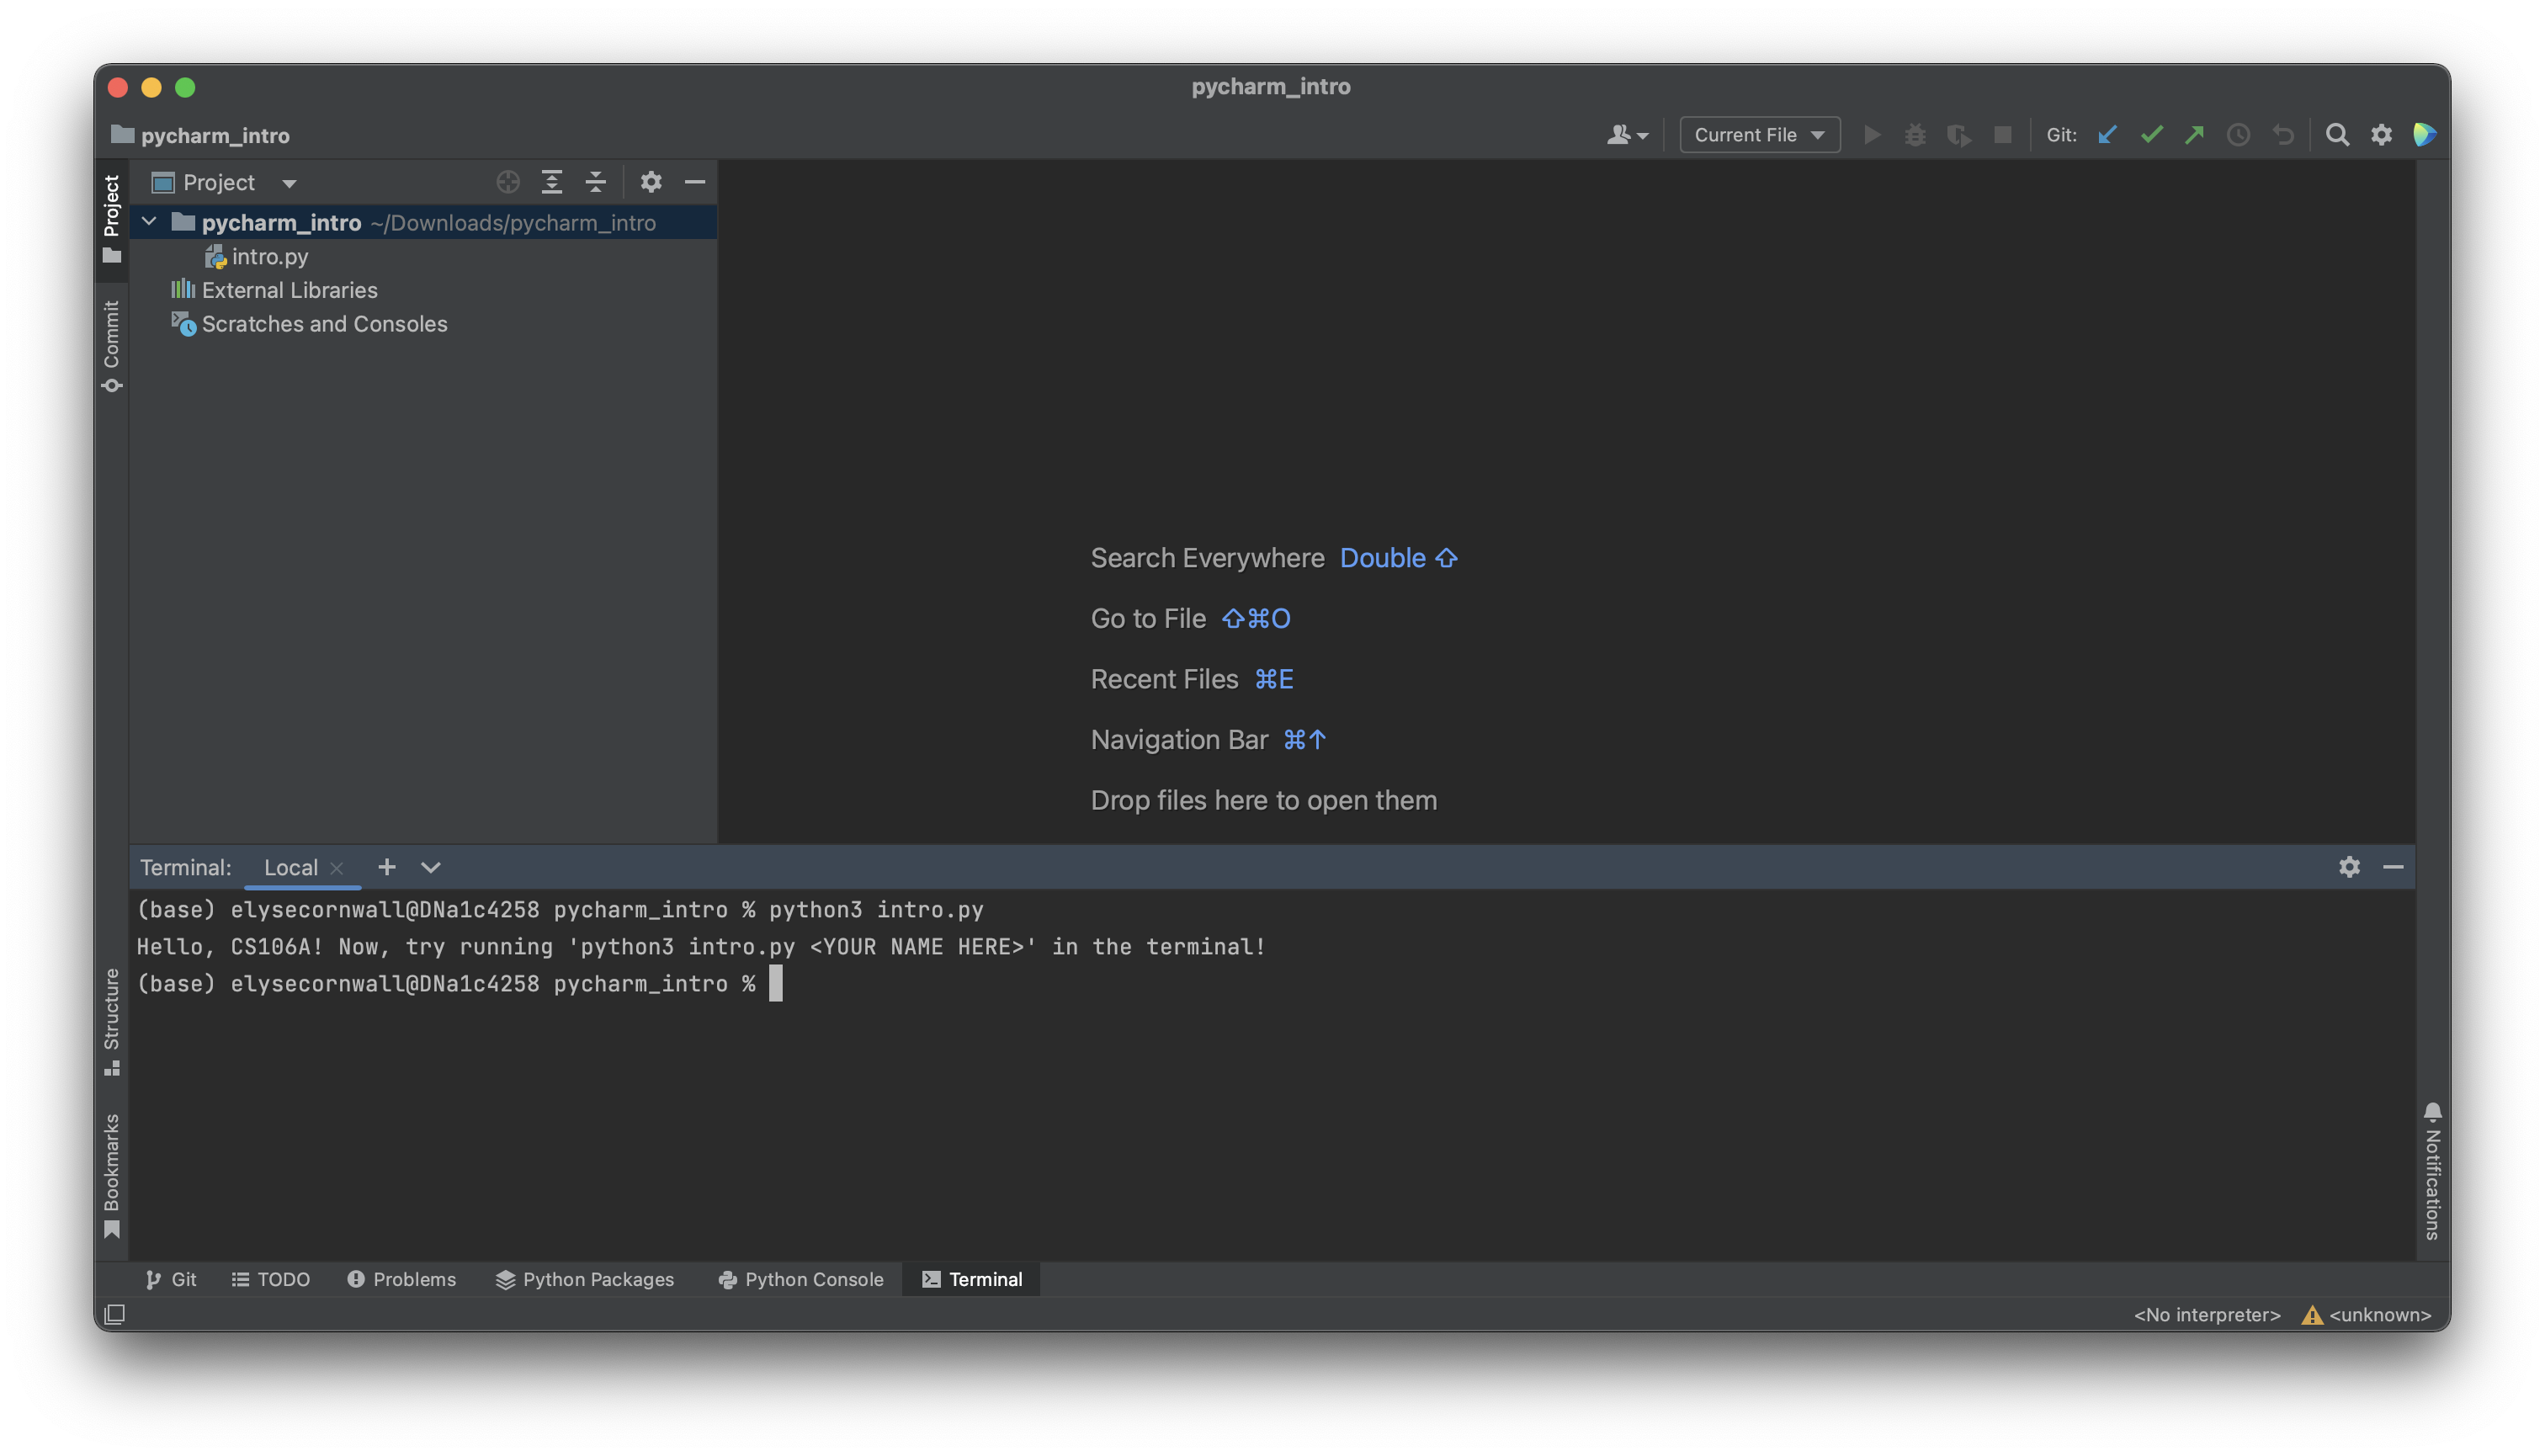
Now, type the following command into the terminal:
python3 intro.py < YOUR NAME HERE >
For example, if your name is Elyse, you'd type
python3 intro.py Elyse. You
can type your full name if you'd prefer. You should now see output like this:

Congratulations! You're now done with the PyCharm setup process.