Installing Python and PyCharm
Running into issues? Check out the PyCharm Bugs handout, post on Ed, or come chat with course staff in person!
In CS106A, you will be editing and running your code using an application called PyCharm. PyCharm is what is known as an IDE, or Integrated Development Environment, which means that it allows us to edit our code, browse our files, run our programs and debug them, all in the same place. This handout will walk you through installing 1) the language Python and 2) the IDE PyCharm on your own computer.
1. Installing Python
In order to be able to run Python programs on your computer, you need
to install a Python Interpreter. An interpreter is a program
that is capable of reading a .py file that you have
written, and translating the Python code in that file to instructions
that your computer can easily execute. Begin by downloading Python. Select the link corresponding to
your operating system and download the latest version of Python 3:
After clicking the link above:
- Click on the top link on that page, which will be the most recent version of Python.
- On the following page, scroll to the bottom, where you'll see a table under "Files."
- Click on the link for the version of Python that describes your operating system (macOS).
- (See note below!) Click on the downloaded package and follow the install instructions.
Windows Downloads (If you're using a relatively new Windows computer, use this link)
After clicking the link above:
- Click on the top link on that page, which will be the most recent version of Python.
- On the following page, scroll to the bottom, where you'll see a table under "Files."
- Click on the link for the version of Python that describes your operating system (one of the Windows installers).
- Click on the downloaded package and follow the install instructions.
Windows 32-bit installer (If you're using an older Windows computer, download this file)
Note:
Macs come with a version of Python installed, but this is an older version of Python. CS106A requires the use of the newest version of Python, so even if you think you already have Python installed, please follow the steps above.
Note:
When you open the downloaded file, before installing, there should be an option that says "Add Python VERSION_NUMBER in PATH." Make sure to check this box. Then, continue installing normally.
2. Installing PyCharm
To get started, download and install the Unified Product PyCharm.
- Note that newer Mac computers have an Apple Silicon Chip, whereas older Macs have Intel Chips. To check which you have, go to the Apple symbol in the upper-left corner of your computer, click "About This Mac," and on that screen, see whether your chip is Apple or Intel.
- Back on the PyCharm download page, click the
.dmgdropdown and select either Apple or Intel based on what you saw in step 2. - Open the downloaded
.dmgfile and drag PyCharm into your Applications folder.
- Scroll down to the black section "PyCharm Community Edition."
- Click the black download button.
- Open the downloaded
.exefile and install PyCharm, using all the default options.
At the end of the PyCharm installation process, open PyCharm, and you'll see a welcome screen:
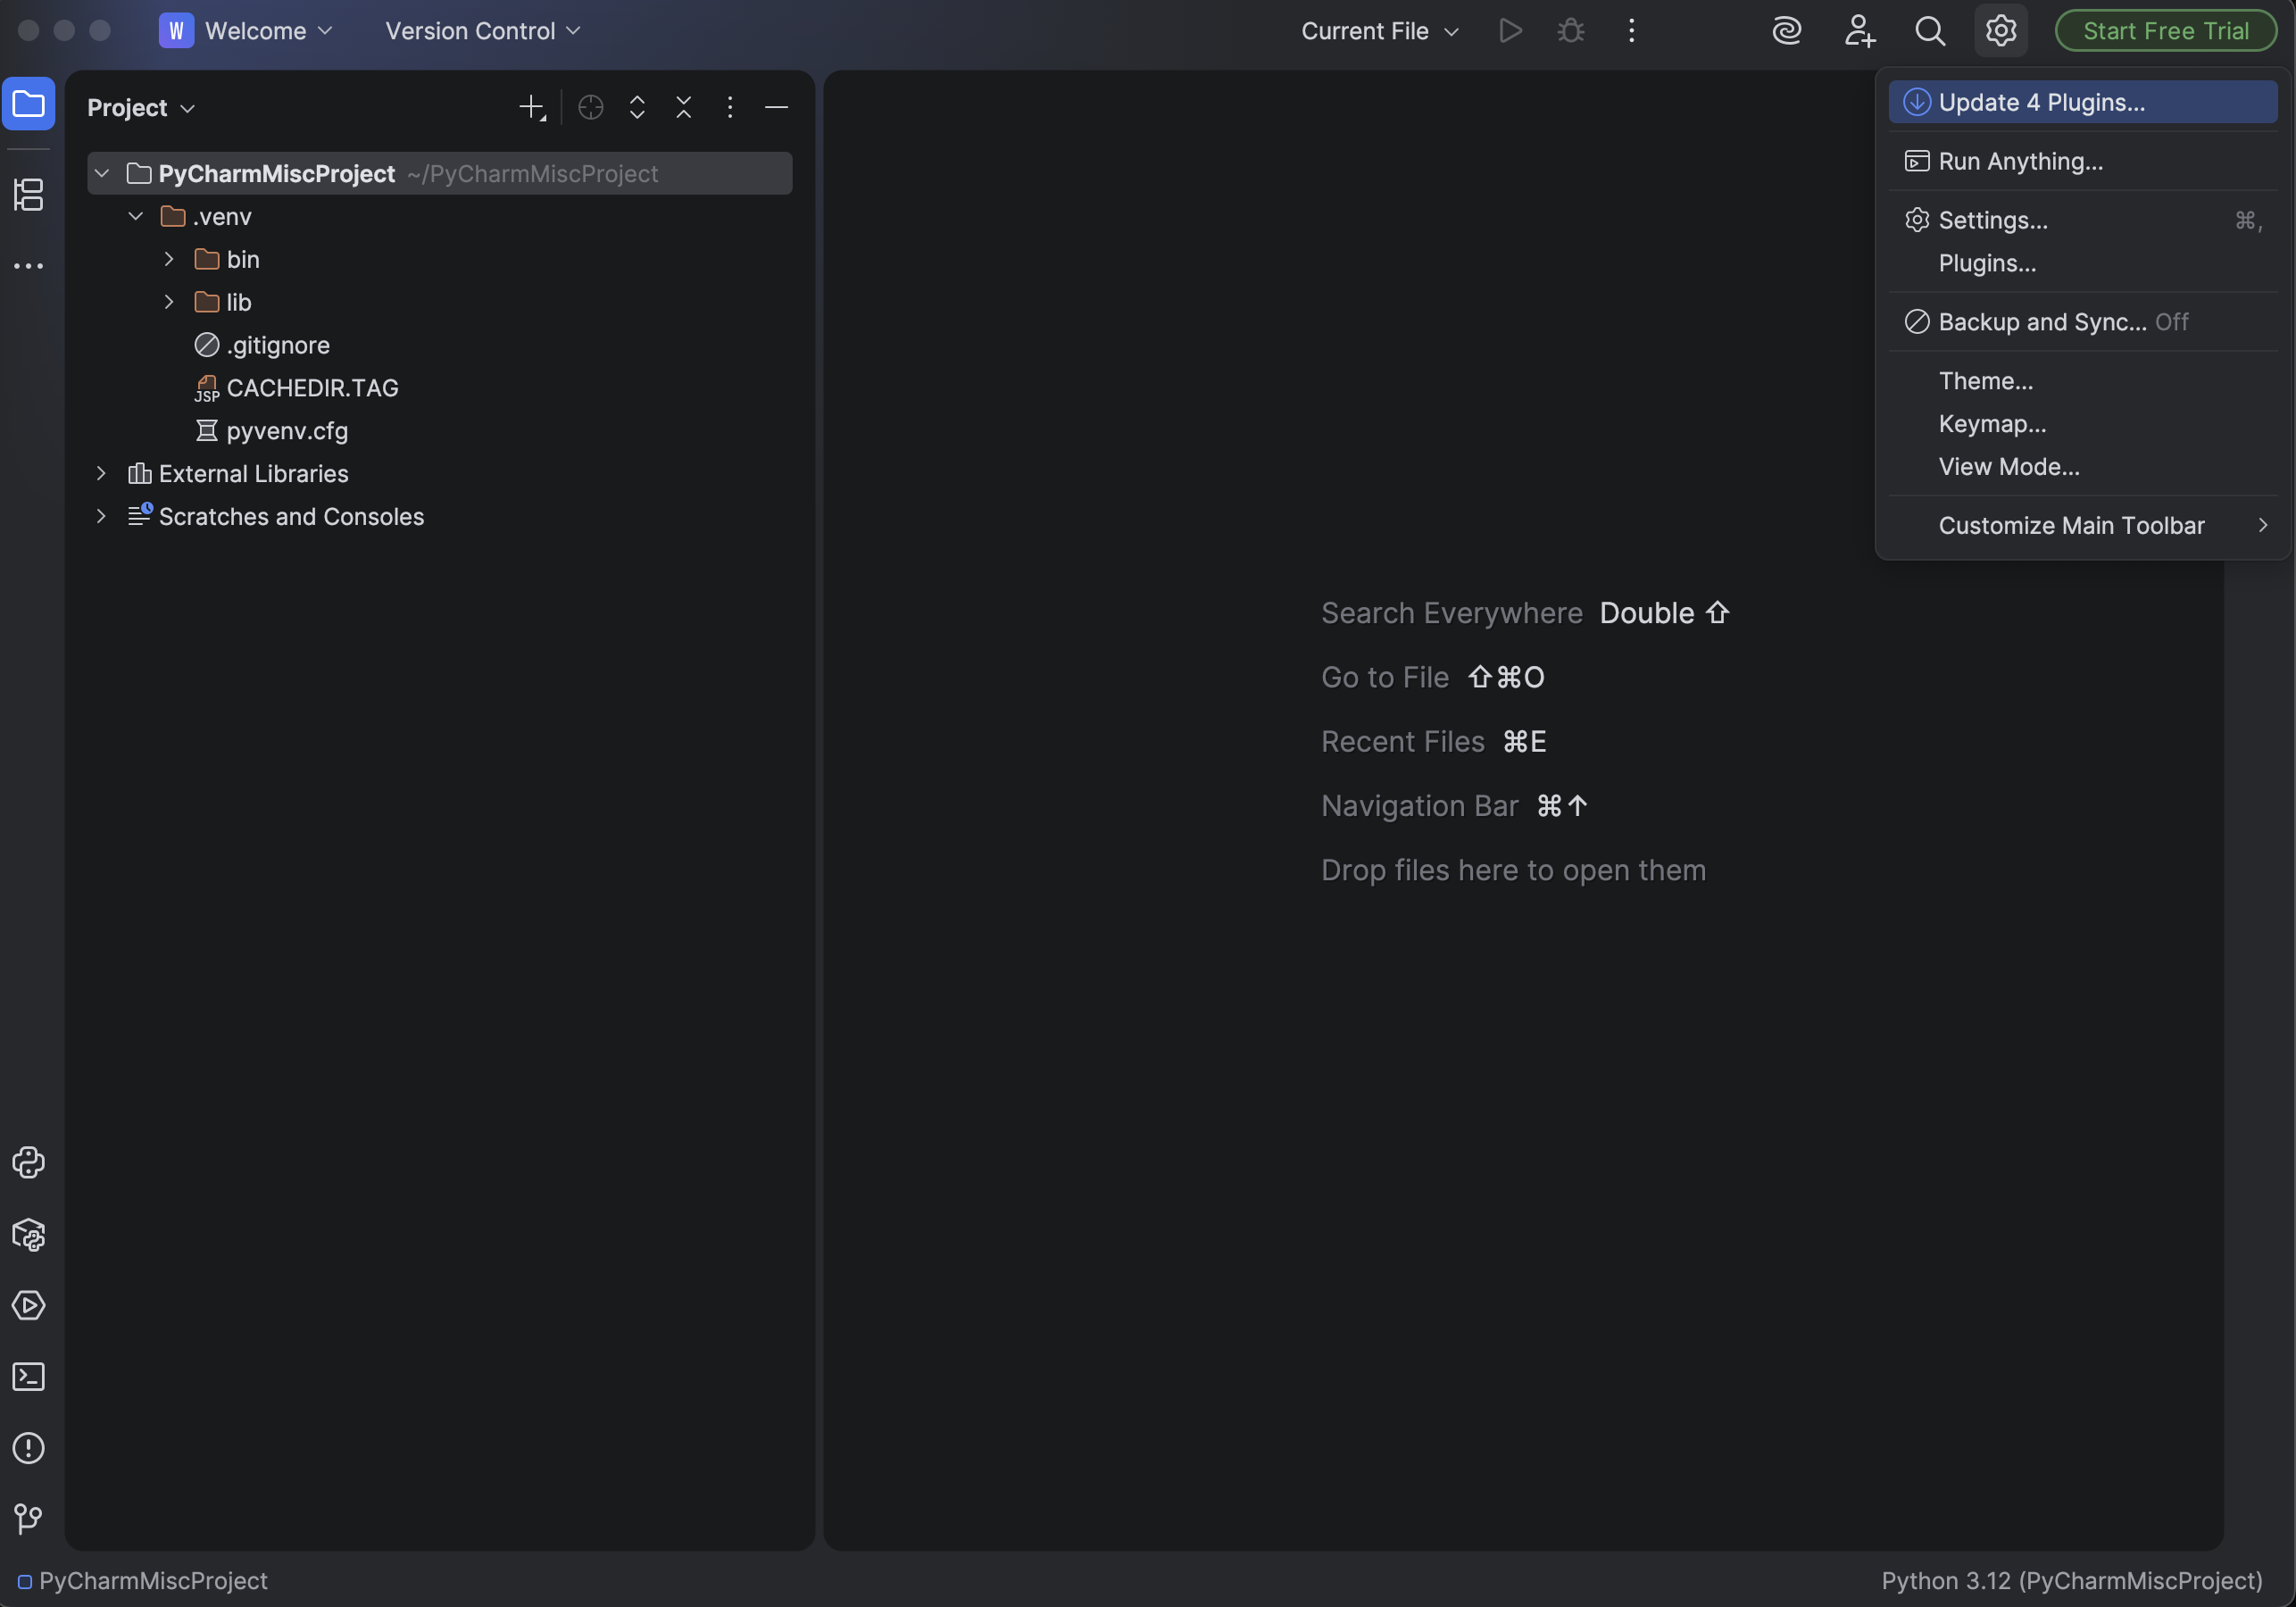
Find the 'Settings' button and click it. If your screen looks different, just try to find the 'Settings' page.
Click the 'Python' tab on the left side and click into the 'Interpreter' tab, and you should see a screen like this:
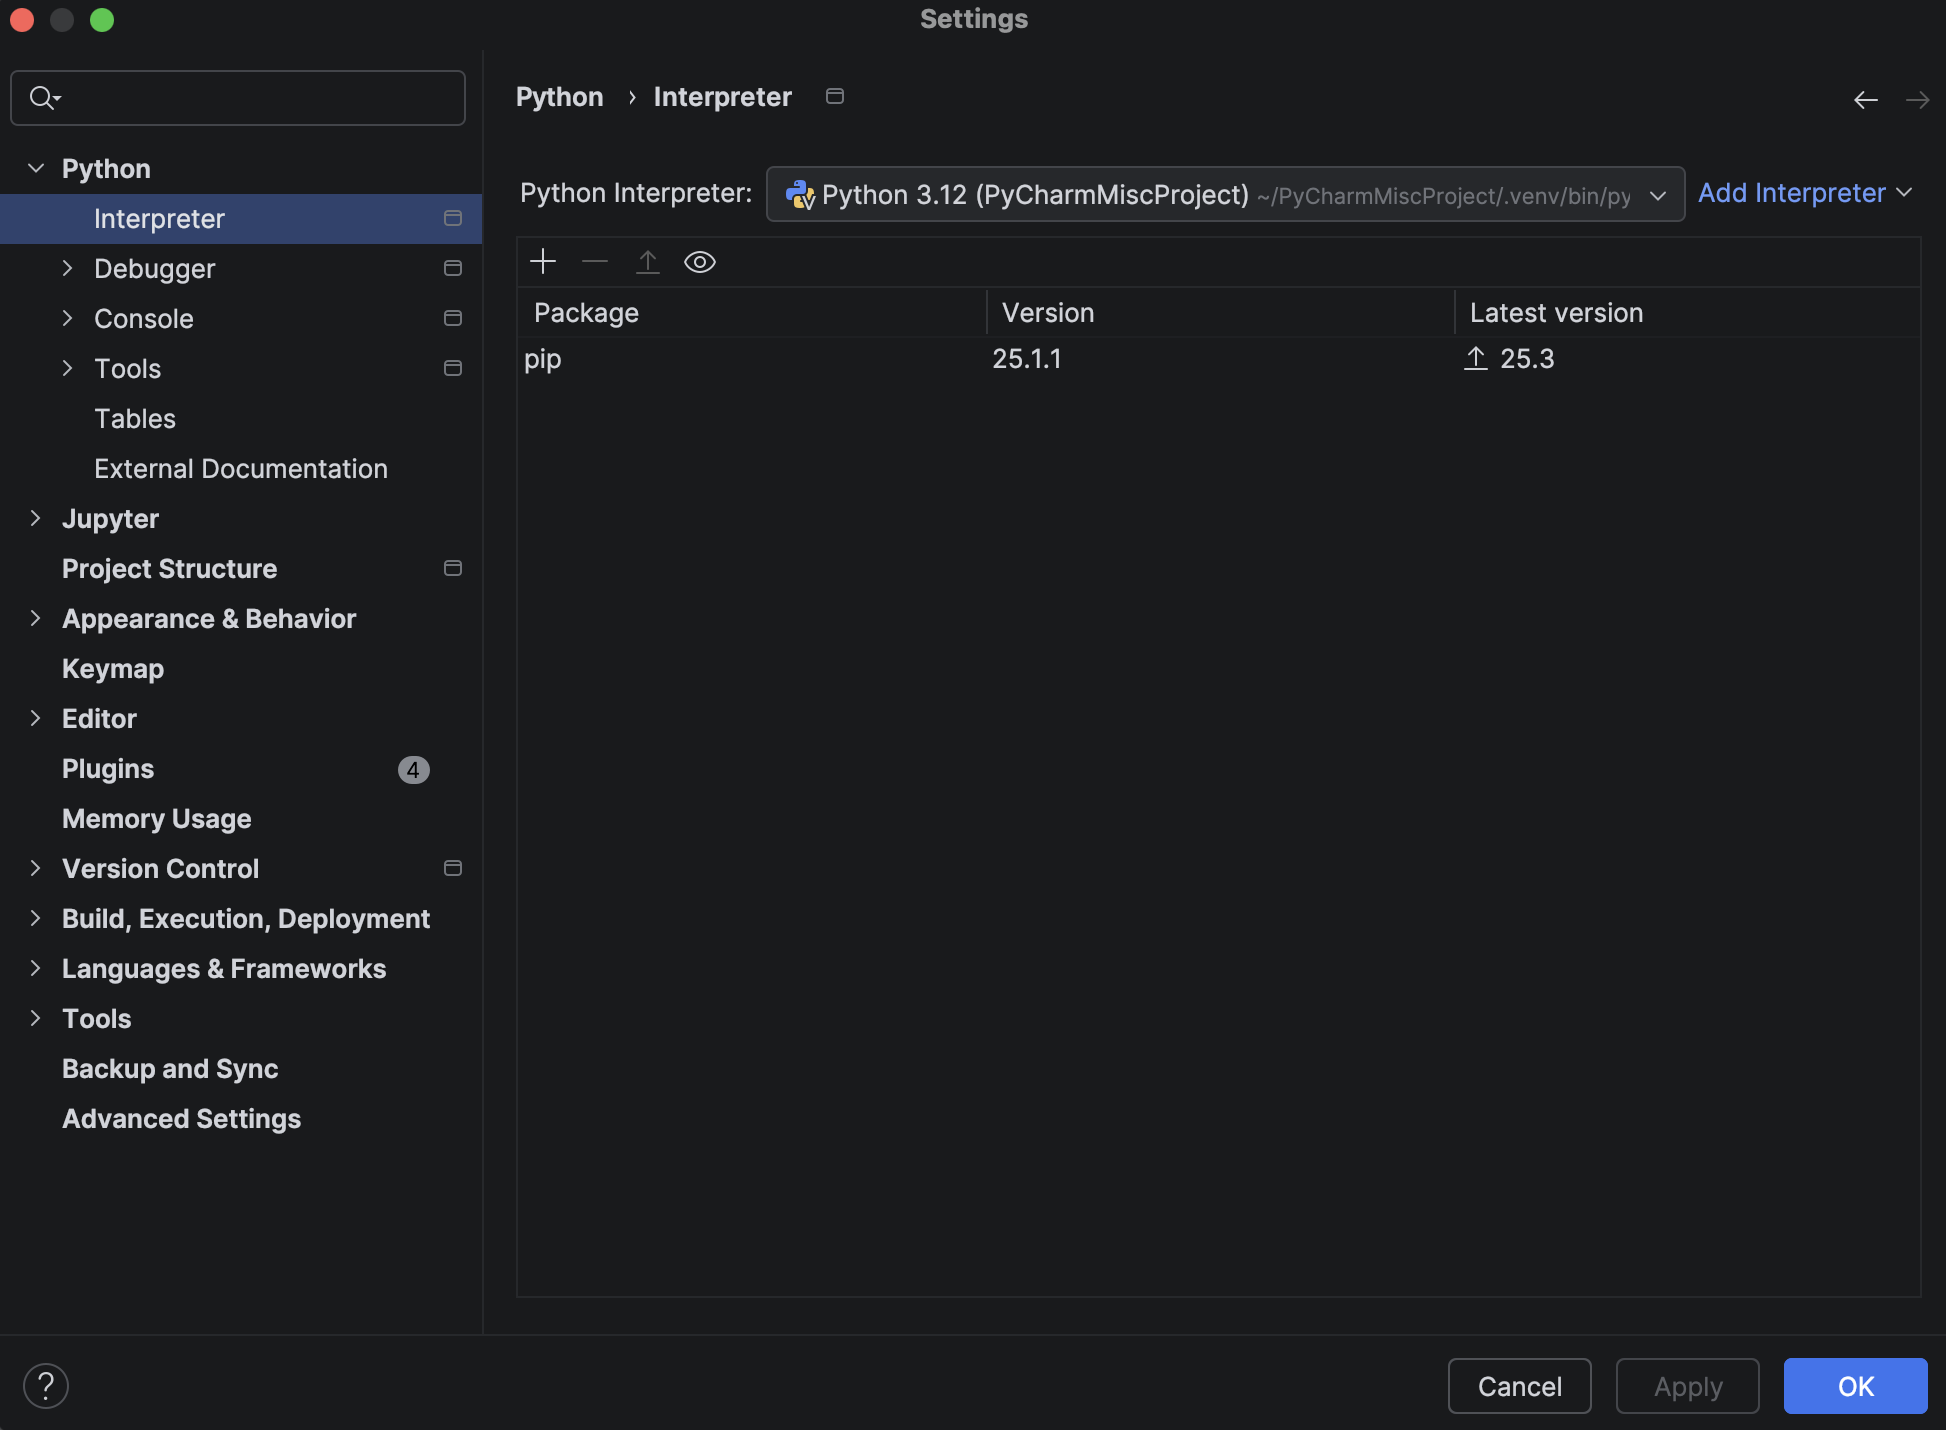
If you see that an interpreter hasn't been added, follow the instructions below. If you see something like the picture above, you can just click 'OK' and skip the steps below and just follow the instructions to disable PyCharm Code Completion below in the blue box.
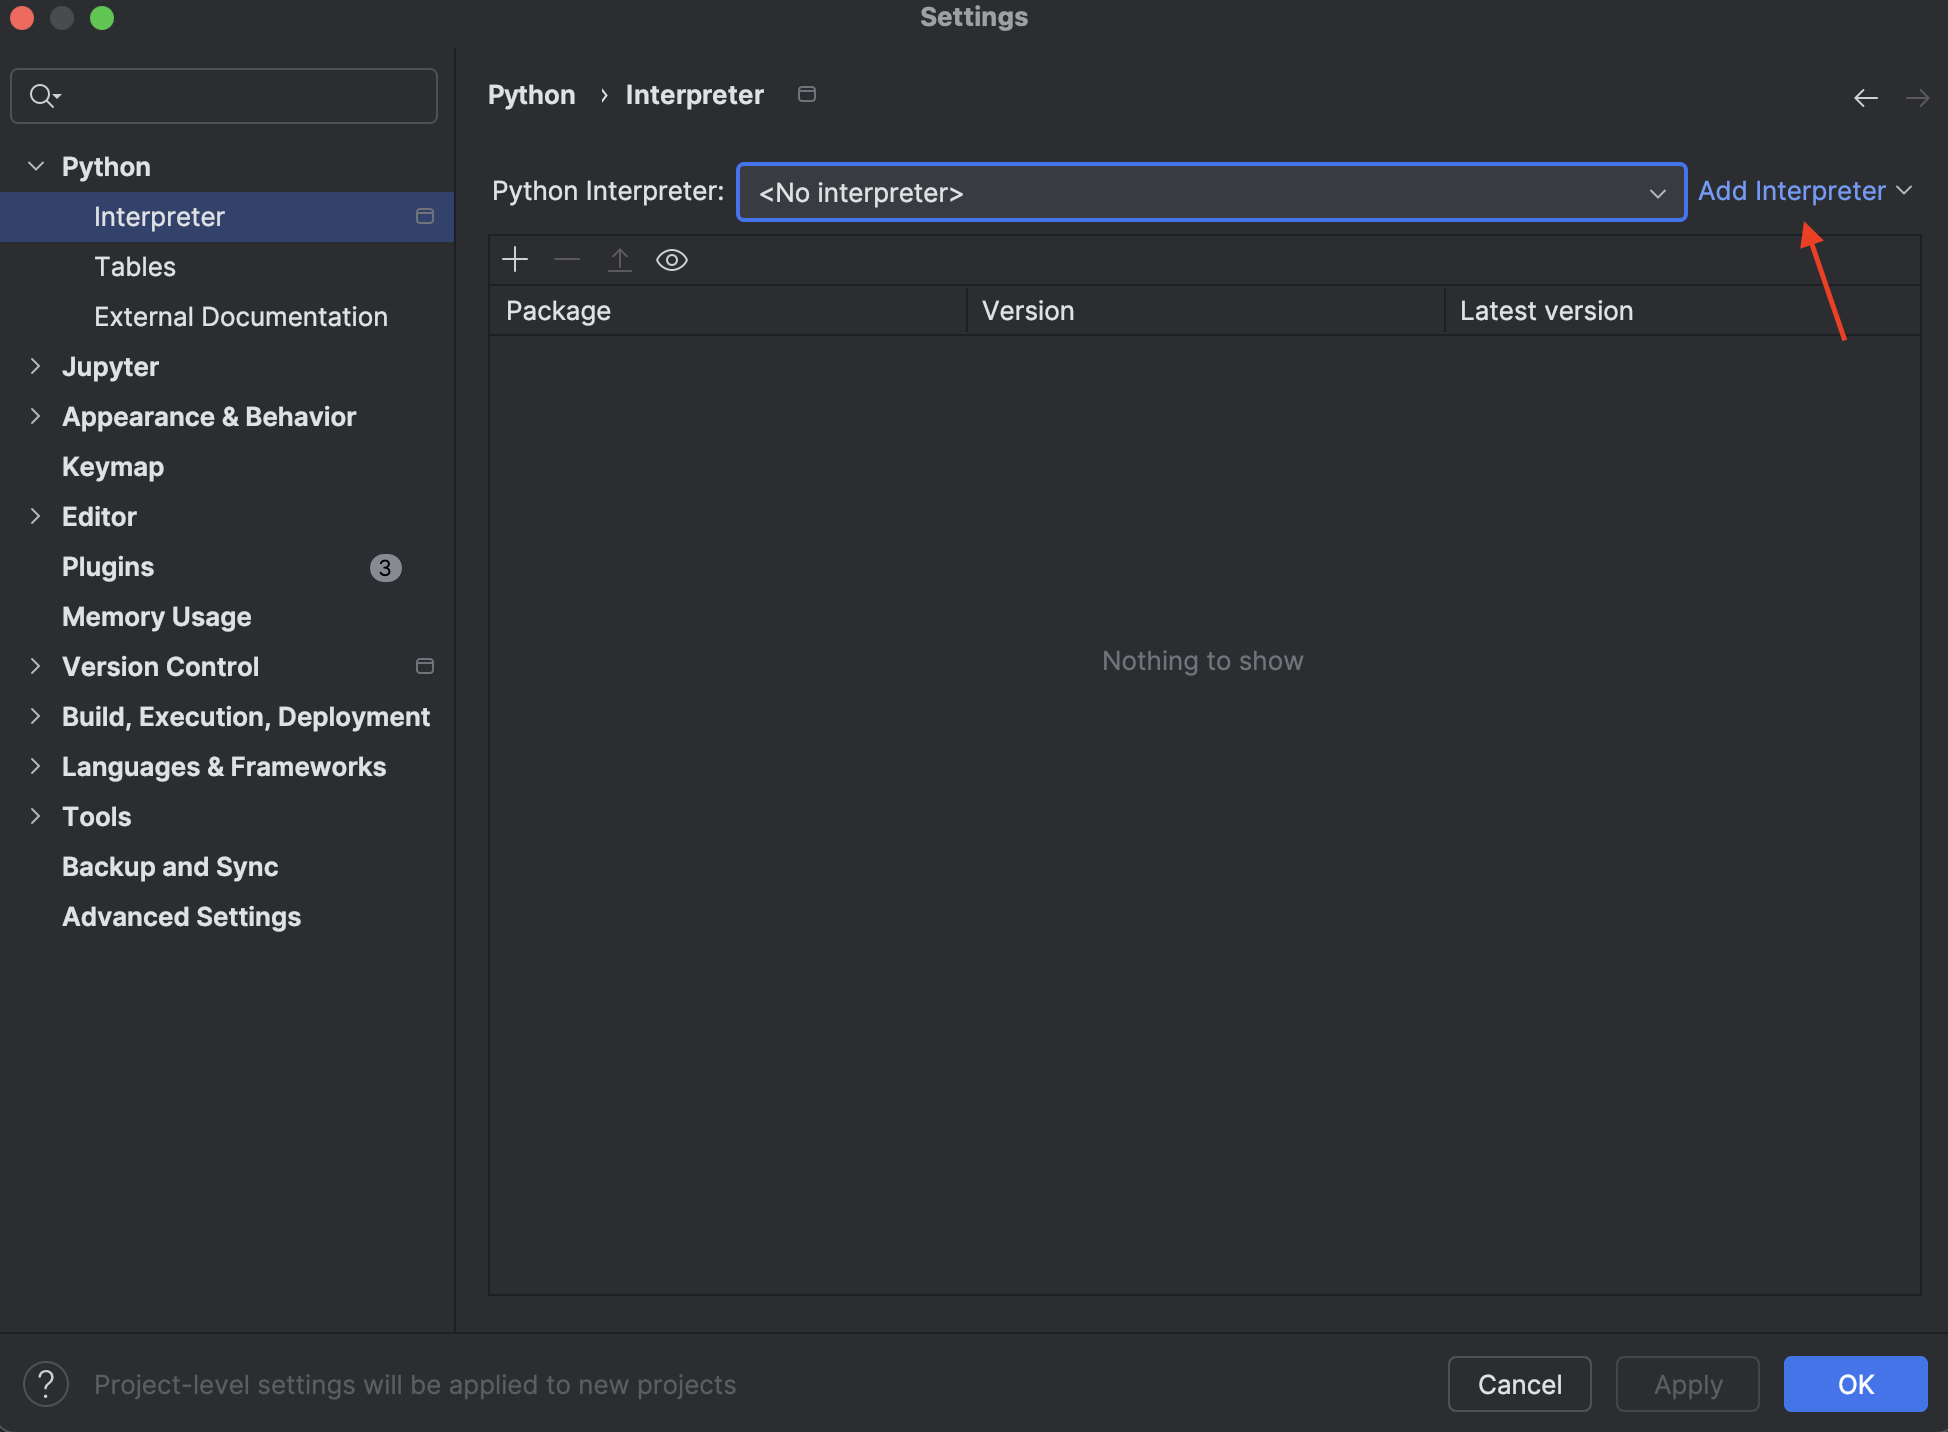
Only follow this if you don't see an interpreter selected: Click the "Add Interpreter" dropdown.
You should configure your pop-up to look like this. Note that your Python version will probably be different.

Make sure you've selected the latest version of Python that you just downloaded and then click 'OK' and 'OK' again. You should now be on a window that looks like this:

Click 'Apply' and then 'OK' again to be taken back to the welcome page. You're now ready to test PyCharm! Part 3 is optional, but is a good sanity check, and resembles the way you'll download and open a file to work on HW2.
Disable PyCharm Autocomplete CS106A is about learning to read and write code yourself. Using AI code completion undermines that goal. PyCharm’s built-in AI also hasn’t seen the assignment, so its suggestions are often incorrect and can introduce code that doesn’t exist in the starter files. Here’s a quick video on how to disable it.
3. Testing PyCharm
When you work on assignments in CS106A, we'll have you download a PyCharm project, which is a folder
containing Python code files (.py files) and sometimes other files your program will
need, like images or text files. You'll open up the entire project folder using PyCharm, then edit
the files in PyCharm.
To get set up for HW2B and gain familiarity with the PyCharm environment, download the project below and open it in PyCharm as follows:
- Download the Image Grid assignment in the Homework 2 handout.
- In your Downloads folder, right-click on the file you just downloaded and select "Extract All..."double-click on the file you just downloaded to un-zip the file.
- Go back to the PyCharm welcome screen, and click on the "Projects" tab.
- Click "Open."
- In the file navigator, go to your Downloads and select the un-zipped
image-gridfolder. Note: Whenever you open projects in PyCharm, open the folder containing the files you want to edit, as opposed to just the files themselves. Sometimes, Windows computers will create another nested folder when you extract a folder. Select the innermostimage-gridfolder to open. - Click "Open."


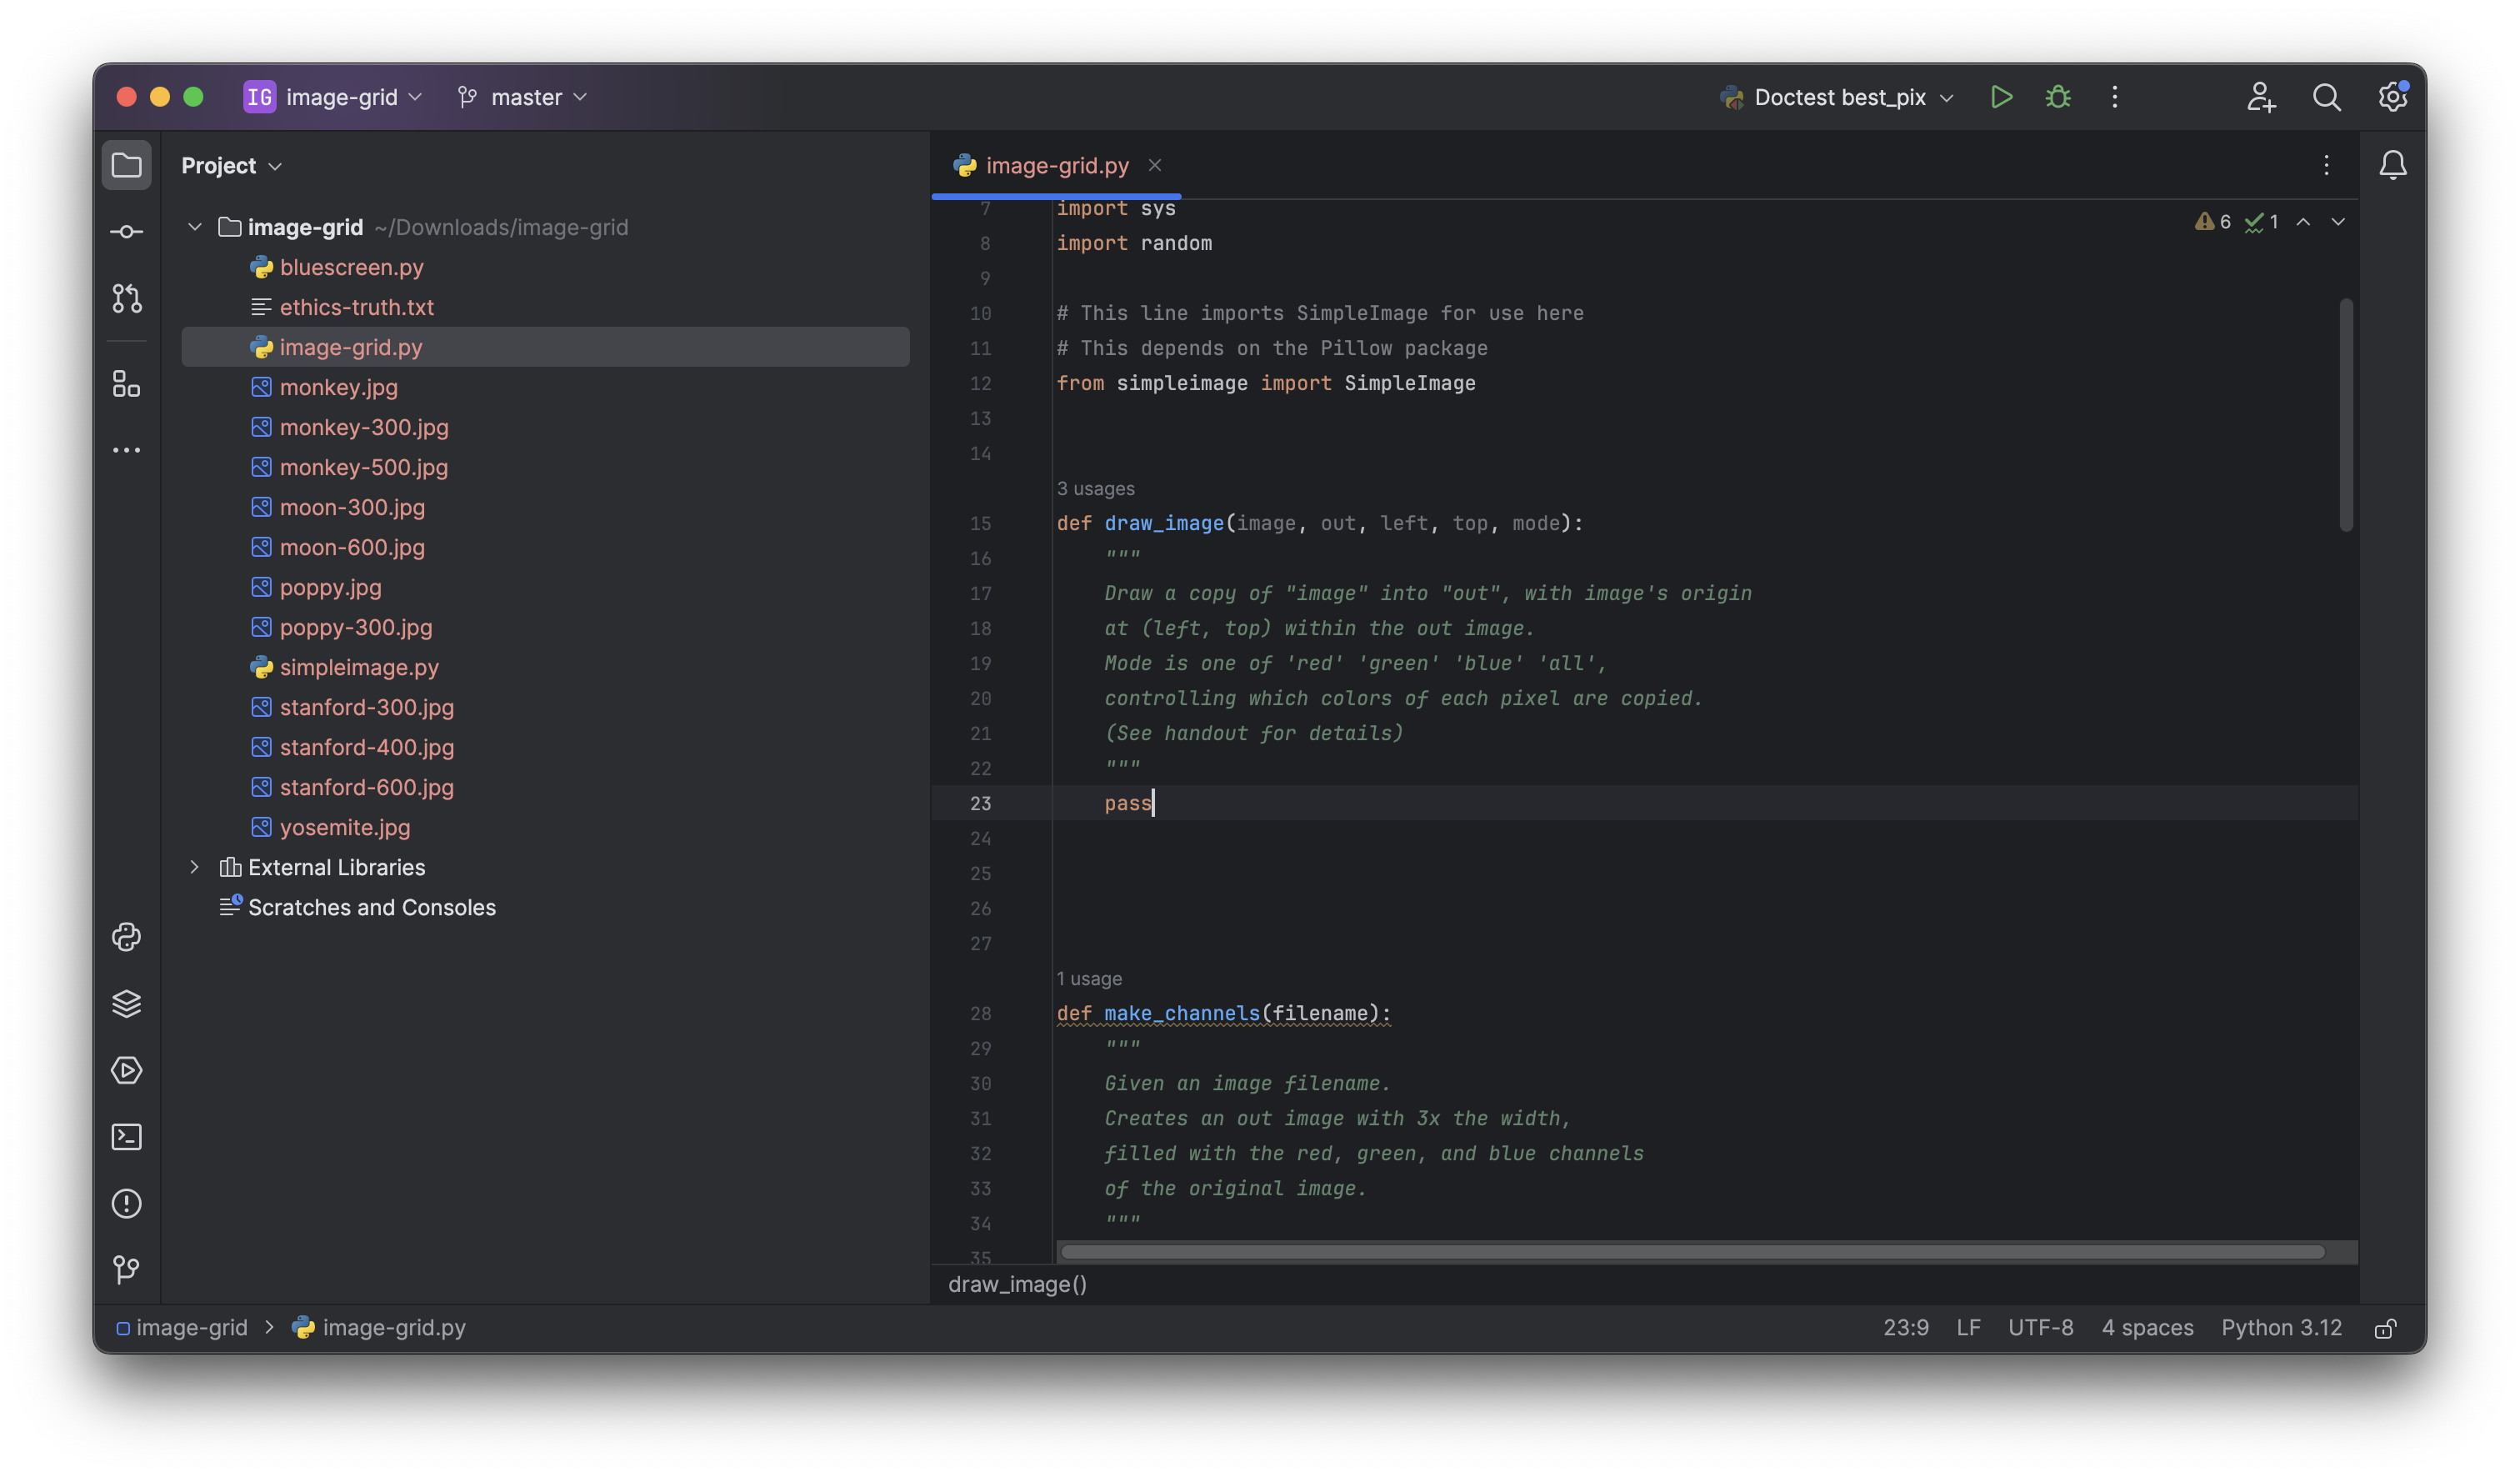
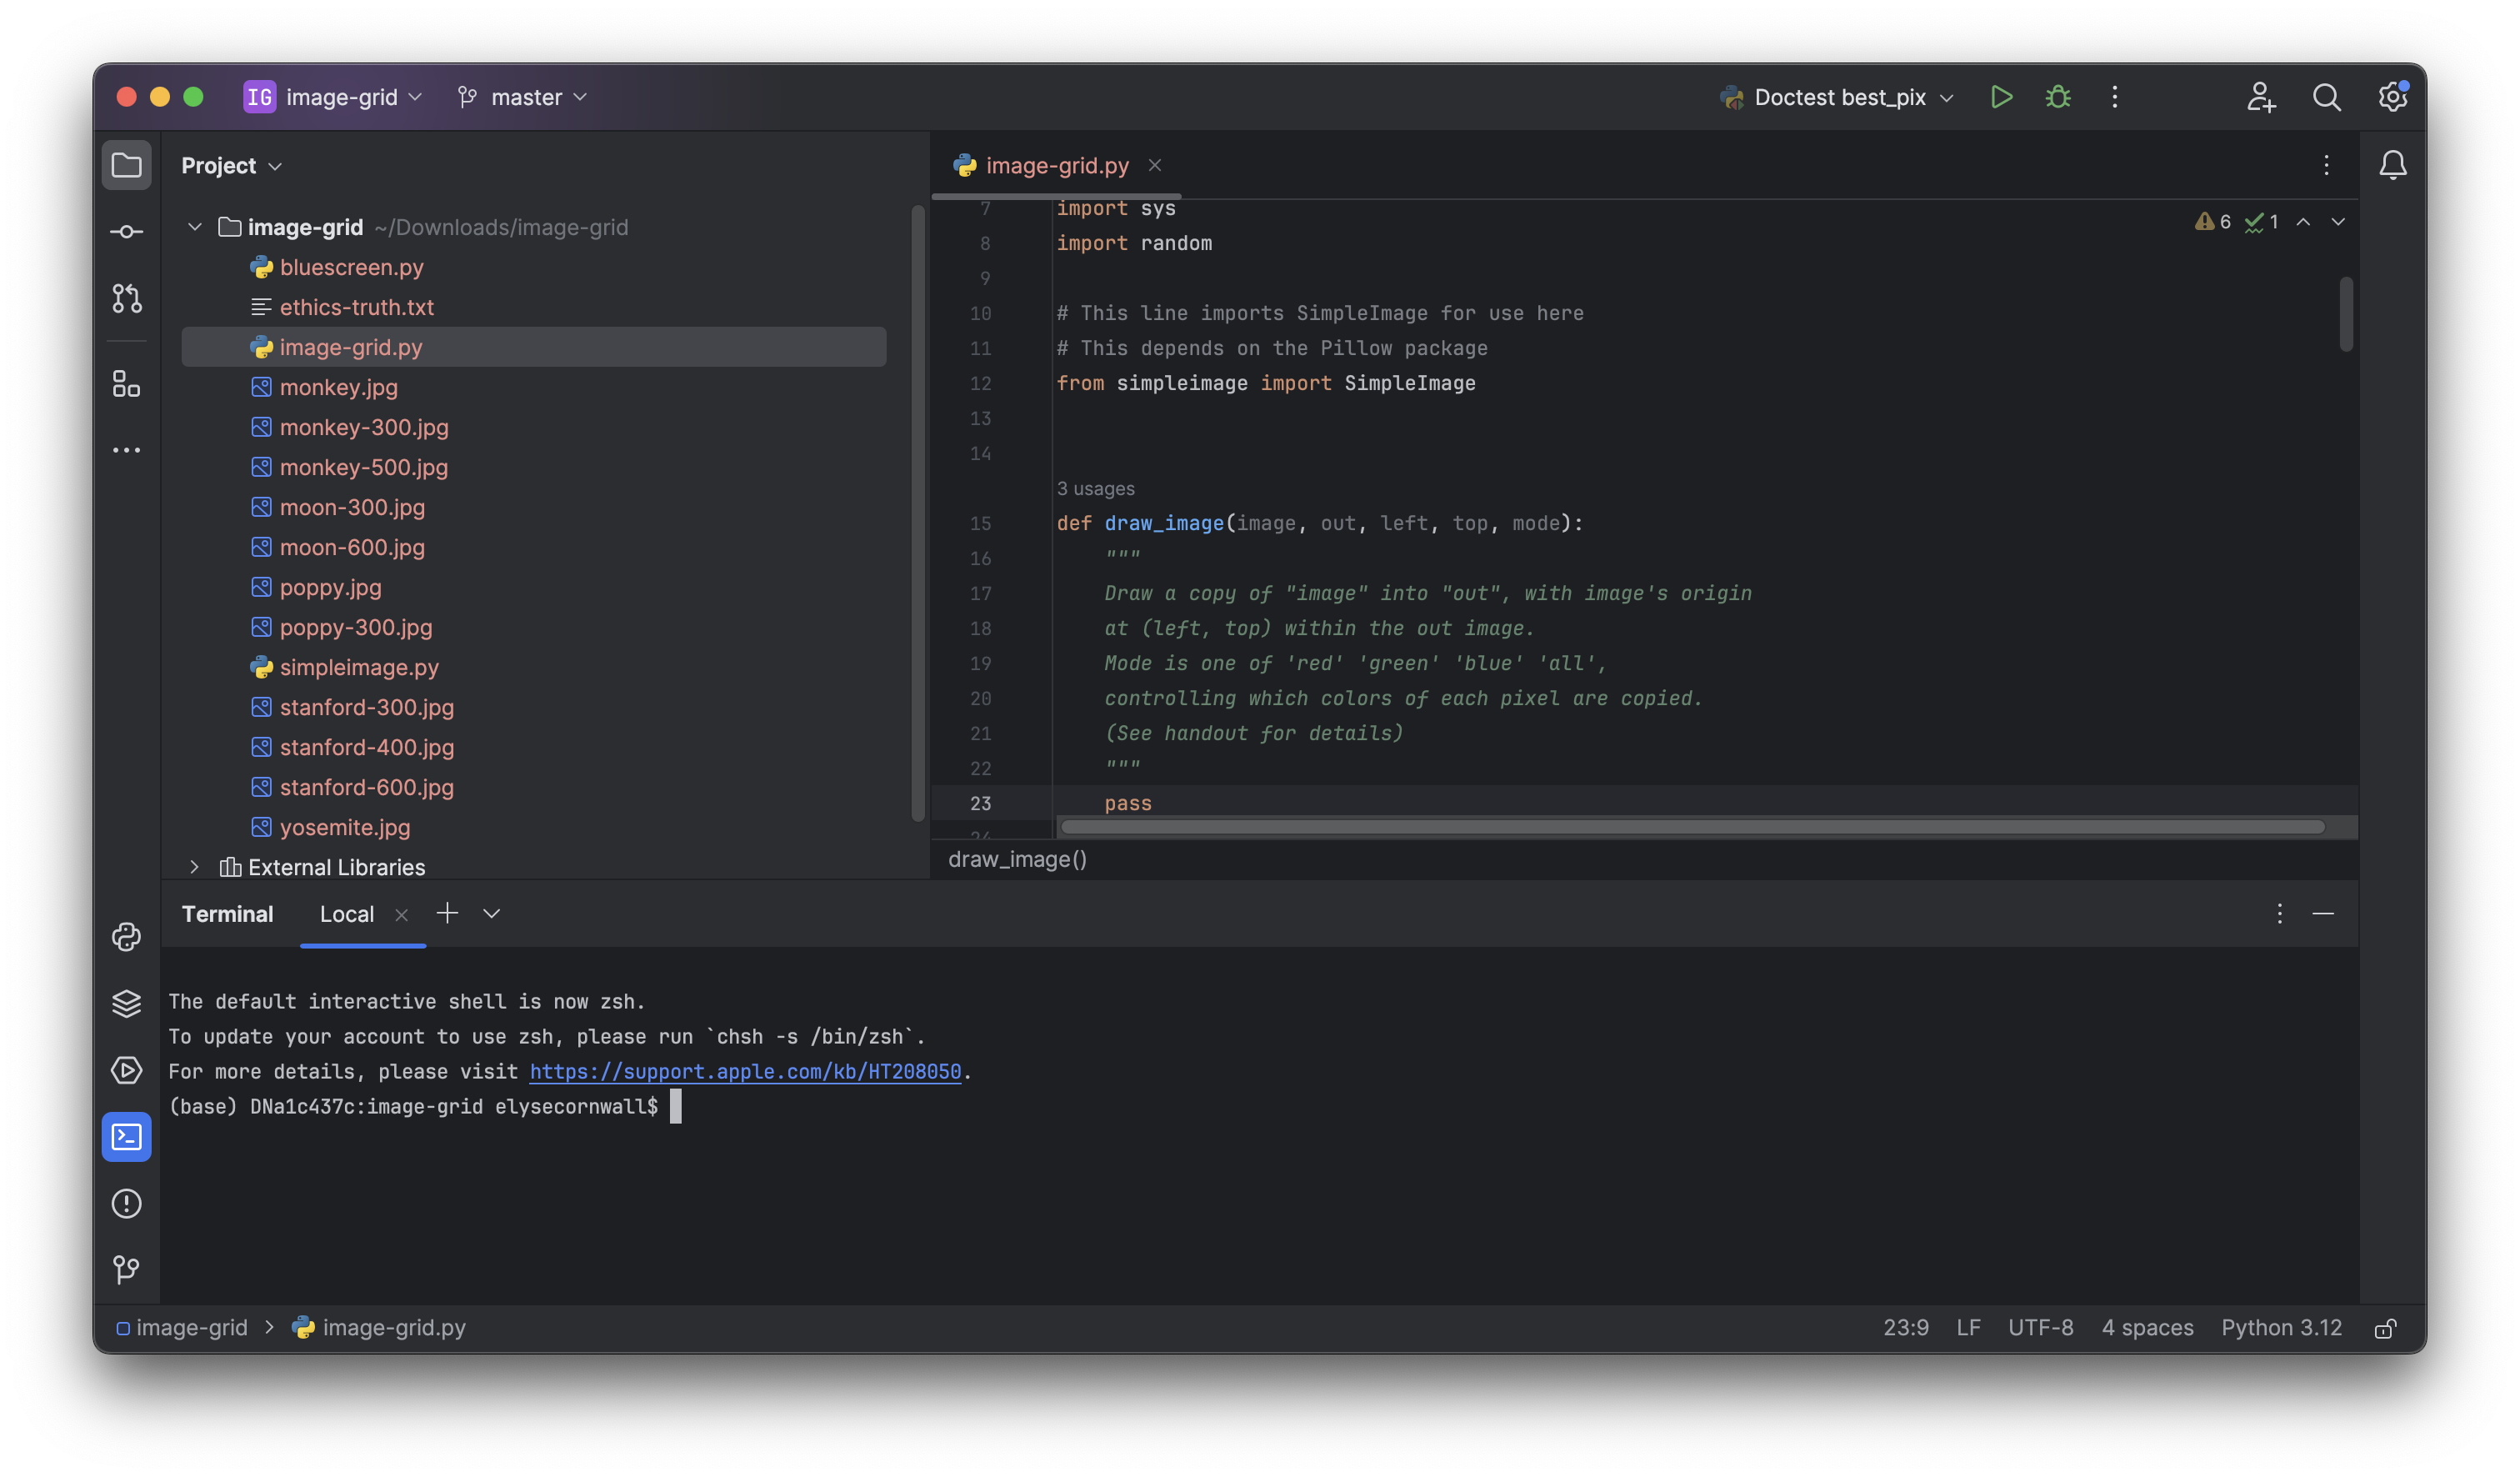
Nice, you've just opened a project in PyCharm! Upon clicking "Open," you should be greeted by a window that looks like this:

On the left side of your screen, the "Project" tab should be open. This is where you can see files
in the image-grid project folder you currently have open. If you don't see this tab
on the left, click the folder icon in the top-left or do Command + 1.
To expand the image-grid project folder you've opened, hit the > next to
the image-grid folder. You should see some Python (.py) files and some
image files inside. The Python files contain Python code!

Double-click on image-grid.py, and you should see a new panel appear. Now, you can view
the contents of this Python file. This is the file editor window. Here, you can view and edit code.
You'll write some code to replace the pass statements and complete HW2B, for now we'll
leave these functions empty.
You might see a pop-up about "No Python interpreter configured for the project." Select the version of Python you just downloaded (in this case, "Use Python 3.12"), and you should be all set.

Now, click 'Terminal' in the bottom-left corner.

This will pull up a new terminal panel in your PyCharm window:
In PyCharm, we use the terminal to run our programs (unlike in the Experimental Server, where we can just hit the "Run" button). To run a program, we type something into the terminal and hit enter. First, let's test that you installed the latest version of Python correctly.
Type the following into your terminal:
python3 --version
Here's how it looks to type something in your terminal. Note that you should not be typing anything in the panel on the right, your file editor window.

After hitting enter, you should see output that looks like this:

Next, we'll have you install the "Pillow" library, which you need for the image-processing code you're going to write. Type the following into your terminal and hit enter:
python3 -m pip install Pillow
This will take a couple of seconds, but if everything worked correctly, you should see something like "Successfully installed Pillow" near the end of the text that gets printed out. You should see something like this:

If you already had Pillow installed, you'll see "Requirement already satisfied" which is also a sign of success.
Nearly there! Finally, to actually run the code in image-grid.py, we have to tell the
terminal that we want to run a Python program, and then we tell it which
program to run, e.g. image-grid.py. Sometimes, we'll give even more information after
this, like the name of an image or the "mode" we want to run the program in.
Enter the following into your terminal (you can replace "Alice" with your name if you like) to make
the image-grid.py program say hello to you!
python3 image-grid.py -hello Alice

Congratulations! You're now done with the PyCharm setup process. If you ran into any bugs along the way, check out this PyCharm Bugs handout.
Also note that you've just opened the HW2B project and you're ready to start working on the assignment by writing code in the file editor window on the right. See the HW2B assignment handout on the course website for next steps, and if everything's working, you can start with part b on that handout (HW2B handout will be published at the end of week 2).