Section #1: Nested Loops and Images
Written by Nick Parlante, Juliette Woodrow, and Elyse Cornwall
This week in section, your first priority is to meet your section leader and discover what sections in CS106A are all about. Your section leader will therefore spend the first part of this week’s session on introductions and course logistics. Afterwards, they will move on to cover some of the important material from class, going over practice problems and answering your questions in a small group. This week, your goal is to gain familiarity with nested loops and images.
Image Range-Loop Problems
You might find nested y,x range loops helpful in solving these problems. We recommend creating a
sketch with some sample coordinates to think through the algorithm before coding, and especially to get the
arithmetic for each coordinate exactly right. These algorithms are a magnet for off-by-one errors.
A good first step is to sketch out the pixel grid x,y coordinates as we saw in lecture
to plan how your algorithm will access the pixels.
Understanding Nested For Loops
What does this code print?
  for y in range(2):
    for x in range(4):
      print(x, y)
Up1
In this probelm your job is to define a function, make_up1(filename) which creates an out image
100 pixels wider than the original but the same height and copies a vertically-flipped version of the original
image to the out image, leaving a 50 pixel wide margin at the left and right sides untouched (white). At the
end of the function return the out image.
Here is some artwork to help you visualize how the coordinates change:

Here is an example run of the function for the image 'poppy-200.jpg' show below:
Input Image:
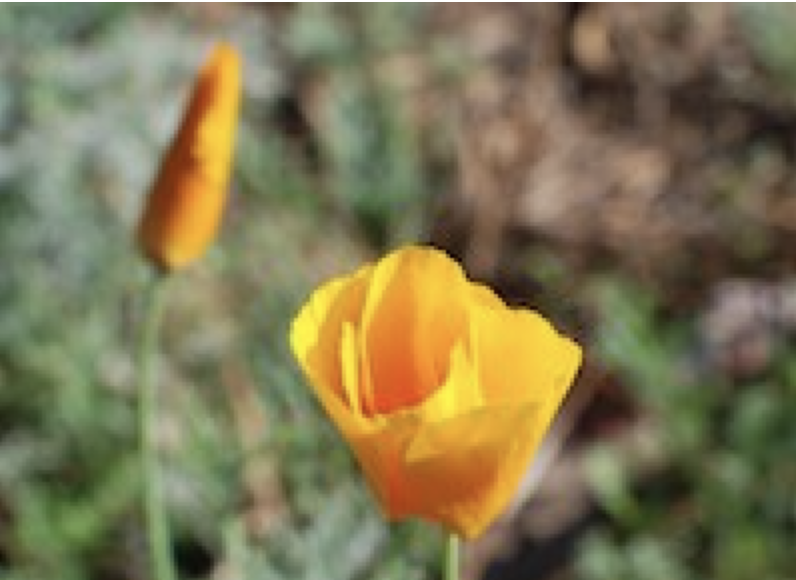
make_up1('poppy-200.jpg')
Output Image:
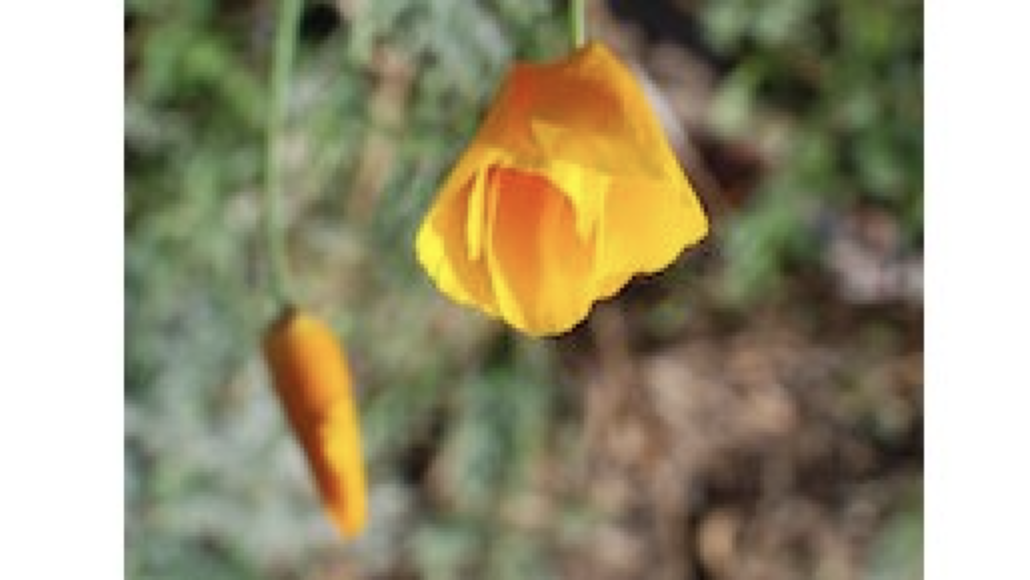
Up2
This problem starts with the code for up1 already done. Add code to paint the two margin areas purple by setting the green value of every pixel to 0. This can be done by adding a second for/y/x nested loop after the first. Optional: Solving with a second for/y/x loop is fine. However, the for/y part is not actually required. The code can position the second for/x loop inside the existing "up1" for/y loop. Get the code working first, then try deleting the second for/y loop to see it work. Return the out image.
Again, use this diagram to help you visualize how the coordinates change:

Here is an example run of the function for the image 'poppy-200.jpg' show below:
Input Image:

make_up2('poppy-200.jpg')
Output Image:
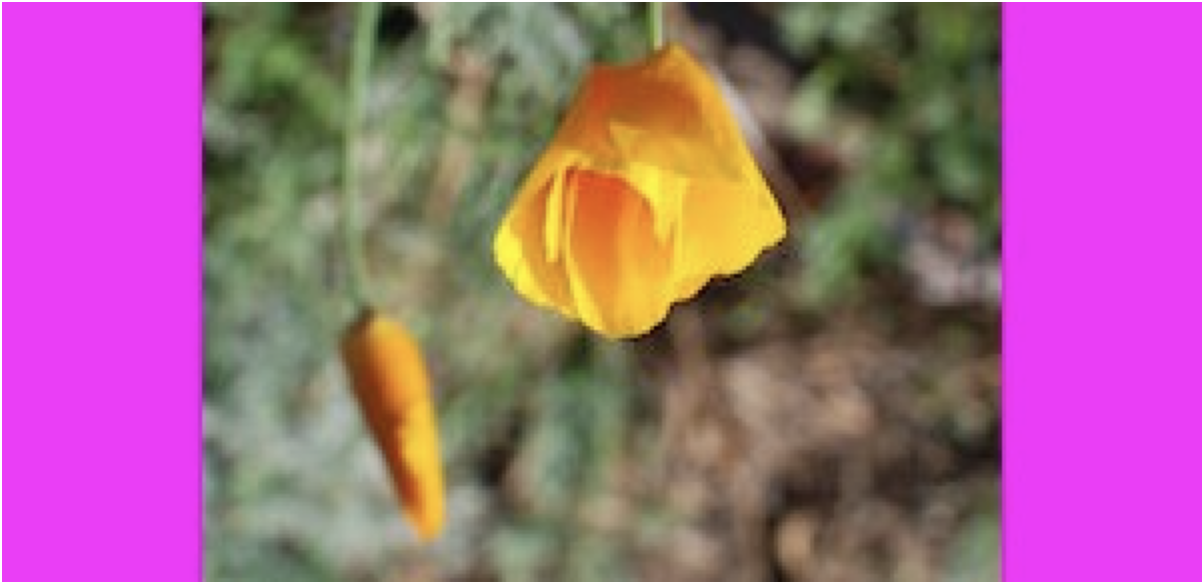
Aqua Bars
In this problem, your job is to write a function aqua_bars(filename, bar_height)
which takes as input a filename of an image and an integer bar height. In the function,
create a new out image tall enough to hold a copy of the original image, plus extra space
at the top and bottom for horizontal, aqua colored bars. Each bar should have have the
height given in the bar_height parameter. A white pixel (which is the default pixel color in new
blank images)
can be changed to aqua by setting its red value to 0, and leaving its blue and green values at 255. Return the
out image when done.
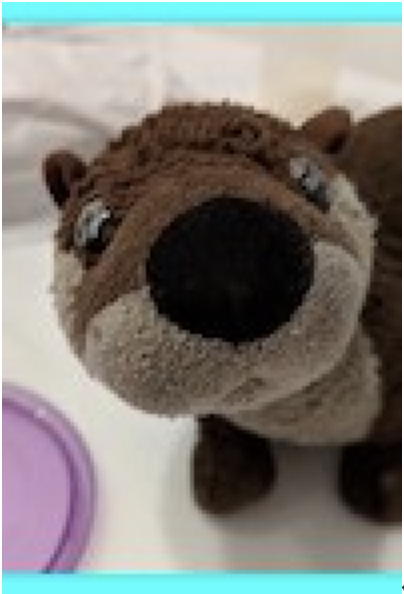
Here is an example run of the function for the image 'yotter-100.jpg' shown below:
Input Image:
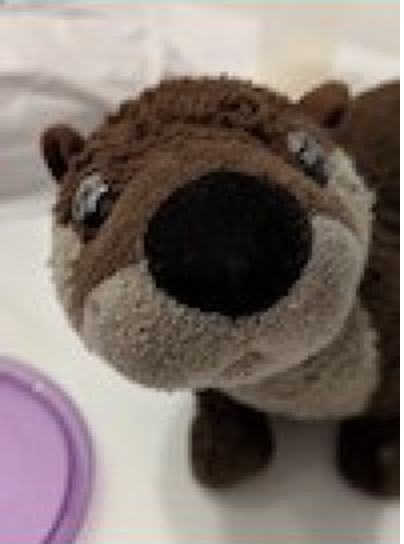
aqua_bars('yotter-100.jpg', 5)
Output Image:
